46 Getting Started Guide
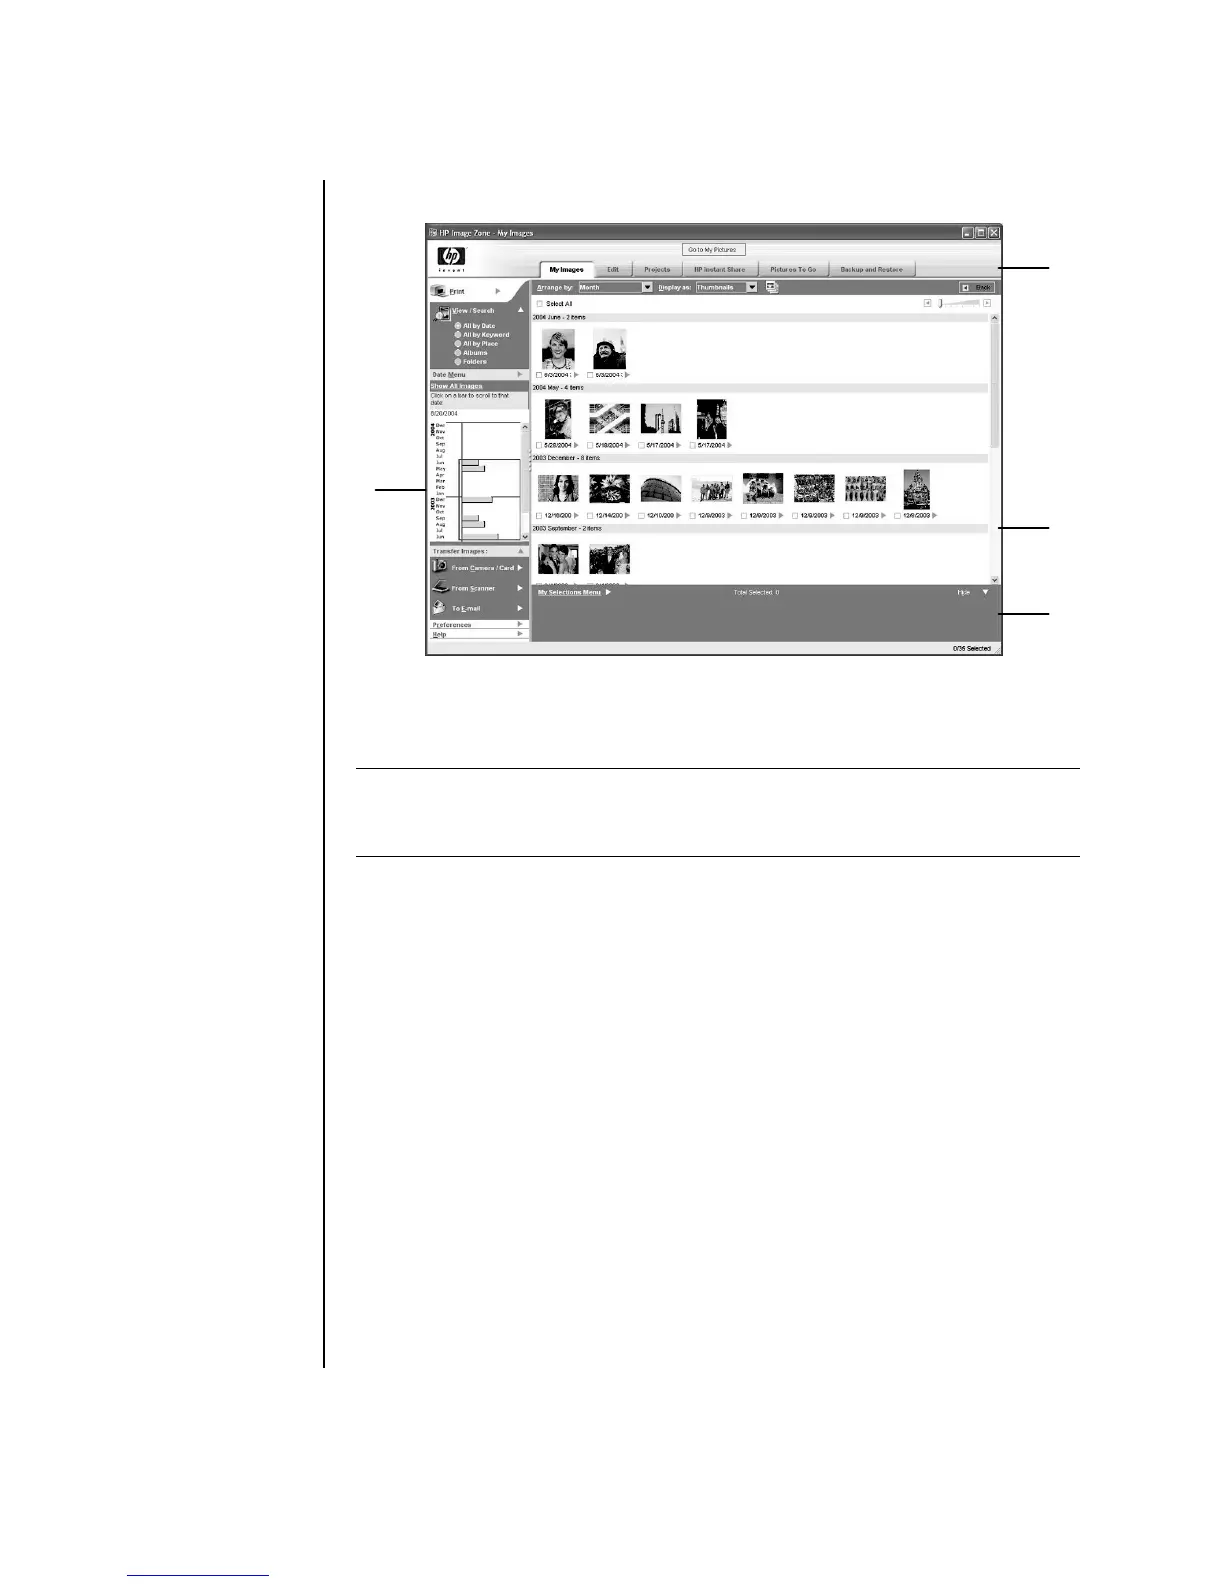
The HP Image Zone Plus window opens.
Click a mode tab at the top of the application window (A) to choose the desired
work area, as described in the following list.
My Images Click this tab to find, view, manage, and print single or multiple
photos or video clips. At the top of the control area (B), click All by date to view
all your images, or choose Folders to browse for images. To select the images that
you want to print or use, simply click the image (or images) in the gallery (C), and it
appears in the selection tray (D). The selection tray images appear under every tab.
For more information, see “manage your images” in Help.
Edit Click this tab to make changes, such as crop and red eye removal, to the
images and video clips you placed in the selection tray. For more information, see
“edit your images” in Help.
Projects Click this tab to create or to print a project using the images in the
selection tray. Projects include photo album pages, cards, and flyers. For more
information, see “create projects” in Help.
NOTE: Click the button labeled Preferences (B) to customize the HP Image Zone
Plus and change some tab settings. For example, you can set HP Image Zone Plus to
start any time you click the My Pictures folder.
B
A
C
D
 Loading...


