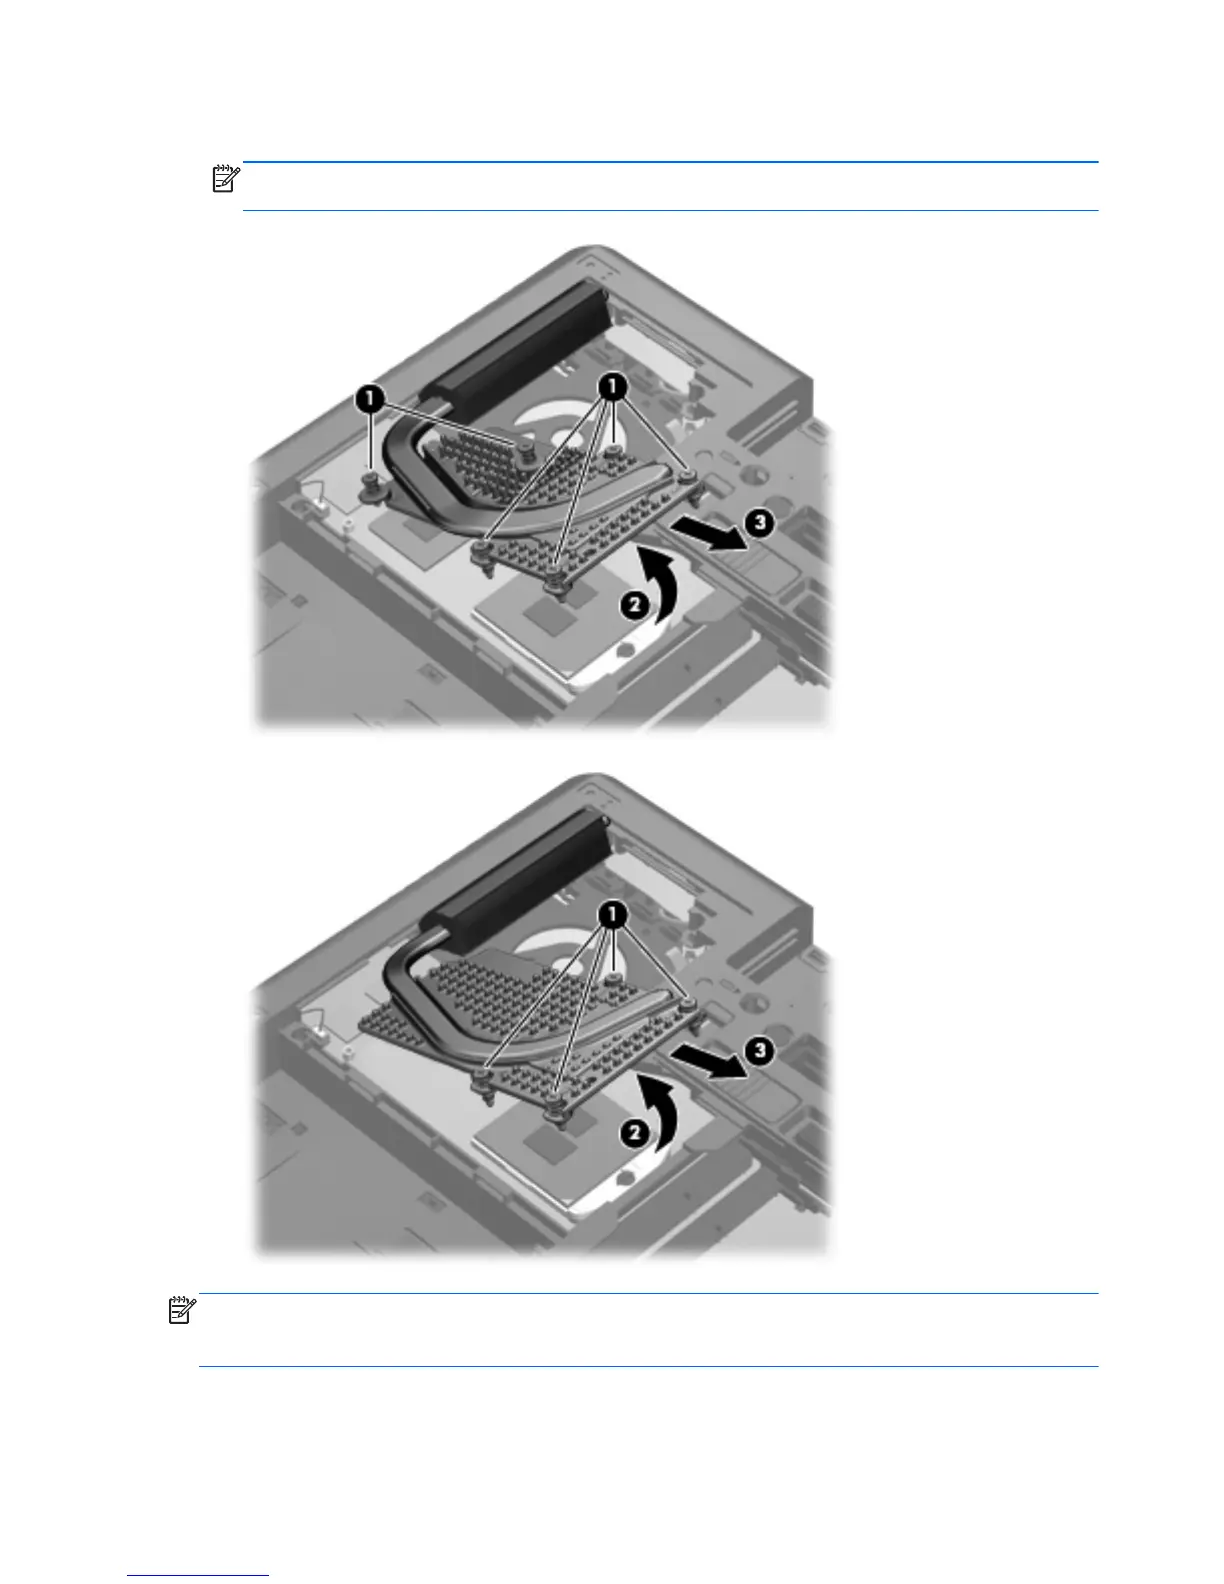
4. Pull the heat sink away from the side of the computer to remove it (3).
NOTE: The first image shows the discrete heat sink, the second image shows the UMA heat
sink.
NOTE: For discrete models, thoroughly clean thermal material from the surfaces of the processor
(1), the graphics processor (3), and the heat sink (2) and (4) each time you remove the heat sink. All
heat sink and processor spare part kits include thermal material.
92 Chapter 4 Removal and replacement procedures
 Loading...