Removal and Replacement Procedures
7. Reinstall the HDD cage into the chassis following the procedures described in step 4 of
the “To install an HDD cage” section.
8. Observe the post-installation procedures.
Hot-plug HDD Cage
To install a SATA drive in a hot-plug HDD cage:
1. Remove the front bezel.
2. Select a drive bay in the cage where you want to install the SATA new hard disk.
If the desired drive bay is occupied, remove the currently installed drive from the cage.
Proceed to step 3 for procedures.
If the desired drive bay is unoccupied, proceed to step 4 for procedures on how to install
the new drive.
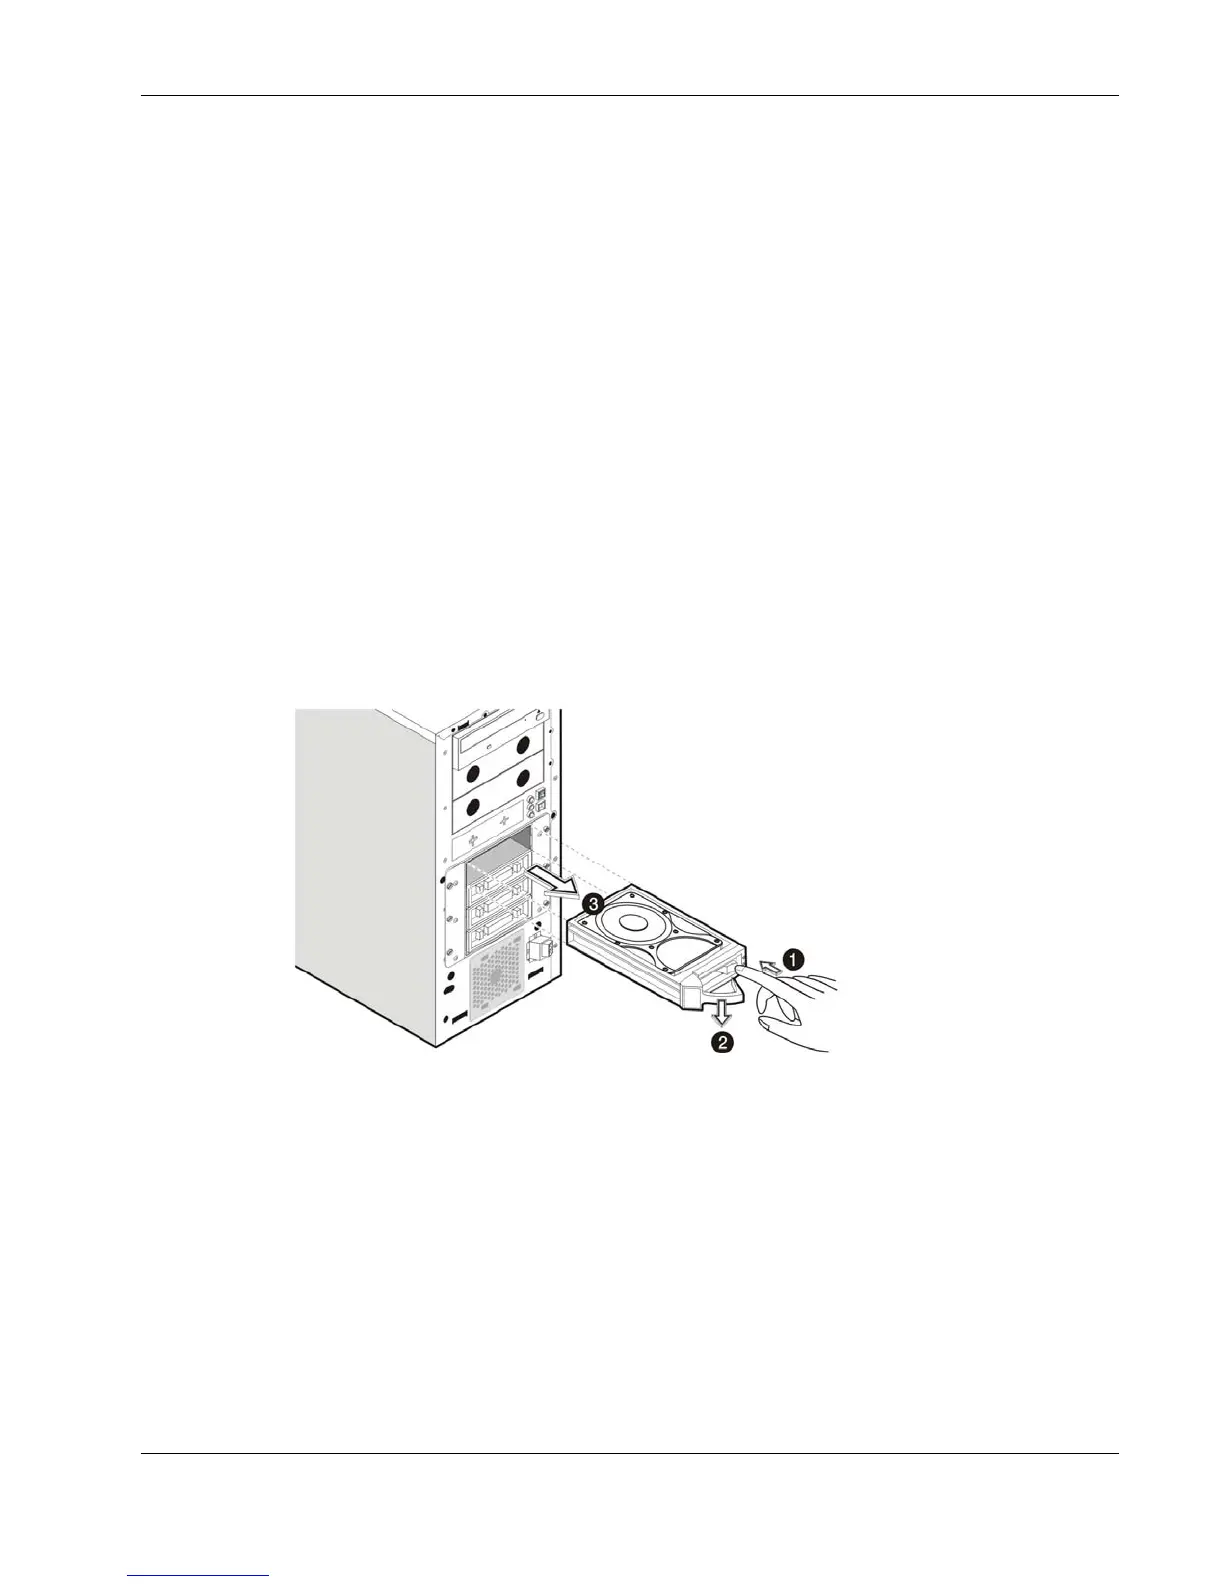
3. Remove a currently installed drive:
a. Press the hard disk carrier button to release the carrier latch.
b. Pull out the carrier latch.
c. Gently slide out the drive from the cage.
Figure 2-26: Removing a SATA hard disk from the hot-plug HDD cage
HP ProLiant ML110 Generation 2 Server Maintenance and Service Guide 2-23
 Loading...


