For more instructional repair guides for other makes or models, view our full catalog of Repair Guides!
This guide for the HTC HD2 has been put together by the RepairsUniverse team and will walk you through the
disassembly of the windows smartphone. Following this guide will allow you to replace and repair many parts such as the
glass touch screen digitizer, LCD display screen, camera, button replacements, and much more.
This guide will help you to install the following HTC HD2 part(s):
• HTC HD2 LCD Screen Replacement Display Replacement
• HTC HD2 Glass Touch Screen Digitizer Replacement
• HTC HD2 Loud Speaker Replacement
• HTC HD2 Ear Speaker Replacement
• Other HD2 Replacement Parts
Tools Required:
• Safe Open Pry Tool
• T5 Torx Screwdriver
• Hot Air Gun / Hair Dryer (optional)
HTC HD2 Written Repair Guide:
• First remove the battery cover and battery from the HD2.
• Now you will need to remove four T-5 Torx screws from housing surrounding the battery. Apply pressure to the
area of the battery and use a safe open pry tool to release the housing from the chassis.
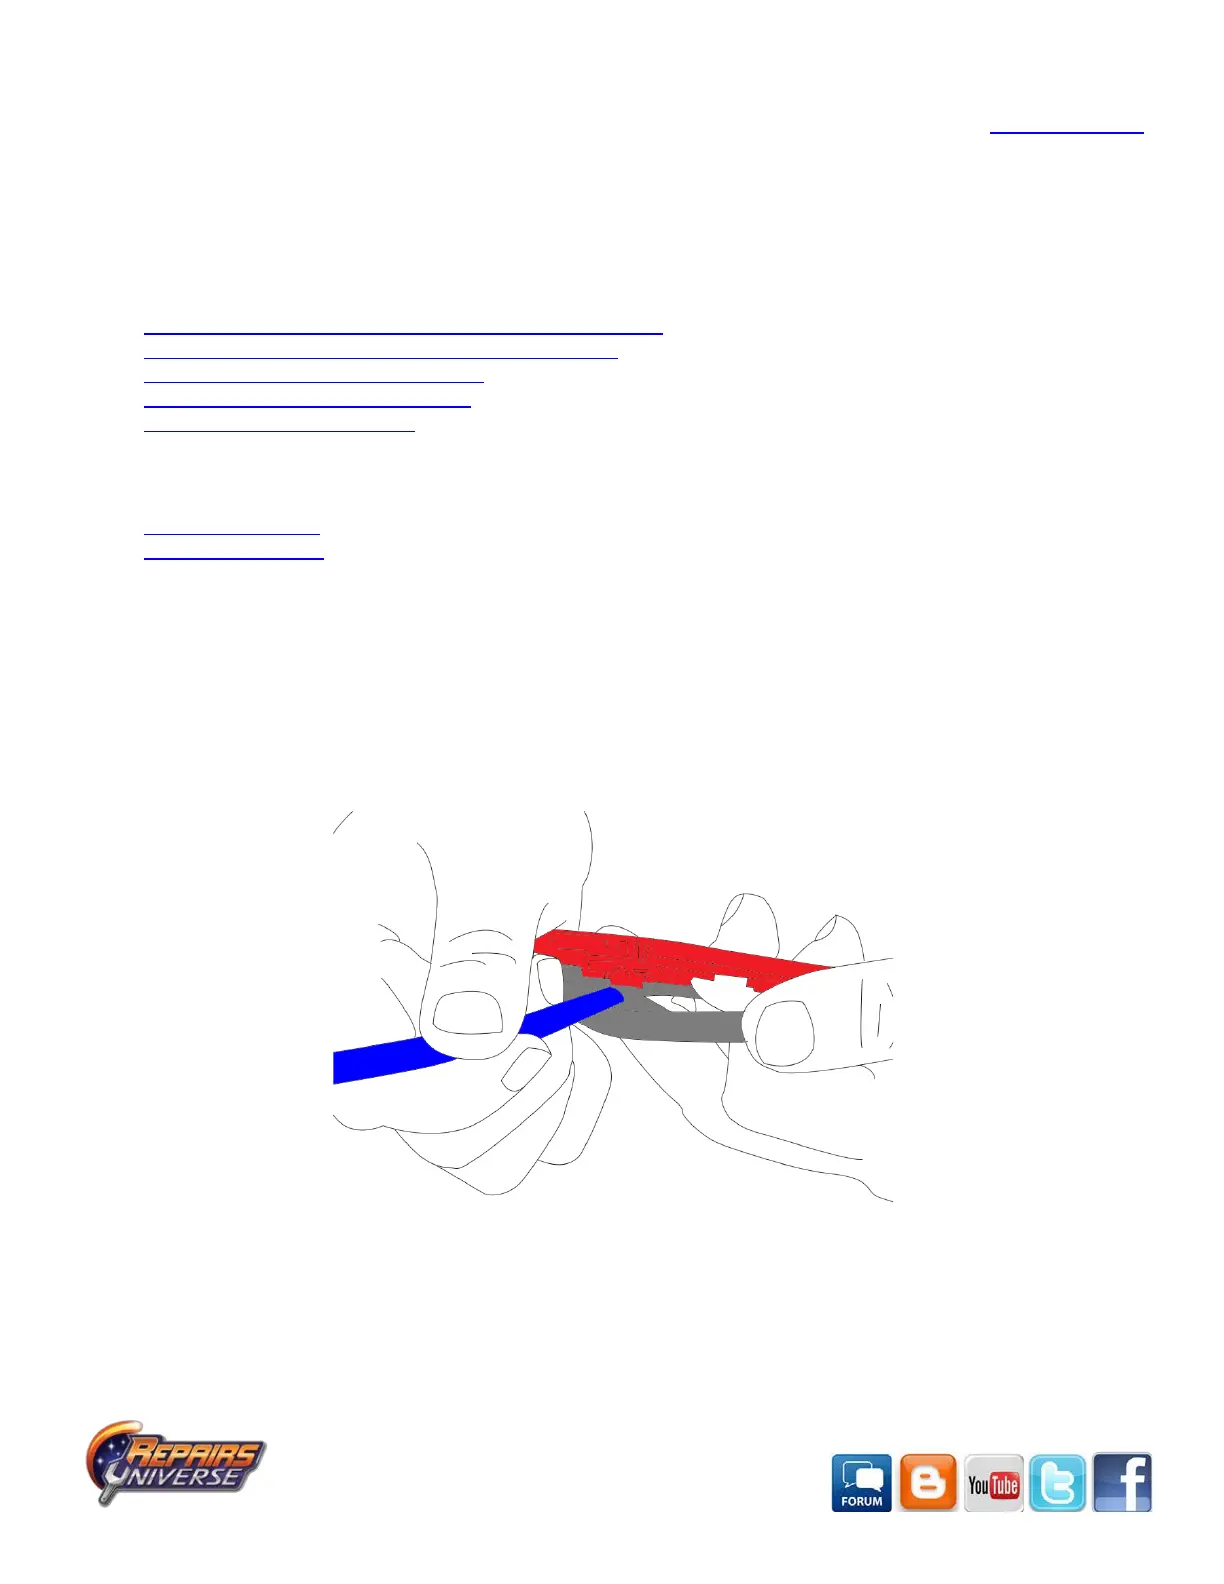
• Using your pry tool, slide it along the outside edges until the housing is removed from the chassis, as shown in
Figure 1.
Figure 1
• Remove the 5 Torx Screws from the Chassis located in Figure 2. Remove the flash cable connector from the
motherboard to the flash frame camera. Use a safe open pry tool to pop the black antenna cable from the
motherboard and upper board.