2
4 Site Environment
Do not place this product in an environment with flammable or explosive gases, or smoke.
The installation site must be free from leaking or dripping water, heavy dew, and humidity. If the
relative humidity is high, use dehumidifiers or dehumidifying air conditioners.
The installation site must be well ventilated. Ensure that air vents on the equipment are not blocked.
Do not install the equipment in a dusty environment.
Grounding the switch helps protect it from lightning, electromagnetic interference, and
electrostatic discharge, and is the prerequisite for a PoE switch to provide power for a PD.For
switch models with the ground point at the left or right side of the chassis, connect the ground
cable before mounting the switch in the cabinet or rack.
Leave at least 50 mm clearance at the rear and both sides of the chassis for heat dissipation.
S series switches use forced, intelligent, or natural heat dissipation mode. If multiple switches are
installed in a cabinet/rack, leave at least 1 U (44.45 mm) distance between each two switches.
This distance is recommended for switches using forced or intelligent heat dissipation, and is
required for switches using natural heat dissipation.
Ensure that the temperature and humidity at the installation site meet the switch operation requirements.
For the specific requirements, see the for your switch on the Huawei support website.
Ethernet cables used outdoors must be buried underground or routed through steel pipes to
protect the switch from lightening. Do not route Ethernet cables overhead.
To protect network ports from lightning, use 8-line surge protectors or Huawei certified 4-line
surge protectors. When installing a network port surge protector, connect the IN ports to network
devices and connect the OUT ports to network ports of the switch.
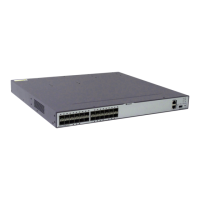
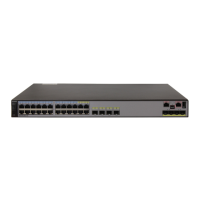
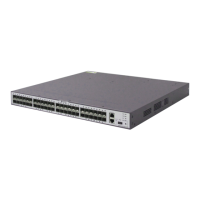
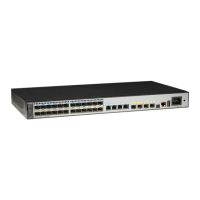
5 Installing the Chassis
Scenario 1: Desk Mounting
S5710-HI, S6700-EI and S6720-HI series switches cannot be desk mounted.
Do not stack fanless switches on top of or closely next to each other.
Some switch models provide a security slot ( ) near the panel on a side of the chassis. You can
install a security lock (separately purchased) in this slot to protect the switch against theft.
Before You Start
Installation Procedure
Attach four rubber pads to the bottom.
Place the chassis on a desk.
Step 1
Step 2
(Optional) Install a security lock.
Connect the ground cable to the
ground point.
Step 3
Step 4
Scenario 2: Wall Mounting
Before drilling holes in a wall, make sure there are no power cables in the wall to avoid electric shock.
Before You Start
Hardware Description
 Loading...