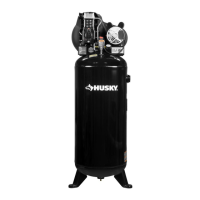
This document is a Use and Care Guide for the Husky 20-Gallon Portable Air Compressor, Model #C201H. It provides comprehensive information on the device's function, technical specifications, usage, and maintenance.
Function Description:
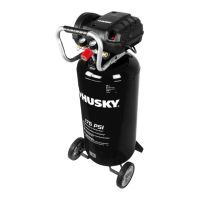
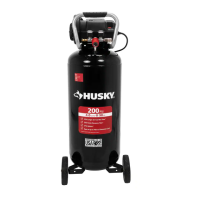
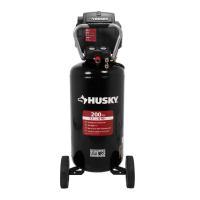
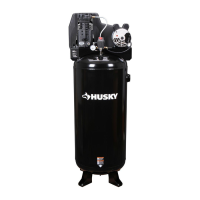
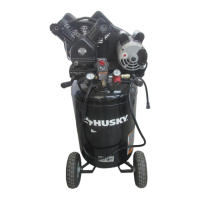
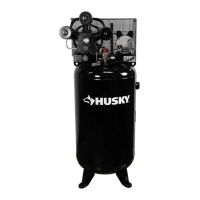
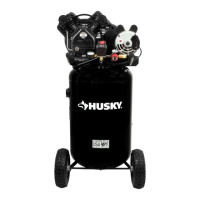
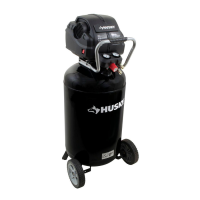
The Husky 20-Gallon Portable Air Compressor is designed to compress air into a tank for various pneumatic tool applications. It is a portable unit, equipped with wheels and a handle for easy transport. The compressor features an automatic power system controlled by an ON/OFF switch, a safety valve to prevent over-pressurization, and a regulator to adjust the output air pressure to match the requirements of different tools. It is intended for general household and home improvement needs, providing a steady supply of compressed air for tasks such as inflating tires, operating nail guns, or other air-powered tools. The unit is equipped with a quick connect fitting for easy attachment of air hoses.
Important Technical Specifications:
- Running Horsepower: 1.3 HP
- Air Tank Capacity: 20 gallons
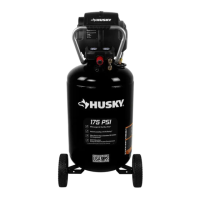
- Air Pressure (Max): 175 PSI
- Air Delivery:
- 5.2 SCFM at 40 PSI
- 4.0 SCFM at 90 PSI
- Tank Fill-up Time: 7 minutes
- Lubrication: Oil-free
- Input: 120V, 60 Hz, Single phase, AC only, 15 Amps
- Minimum Branch Circuit Requirement: 15 A
- Fuse Type: Time delay
- Net Weight: 73 lbs.
- No-load Pump Speed: Approximately 3,850 rpm (decreases under load or with lower voltage).
Usage Features:
The compressor is designed for straightforward operation.
- Portability: Equipped with wheels and a handle, it can be tilted back and rolled to the desired location. When transporting in a vehicle, the tank should be drained and the unit secured to prevent tipping.
- Placement: It should be operated in a clean, dry, and well-ventilated area, at least 18 inches (0.5 m) away from walls or obstructions to ensure proper airflow to ventilation openings. The air filter must also be kept clear.
- Power Connection: Requires a 120V, 60 Hz, AC only power supply. For extension cords, only 3-wire, 3-prong grounding cords of 50 feet or less, with appropriate wire gauge (16 AWG for 25 ft, 12 AWG for 50 ft) should be used to prevent voltage drop and motor overheating. Outdoor extension cords should be marked "W-A" or "W".
- Start-up Procedure:
- Ensure the ON (I) / OFF (0) switch is in the OFF position.
- Close the drain valve located at the base of the air tank.
- Visually inspect air lines and fittings for leaks.
- Plug the power cord into a proper receptacle.
- Turn the ON (I) / OFF (0) switch to the ON position and allow the tank pressure to build until the motor stops at "cut-out" pressure.
- Adjust the pressure regulator knob clockwise to increase pressure or counter-clockwise to decrease pressure, matching the PSI needed for the application.
- Safety Valve Check: Before each day of use, the safety valve should be checked by pulling its ring for 20 seconds to release air. If air continues to escape after releasing the ring, the compressor should not be used and serviced.
- Thermal Overload Protector: The motor has a manual thermal overload protector that will shut off the motor if it overheats. To restart, the unit must be placed in the OFF position, unplugged, allowed to cool, then plugged back in and switched to ON.
- Air Tool Connection: Apply thread tape to threaded connections of the hose and quick coupler/male plug. Insert the hose adapter into the female coupler on the compressor.
- Duty Cycle: While the pump can run continuously, a 50% average duty cycle (not running more than 30 minutes in any given hour) is recommended to prolong its life.
- Safety Warnings: Emphasizes the importance of eye protection (ANSI Z87.1 compliant), hearing protection, and avoiding contact with hot compressor parts. It explicitly states that the compressor is not equipped for supplying breathing air and should not be modified. Users are warned against operating in explosive atmospheres, touching exposed metal parts during or immediately after operation, and using damaged cords or accessories.
Maintenance Features:
Regular maintenance is crucial for the longevity and safe operation of the air compressor.
- Draining the Tank: Condensation forms in the tank due to humidity. The tank must be drained daily or every hour, depending on environmental conditions, to prevent corrosion and weakening of the tank, which could lead to rupture. To drain:
- Set the ON (I) / OFF (0) switch to the OFF position.
- Slowly bleed air from the tank by pulling the safety valve until pressure is approximately 20 psi.
- Open the drain valve at the bottom of the tank to release water.
- Close the drain valve after draining.
- Cleaning: Use clean cloths to remove dirt, dust, oil, and grease. Avoid using solvents on plastic parts, as they can cause damage.
- Storage: Store the compressor in a cool, dry place when not in use. Disconnect the air hose and hang its open ends down to allow moisture to drain. Protect the electrical cord and air hose from damage by winding them loosely around the compressor handle.
- Tank Inspection: Annually inspect the tank for rust, pinholes, or other imperfections that could make it unsafe.
- Lubrication: All bearings are pre-lubricated for the life of the unit under normal operating conditions, so no further lubrication of the bearings is required.
- Service: Any service beyond general maintenance should be performed by an authorized service representative. When servicing, only identical Husky replacement parts should be used.