Be sure to position merchandisers properly.
Level the merchandiser by all four corners.
Merchandiser(s) must be installed level to ensure
proper operation of the refrigeration system, and to
ensure proper drainage of defrost water.
MERCHANDISER LEVELING
All cases were leveled and joined prior to shipment to
insure the closest possible fit when cases are joined in the
field. When joining, use a carpenters level and adjust legs
accordingly. The legs on the Q3-SS are adjustable and
do not require shims. Simply screw the leg up or down
to adjust height.
Installation
1. Using case blueprints, measure off and mark on the
floor the exact dimensions of where the cases will
sit. Snap chalk line for front and back positions of
base rail or pedestal. Mark the location of each joint
front and back. Find the highest point throughout the
lineup. FLOORS ARE NORMALLY NOT LEVEL!
Determine the highest point of the floor; cases will be
set off this point. All cases in the entire lineup must
be brought up to the highest level of the case sitting at
the highest point in the lineup. This may be done a
few different ways.
a) Walk the floor looking for any mounds or dips.
b) Use a stringlevel
.
c) Use atransit.
If a wedge is used in the middle of a lineup, the wedge
must be set on the high
est point on the floor FIRST,
with the rest if the lineup being leveled from it. The
Q3-SSM case has adjustable legs to allow for leveling.
2. Set first case over the highest part of the floor and
adjust legs so that case is level. Remove side and
back
leg braces after case is set and joined.
3. Set second case within one foot (1') of the first case,
and remove leg skids. Keep the supports along the
leng
th of the case and far end of case. Level case to
the first using the instructions in step one.
4. Apply masking tape 1/8" in from end of case on inside
and outside rear mullion and body work on both
cas
es to bejoined.
This equipment is to be installed
to comply with the applicable
NEC, Federal, State , and Local
Plumbing and Construction
Code that has jurisdiction.
ATTENTION
INSTALLER
6. Slide second case up to first case snugly. Then level
second case to the first case so glass front, bumper
and topare flush.
7. To compress butyl at joint, use two Jurgenson wood
clamps. Make sure case is level from front to back
and side to side on inside bulkheads at joint.
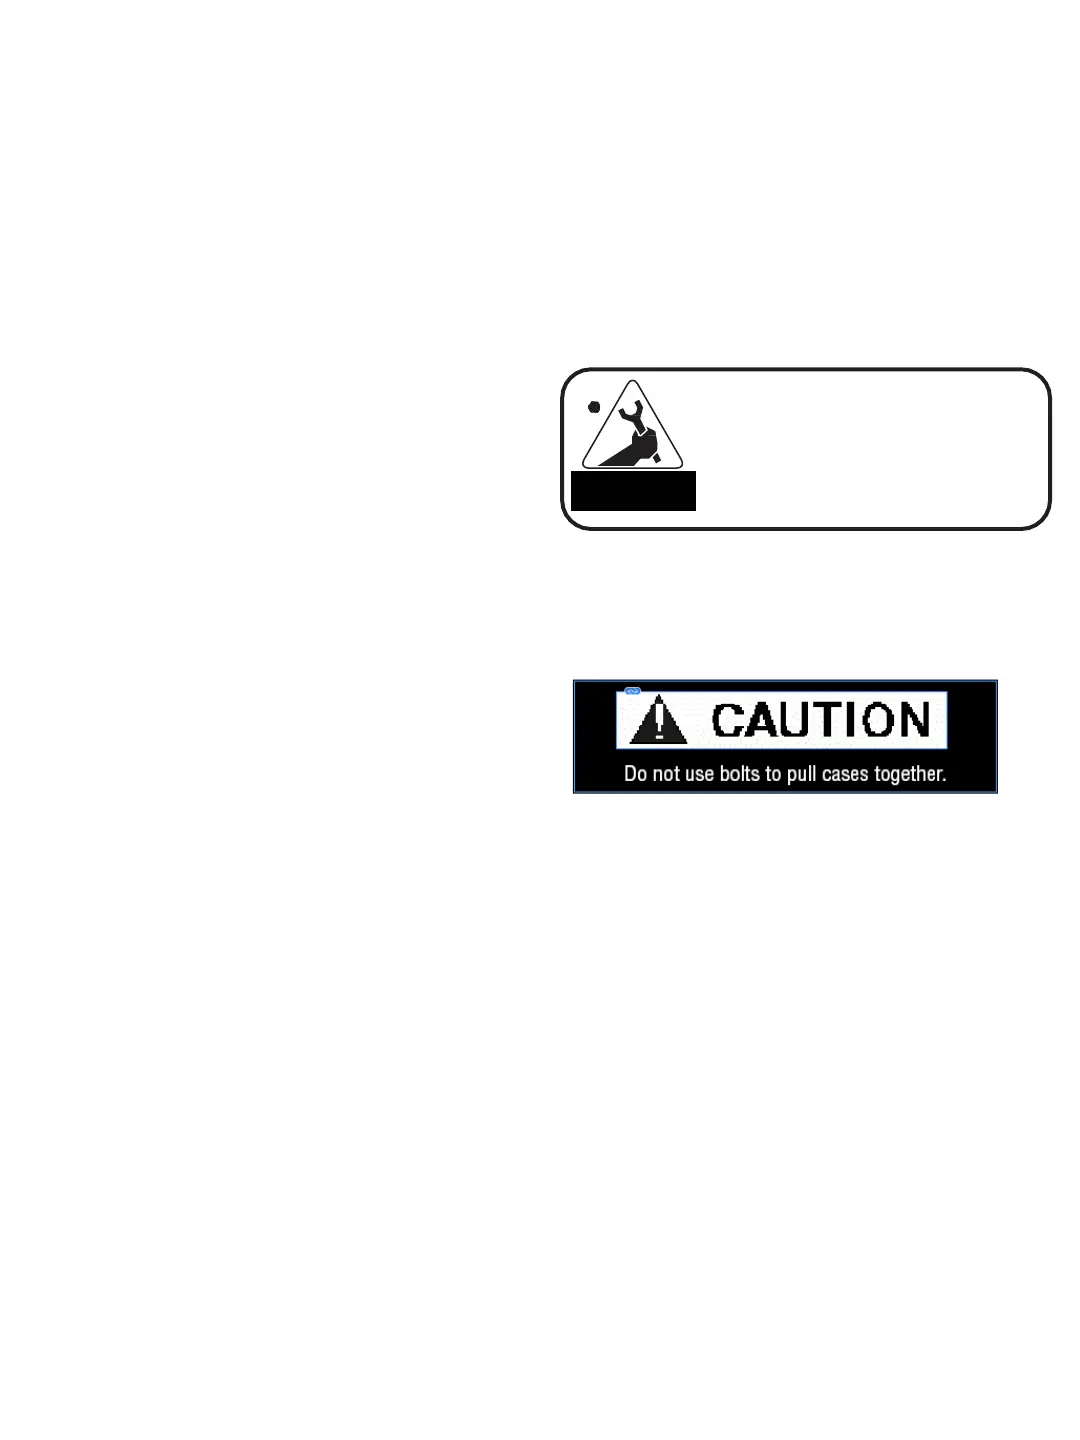
DO NOT USE PERMAGUM!
1-3 INSTALLATION
5. Apply liberal bead of case joint sealant
(butyl) to first case. Sealant area is shown using
a dotted line in illustration in Step 8. Apply
heavy amount to cover entire shaded area.
DO NOT USE PERMAGUM!
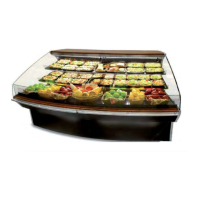
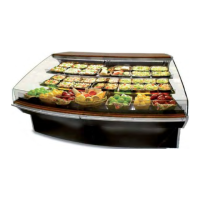
Q3 Remote Merchandisers
HUSSMANN CORPORATION • BRIDGETON, MO 63044-2483 U.S.A.
P/N 3068445 _D
 Loading...