64
To do this, hold the middle nut (fixed) on the actuator thread stationary, using a
spanner, whilst rotating the actuator head.
• Screw it anticlockwise / outwards to decrease the output pressure.
• Screw it clockwise / inwards to increase the output pressure.
Note: The pressure is required to be set to a value of 2m below the minimum
pressure value used within the table of the profile that will be used to control the
PRV operation. (e.g. Below night-time pressure)
Make sure you allow time for the PRV to settle its pressure after
adjustment. (e.g. Wait for a few minutes and re-adjust if required).
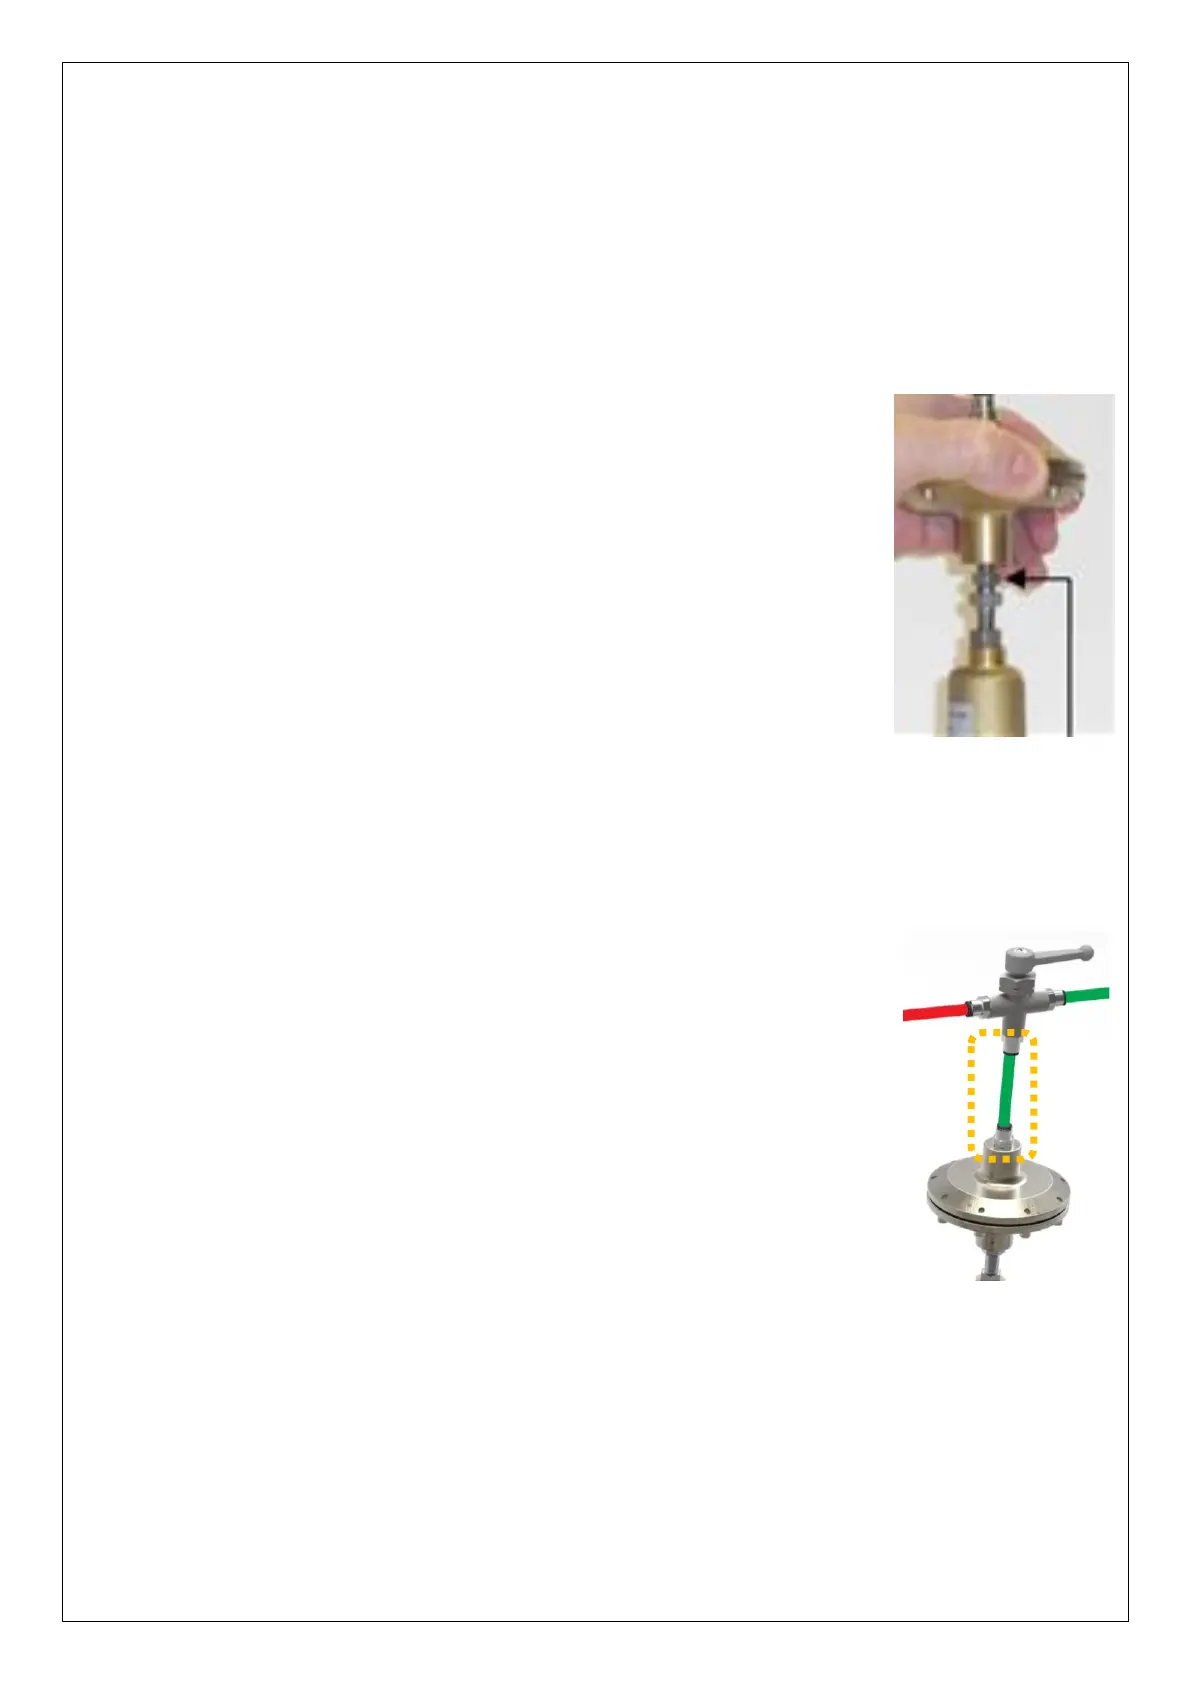
Once the minimum pressure is achieved, tighten the top lock-nut
on the actuator screw thread against the underside of the actuator
head (see picture).
This will secure the minimum outlet pressure.
Insert the green pipe (which connects the 3-way manual valve) into the
top of the actuator head (as shown).
The Pegasus actuator is now installed. Any remaining air in the system will be dispersed
as part of testing (see section 4.19).
 Loading...