Hypnocube 4Cube Instructions v 6.5, December 2013
- 14 -
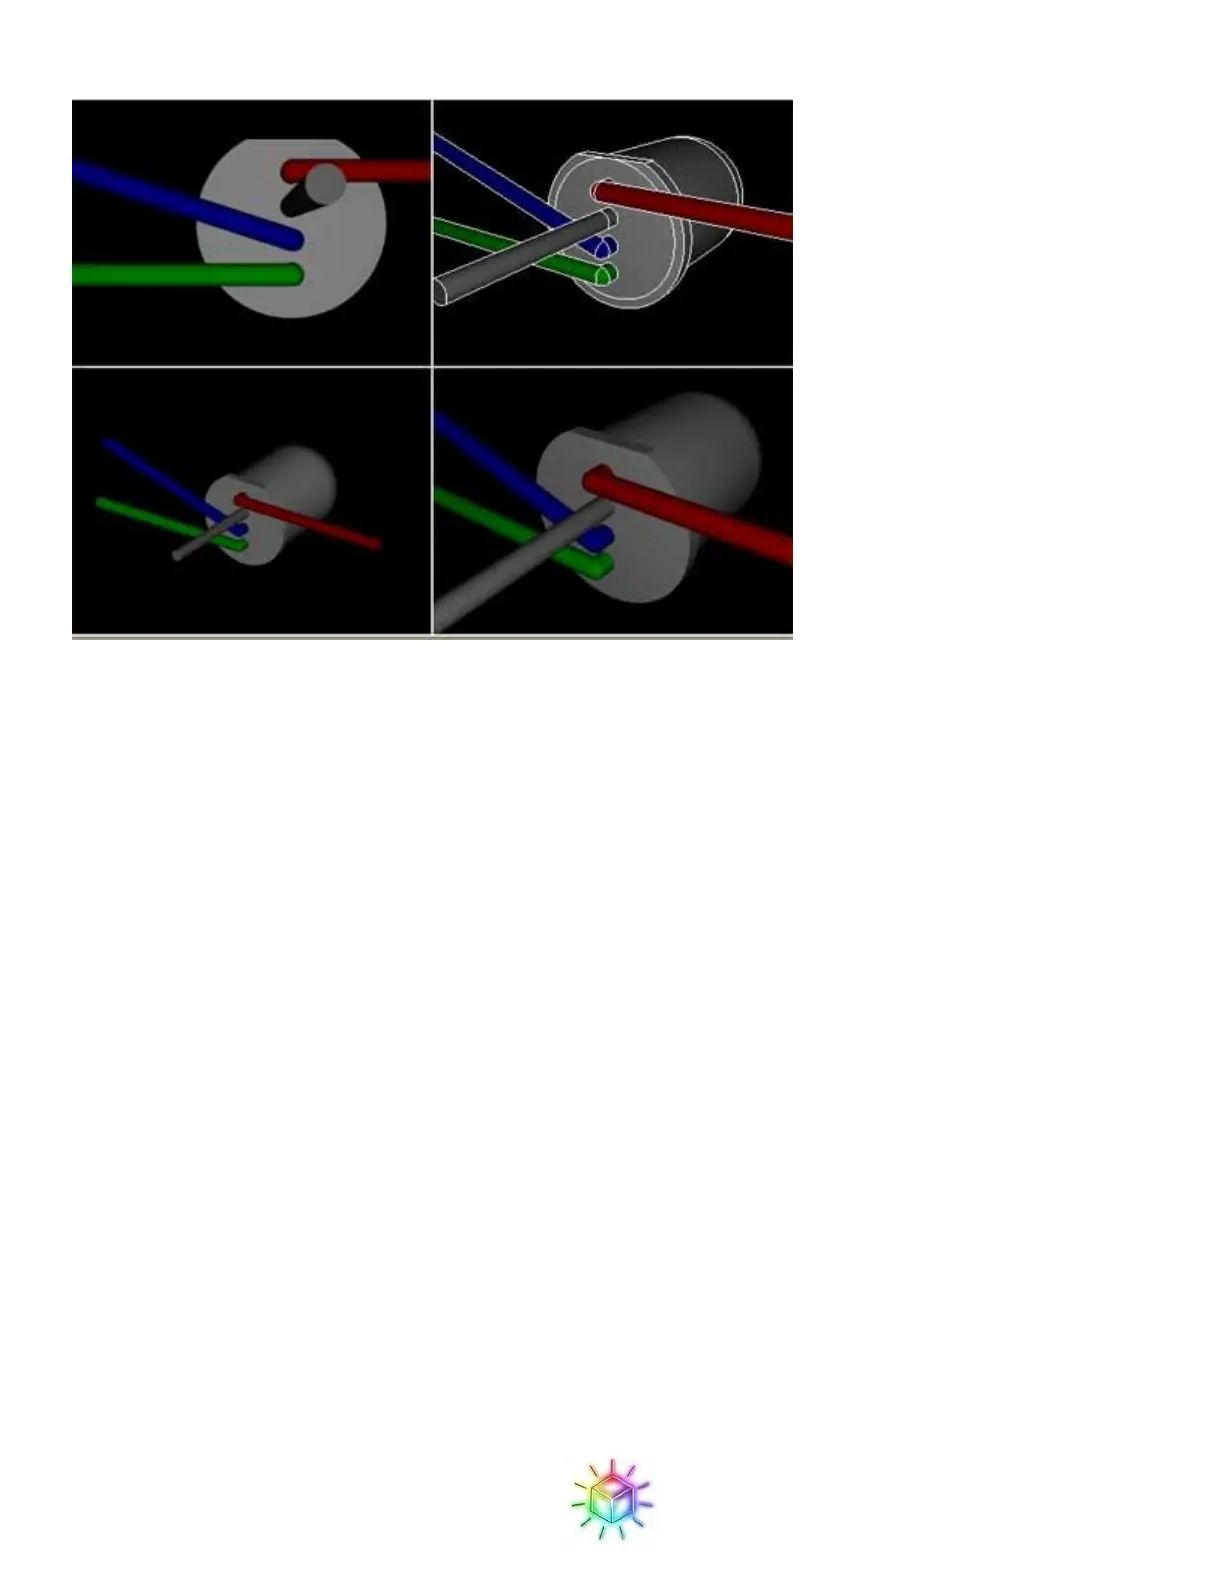
Figure 29: Rendering of a properly bent LED.
Now, bend one LED, which will be your template to follow while bending the other LEDs. I recommend
bending one LED, then double, triple, and quadruple checking that it is EXACTLY like the above pictures.
Once you are convinced you have a perfectly bent LED, set it aside and use it as a reference when you bend the
rest of them to check that all are the same orientation.
Now we will need to bend 8 more LEDs to make the first strip. You can do each LED one at a time by hand, or,
if you are using a wood jig, bend the LEDs in place in the jig, which can be a little easier and faster as the jig
will hold the LED for you and allow you to use both hands to bend the pins. If you opt for the cardboard jig,
then most likely the cardboard won’t hold the LED tightly enough to facilitate bending the pins.
Figure 30 and Figure 31 show the wood jig holding the LEDs before and after bending. This can be combined
with the step below to make strips while bending the LEDs, saving some time.
 Loading...