Hypnocube 4Cube Instructions v 6.5, December 2013
- 13 -
The pins are bent as follows:
1. The first lead (the red lead, next to the flat spot) is bent as close to the base as possible, and MUST GO
IN THE DIRECTION INDICATED. Make sure you do not bend in the opposite direction.
2. Lead number 2, the ground, is left alone and sticks straight out.
3. Next bend lead number 4, the green lead, to go in the opposite direction of the red lead.
4. Lead number 3, the blue lead, is bent at about a 30 degree angle from the green lead.
Wires will be dropped from the red, green, and blue leads down to the PCB and into the holes labeled R, G, B.
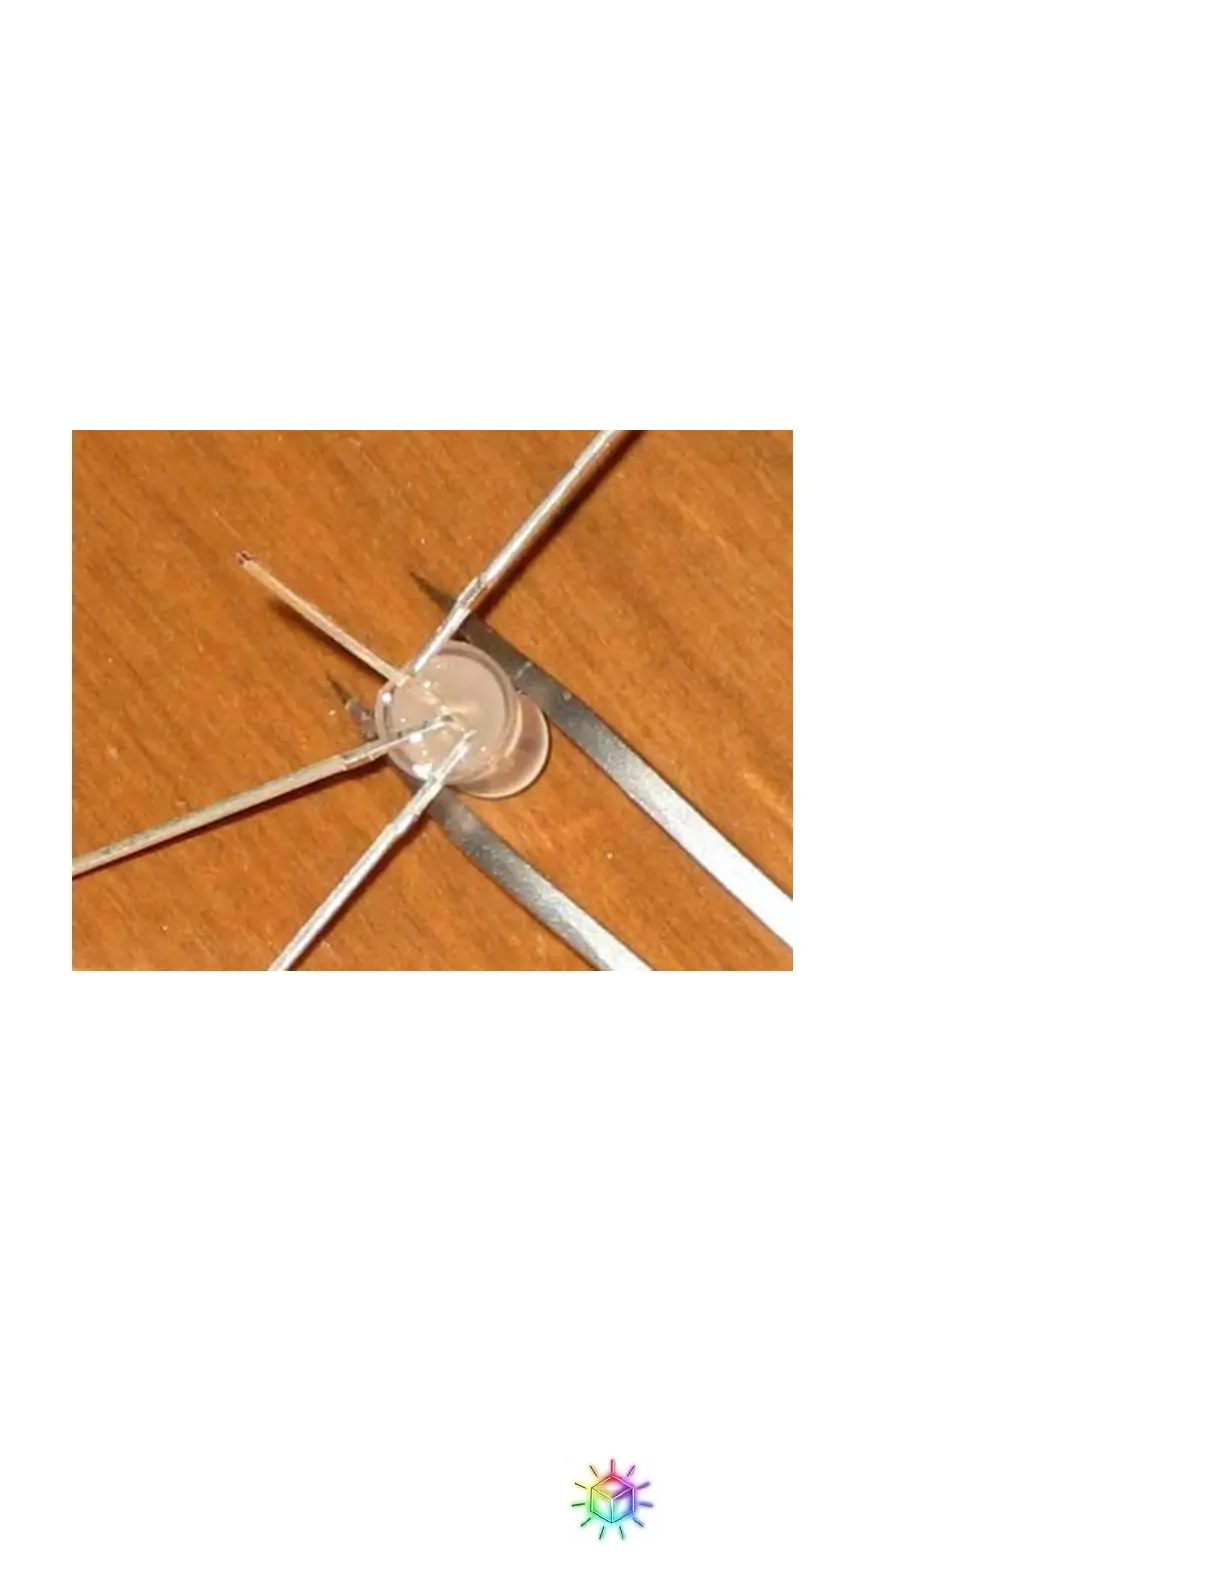
Figure 28 is what the LEDs look like once bent.
Figure 28: Properly bent LED.
 Loading...