Hypnocube 4Cube Instructions v 6.5, December 2013
- 16 -
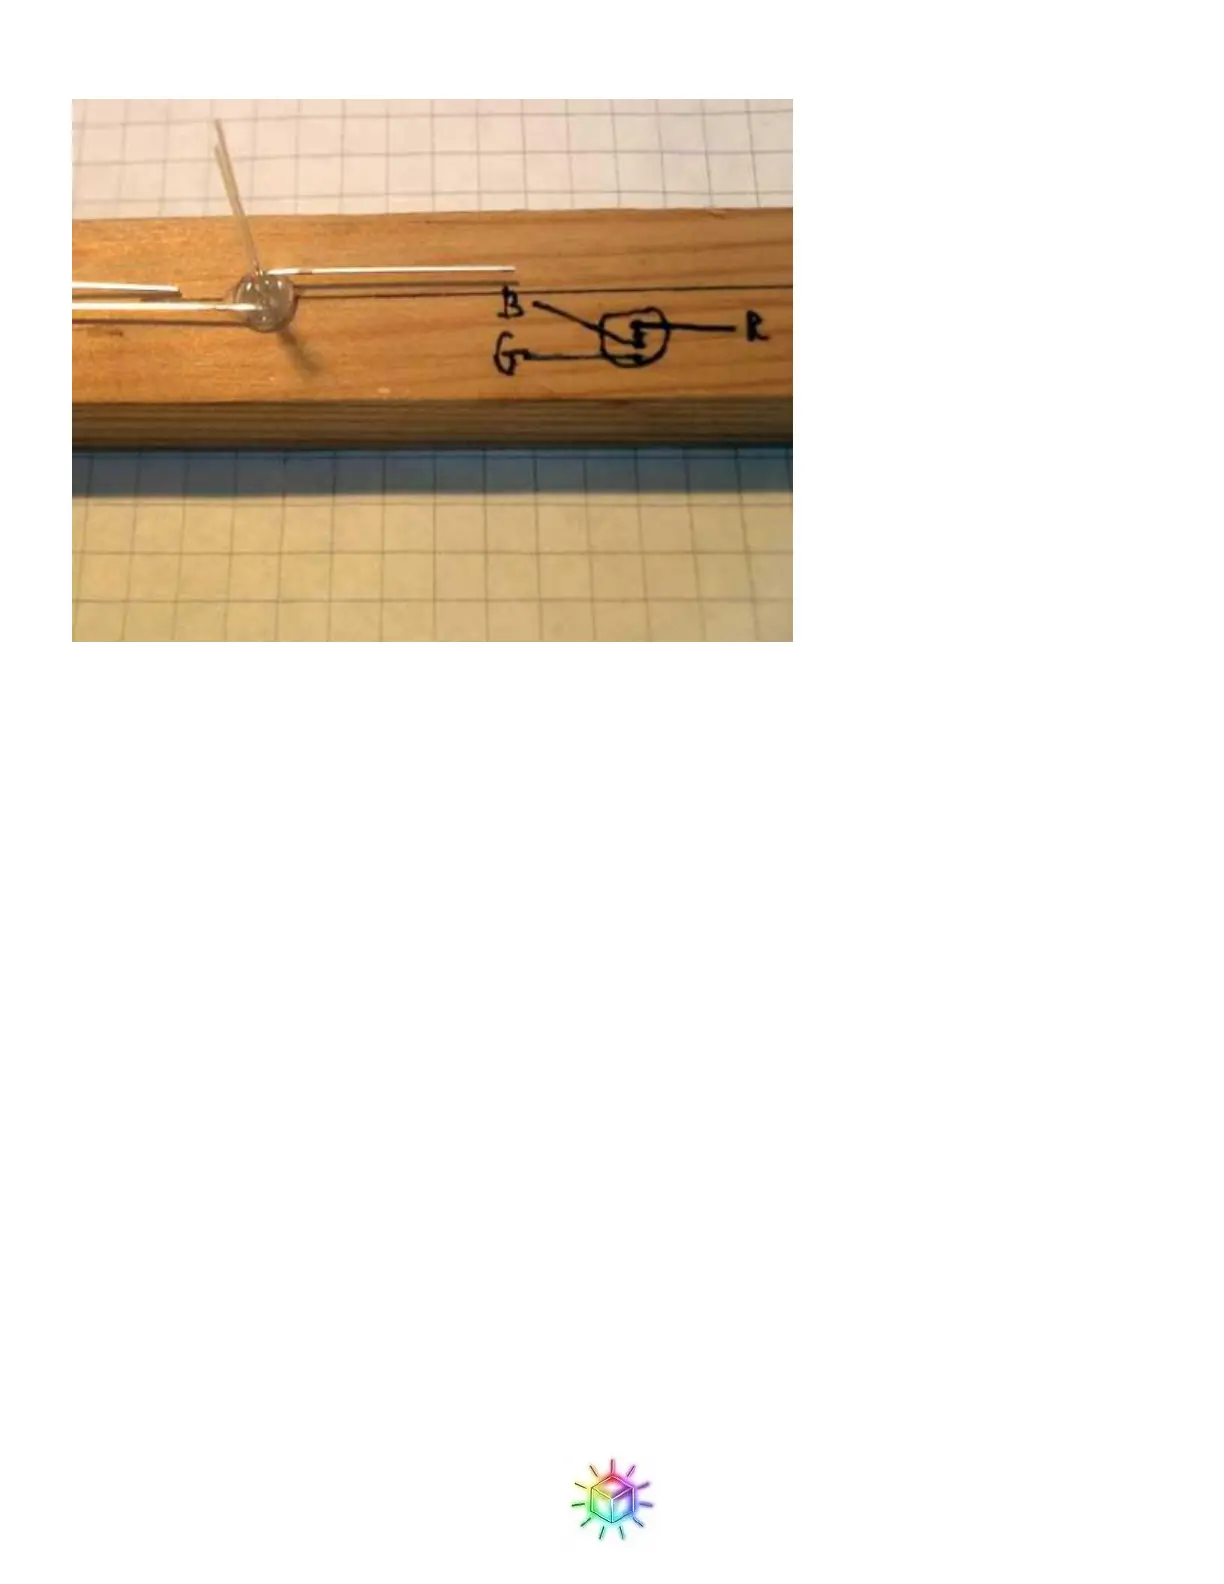
Figure 32: Wood jig with LED drawing.
When using this method, it is critical that you insert the LED in the hole in the proper way. A backwards LED
probably won't be noticed until it's in the cube and you find that a LED doesn't light or a column of LEDs lights
erratically.
Step 2: Create LED strips
If you haven’t already created a wood jig for the previous step, you will need to make one to solder the LEDs in
to strips.
You have two options: the cardboard jig and the wood jig. The wood jig is more stable and makes it easier to
build the cube, and is recommended. The cardboard jig also works, but is more flimsy.
(One of our customers, Rob Sheldon, designed a much better jig and provided us with instructions for
making it. If you can handle a hand drill, you should make this jig. Check out the Appendix 2 for
instructions on constructing this jig.)
The jig requires 8 holes to hold 8 LEDs evenly spaced in a straight line. The spacing between each LED should
be 1.25 inches (or 3.17cm to you civilized folks overseas.) To confirm that you have the proper spacing you can
compare it against the PCB; it should match the spacing between each GND hole on the LED footprints on the
PCB.
For a cardboard jig, you will want a piece of cardboard - stiffer the cardboard is better - about 12 inches (30cm)
long and 3 – 4 inches (6 – 10cm) wide. The extra width is so that the cardboard can be held vertically between
two sturdy objects, such as books. Wood is thicker and sturdier, and can provide its own base, so for a wood jig
a 12” x 1” (30cm x 3 cm) is sufficient, although it can of course be bigger (no need go through the trouble of
cutting down a piece you already have.)
 Loading...