Hypnocube 4Cube Instructions v 6.5, December 2013
- 28 -
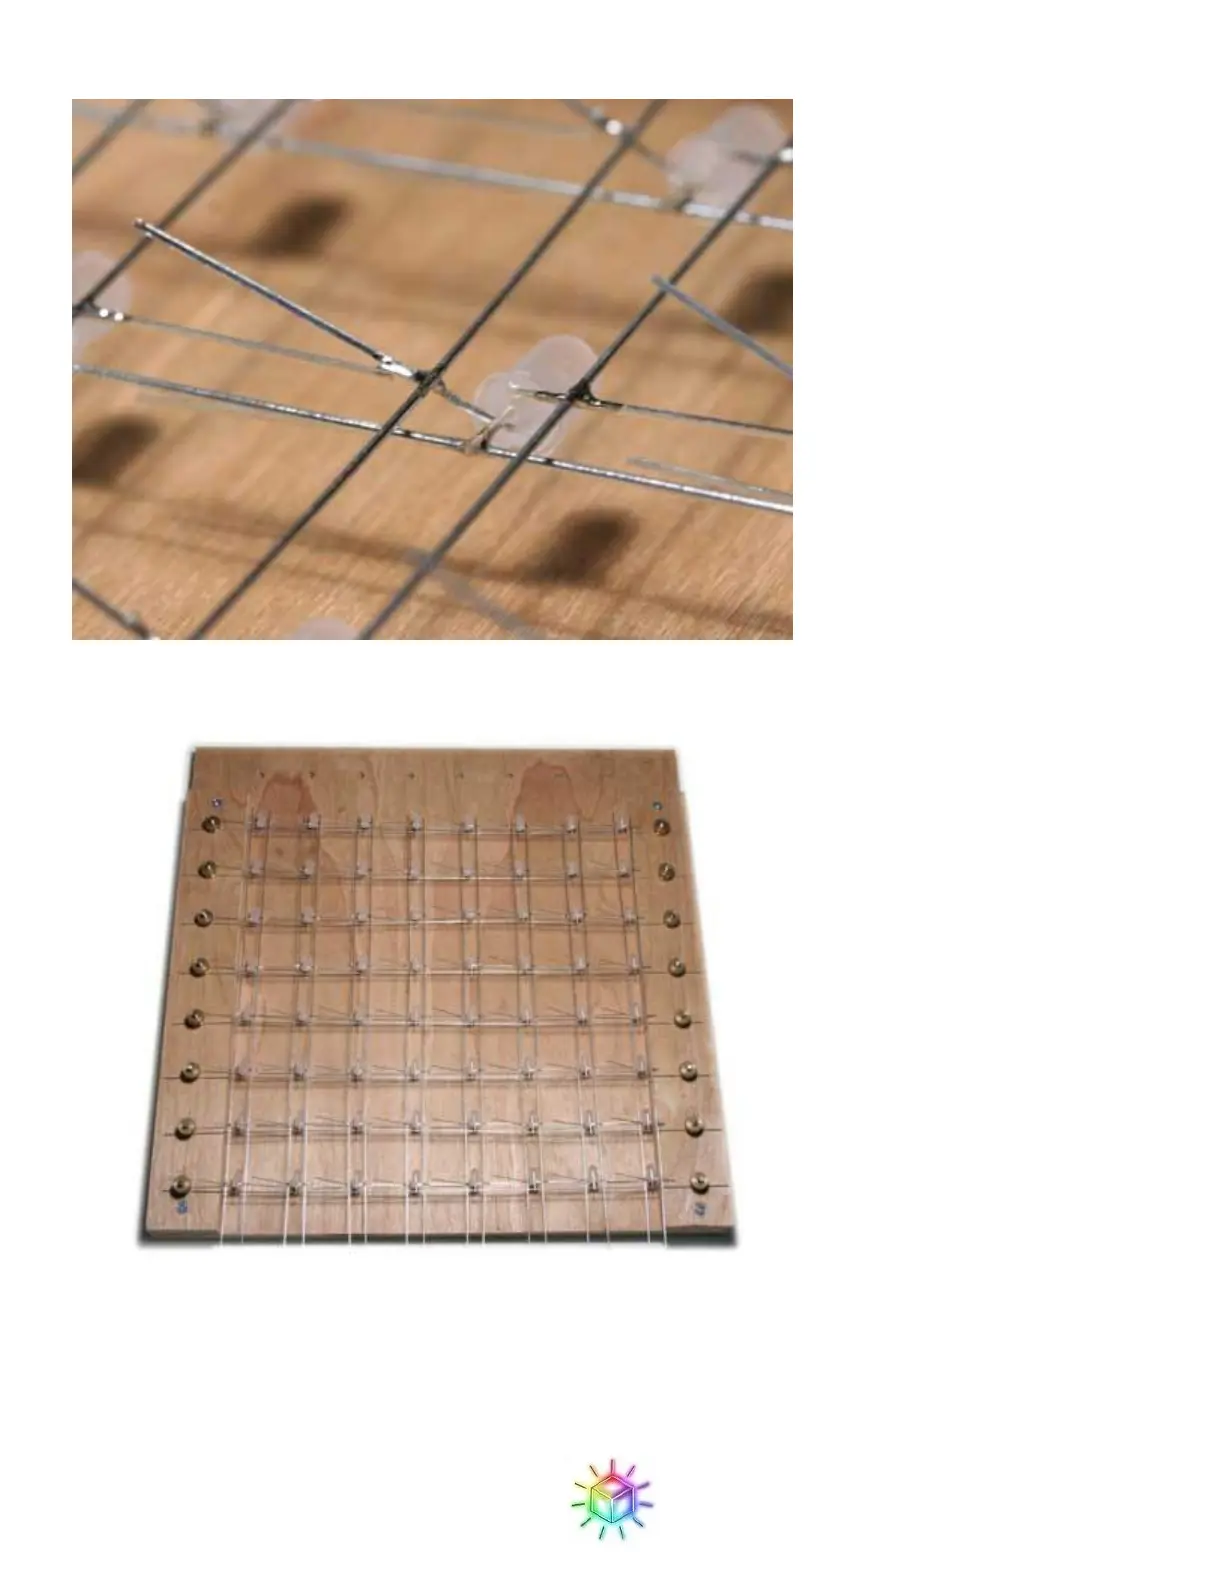
Figure 49: Another view of the blue drop wire.
Figure 50: Second set of drop wires in place.
Once the two sets of drop wires (16 wires in all) have been soldered in, the lattice is strong enough that you can
remove it from the jig to do the other side. The last set of wires will be easier than the first two, because you can
lay it flat and you no longer have to worry about keeping the LEDs carefully aligned. Just follow the same
techniques as above, and lay the wire down with the same spacing from the LED as before.