Hypnocube 4Cube Instructions v 6.5, December 2013
- 42 -
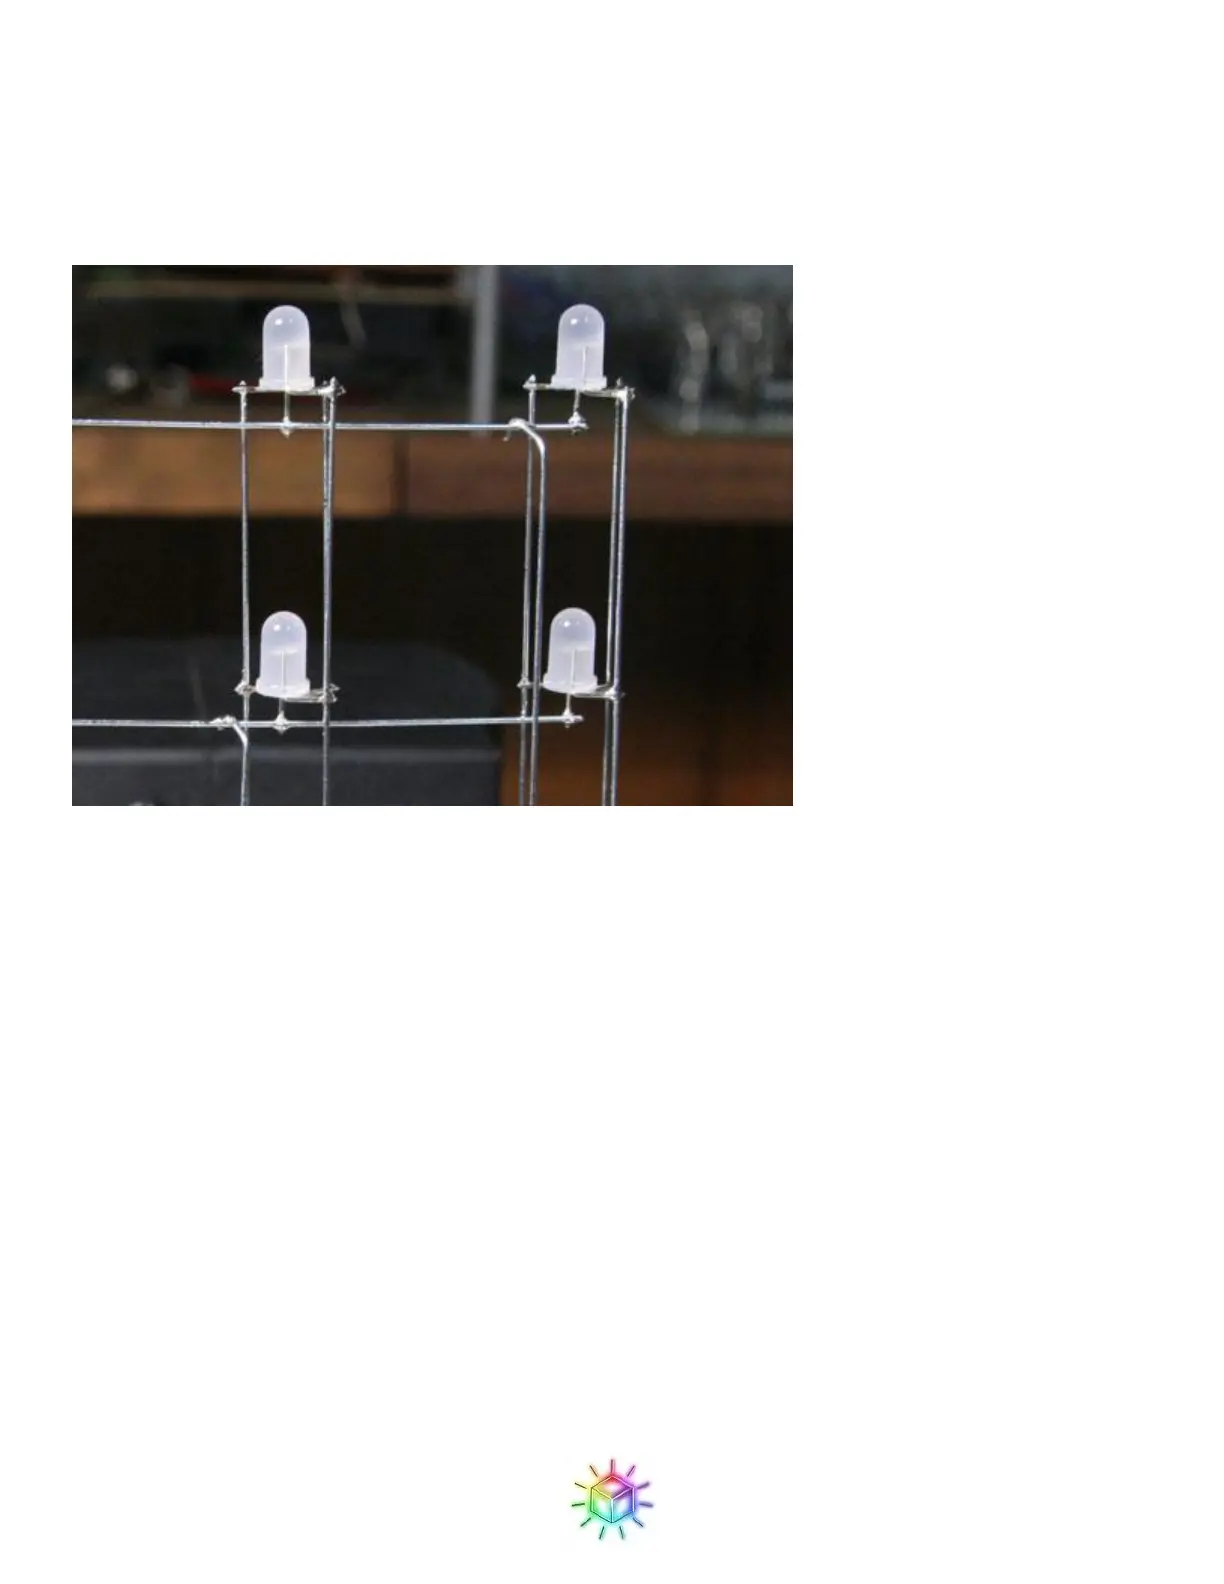
Make sure that there are no shorts and the drop wire only touches the PCB and cross wire from which it’s
hanging. You can then solder the tops of the wires at the hook. How carefully you align the drop wire when
soldering is a matter of personal preference and patience.
Figure 70: Ground drops soldered in place.
Once the tops of the drop wires are soldered, that will hold the wire in place and allow you to solder the bottom
of the wires to the PCB. You can then clip off the excess wire.
Congratulations! You have one plane made, and you can test some diagnostic stuff before adding more planes.
Testing the Plane:
Read the next couple paragraphs before turning on the power! First, double check the plane you just added to
make sure that everything looks good, that all drop wires are in the proper holes, and that none of the wires in
the grid are touching any other wires than what they are soldered to. You will then power the cube up and see
how the first grid functions. Plug the AC adapter in and throw the power switch. If after turning it on you do not
immediately see LEDs light, turn it off! There is something amiss with your power connections and supply. If
you have problems, see troubleshooting.
This is what you should see: first all LEDs will go white, and then red, then green, then blue, and then a single
white dot will scroll through the LEDs. It may take a moment for the scrolling LED to reach the plane you
inserted depending on which plane our code starts with. In the past we started with the front plane, causing a
delay, but more recently we’ve switched it to make the scrolling start on the back plane which is installed first.
If you think something may be wrong, take a look at
 Loading...