Hypnocube 4Cube Instructions v 6.5, December 2013
- 49 -
Appendices
Appendix 1: A cheap jig
I can’t recommend anyone use this jig since improvements have been made that make a nice jig much
more accessible to those without woodworking tools or skills. See Appendix 2 below for more details.
The cheap jig requires only cardboard, plus basic tools such as scissors and tape, and anybody should be able to
make it. It won’t be as easy to use as the nice jig, but you should still be able to get good results with care and
patience.
Cut a piece of cardboard (the heavier and stiffer the cardboard the better) approximately 12 inches (30 cm)
square. Cut a number of 1”x12” strips, and stack them on opposite sides to build up enough clearance for the
LEDs. Depending on the thickness of the cardboard it will probably take 1 – 3 pieces on each side. Glue, tape,
or otherwise secure the cardboard together, and mark off the spacing (every 1.25” or 3.17cm) for the LED
strips. You might note that it is impossible to reach the backside - that's OK, by the time we're finished with the
front the grid will be strong enough to hold itself together allowing you to remove it safely from the jig.
To hold each LED strip in place, use pieces of tape. Thumbtacks may also work if the cardboard provides
enough friction to keep them from popping loose.
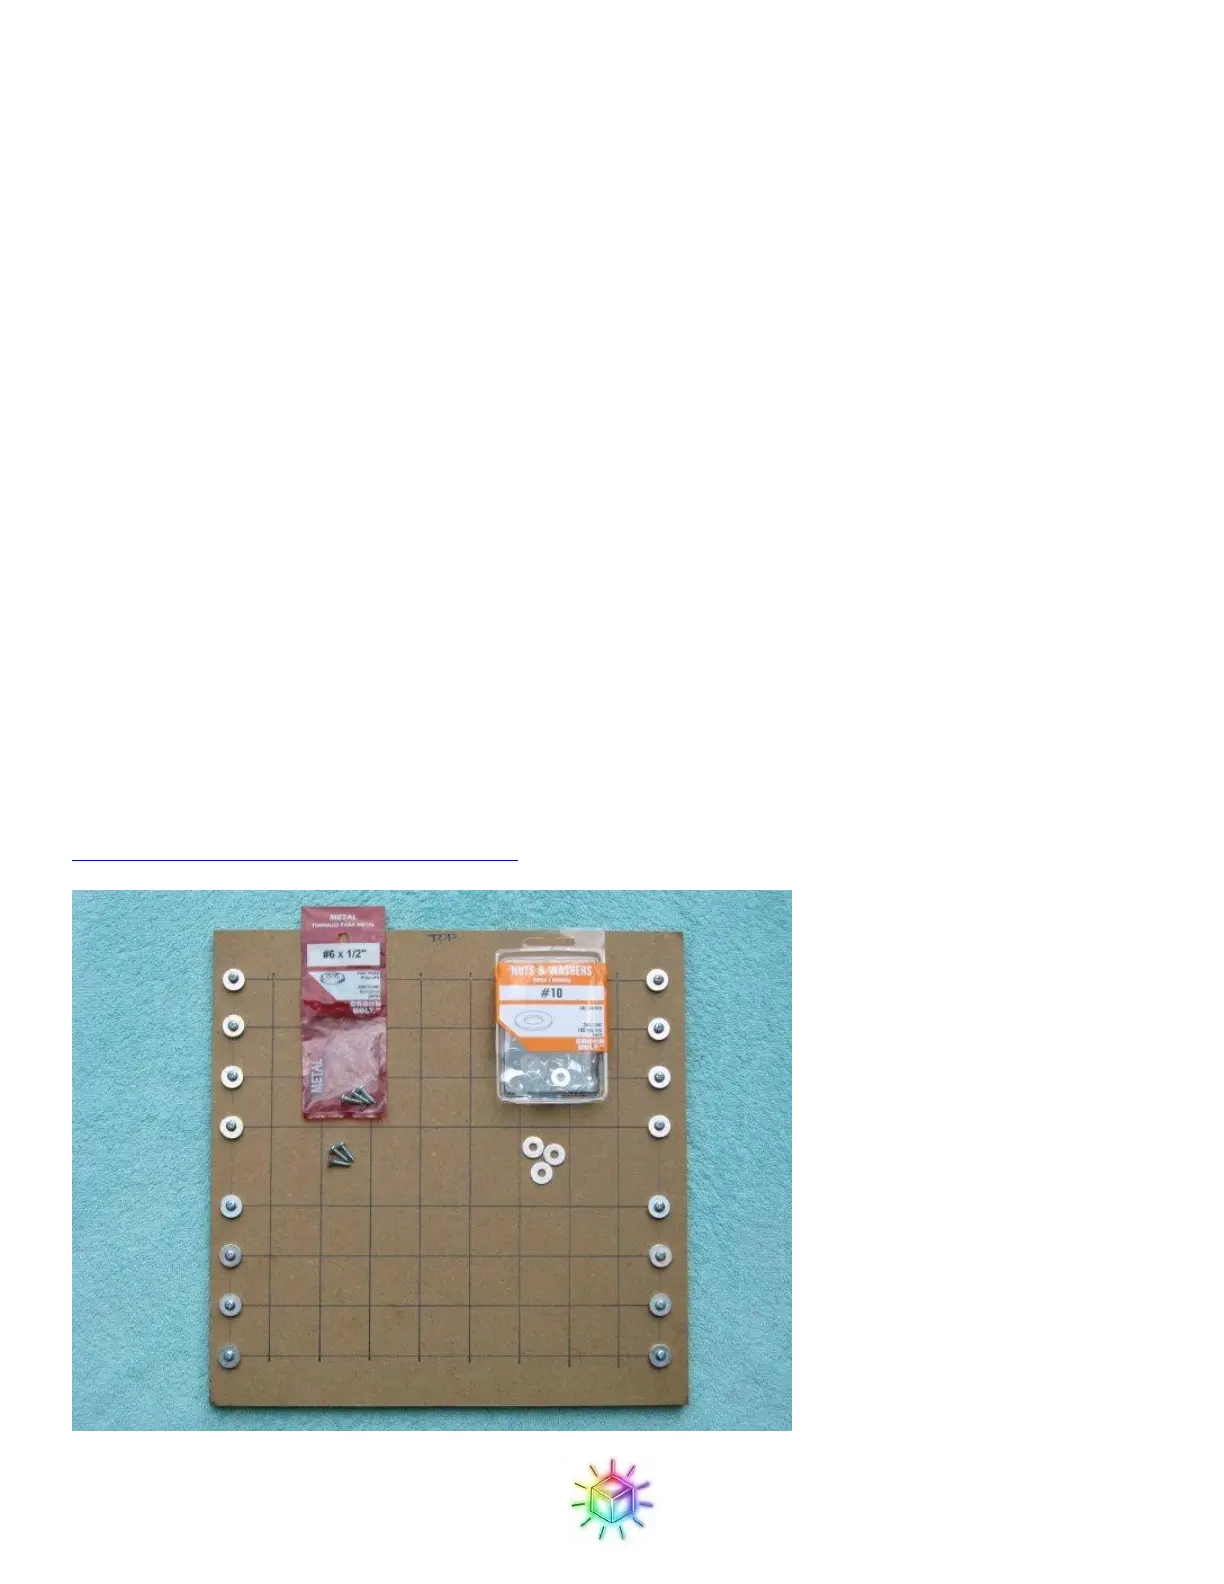
Appendix 2: A nice jig
One of our customers, Rob Sheldon, designed a much better jig. If you can handle a drill, you should
make this jig. You can download the excellent instructions Rob was kind enough to write up from
http://hypnocube.com/downloads/instructions/.
Figure 78: Rob's improved jig
 Loading...