Hypnocube 4Cube Instructions v 6.5, December 2013
- 50 -
The following wood jig is obsolete, though the canvas frame suggestion might still be useful for some.
Tip: One of our customers suggested using the frame from an art canvas. I haven’t tried it, but it looks like you
can get such canvases quite cheap (several dollars) and requires no carpentry tools or skills. Seems like an
excellent idea – thanks Mark J.!
The nice jig requires some wood, appropriate woodworking tools, and some basic woodworking knowledge.
Nothing fancy, but it’s not for everyone either.
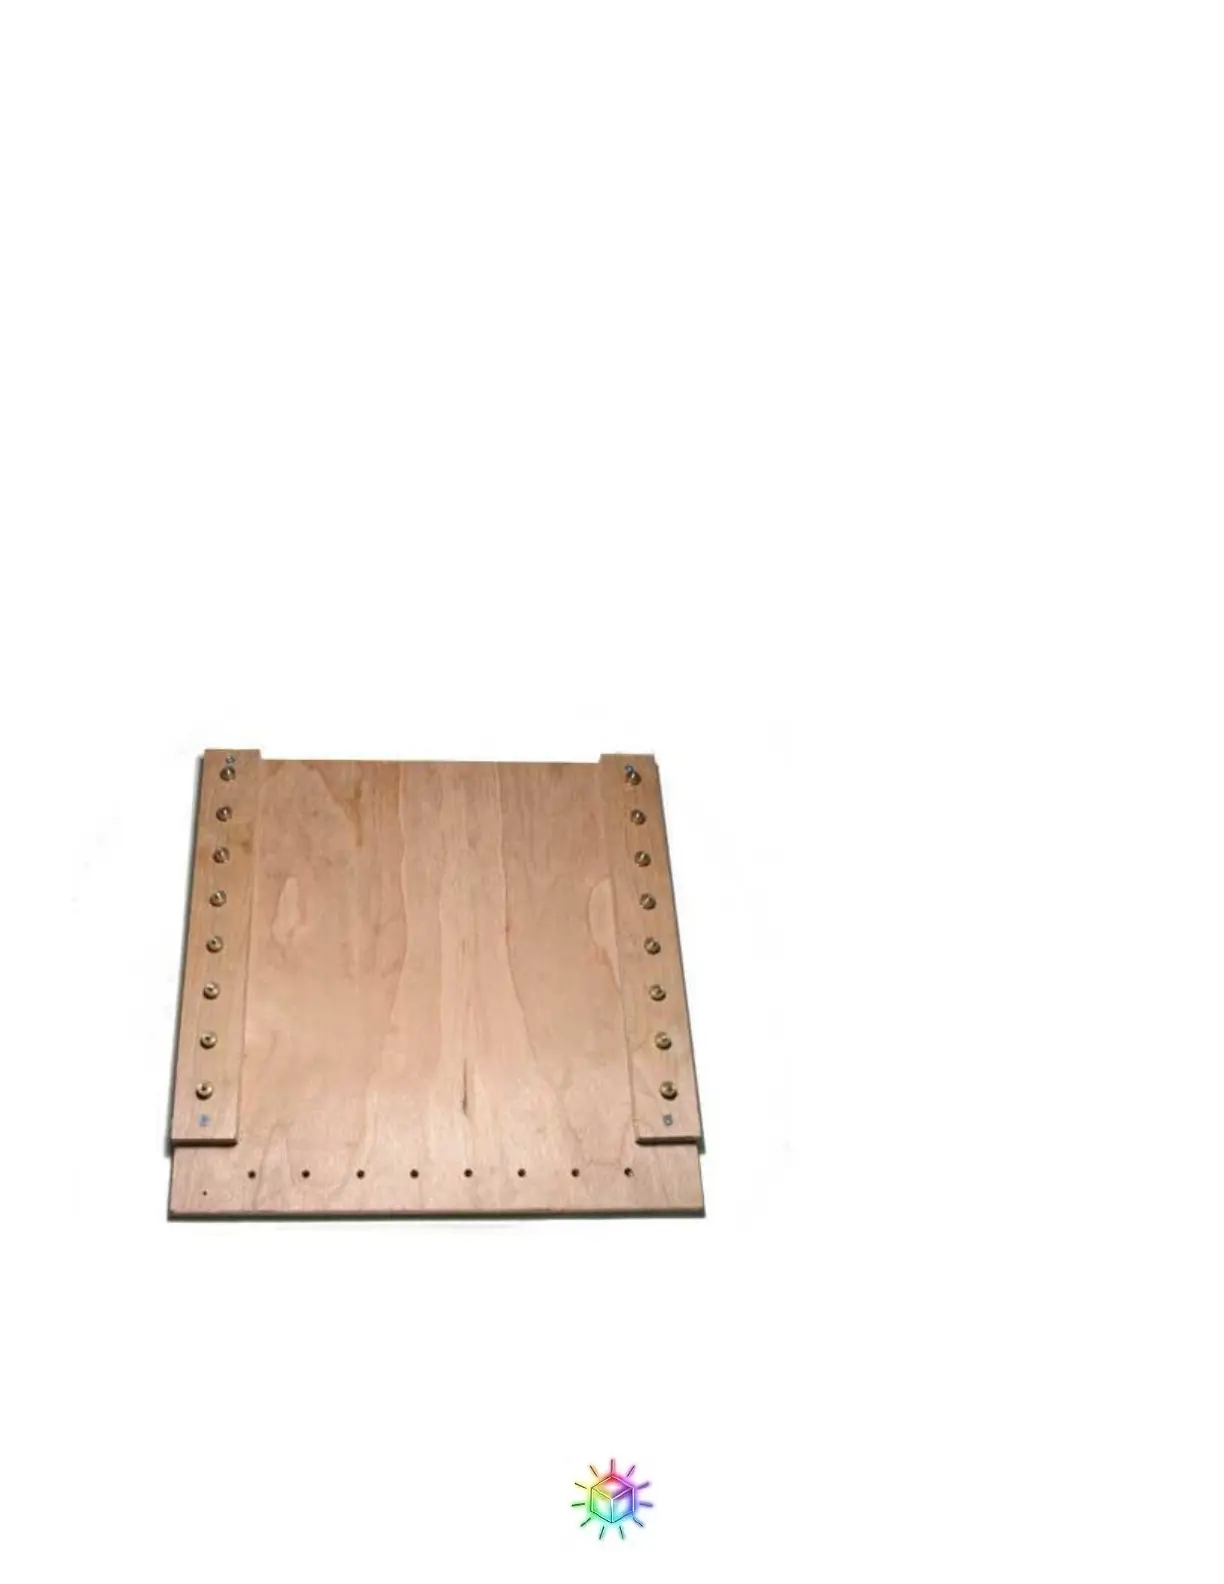
Take a board approximately 12 inches (30 cm) square, and attach two strips down either side as shown Figure
79. There will be no stress applied to the pieces except for the weight of the wood itself, so nails, screws, or
glue will work equally well. Each of the side pieces should be at least ¼ inch thick (or 1 cm – no, ¼ inches
doesn't equal 1 cm but who's counting) in order to give the LEDs ample clearance. You might note that it is
impossible to reach the backside - that's OK, by the time we're finished with the front the grid will be strong
enough to hold itself together allowing you to remove it safely from the jig.
To hold each LED strip, I have used a row of thumbscrews. This makes it really easy to use many times over,
but probably overkill for a single use jig. One customer used thumbtacks to hold the strips in place, and this
should work equally well (at least for the first one or two times.) Tape can also work, but probably will not hold
the strips as securely. Whatever method you use, the spacing should be 1.25” (3.17cm) between each strip.
Figure 79: Wooden jig. Spacing between the holes and between the thumbscrews is 1.25” (3.17cm)
 Loading...