Charging and battery installation
-6-
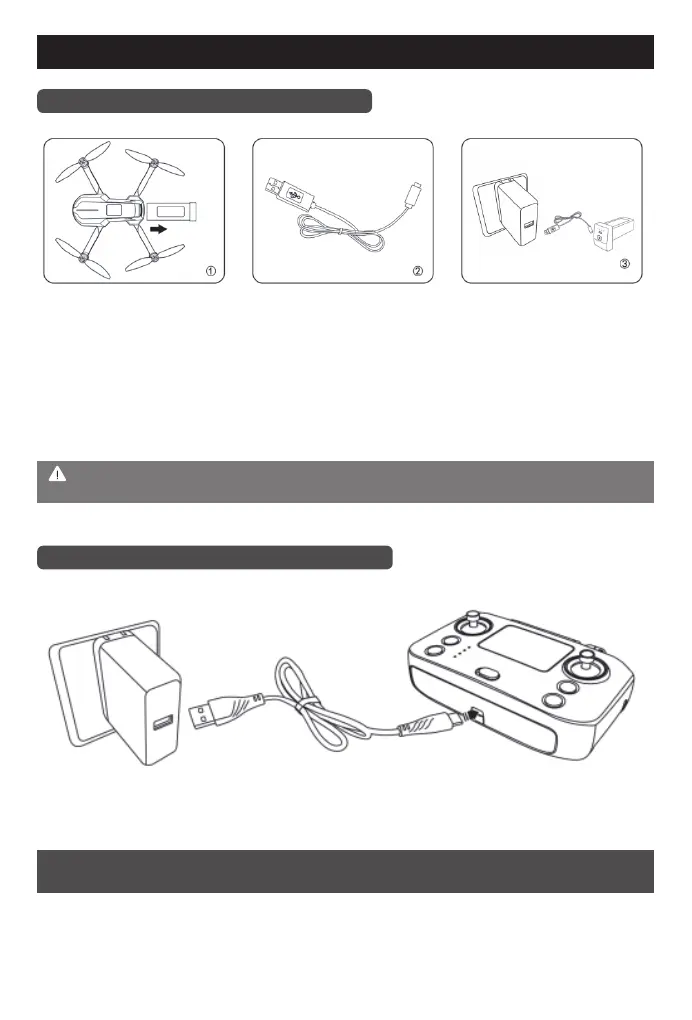
Introduction to the drone charging
Diagram of charging the remote control
As shown in the above figure, disconnect and connect interface A to the computer USB port,
interface B to the lithium battery. The blue light is always on. When fully charged the blue light is off.
Charging time is about 180 minutes.
Note: Please use the original charging cable to charge. Do not use broken or other brands of
charging cable to charge.
Note: The indicator light of the remote control is always on when charging and off
when full.
1. Press and hold the battery button and
pull it out backward, then you can
remove the battery from the drone.
(As shown in Figure 1)
2. Connect the special charging cable to
charge the battery.
(As shown in Figure 2)
3. Plug in the power adapter.
(As shown in Figure 3)
Interface A
Interface B
Built-in 3.7V lithium battery
 Loading...