EasyManua.ls Logo

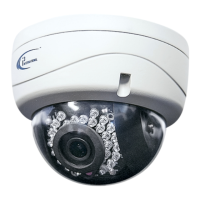
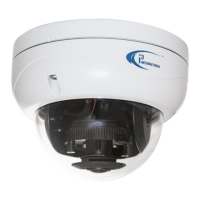
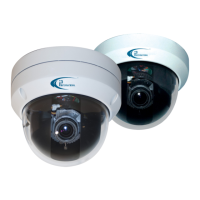
i3 International Ax46-series - User Manual

i3 International Ax46-series
37 pages
Print Icon
To Next Page IconTo Next Page
Loading...
Ax46/66-series
User Guide
Before attempting to connect or operate this product, read these instructions carefully.
Save this manual for future use.
CONTENTS
1. Warnings and operation notes.................................3
2. Unpacking..................................................................5
3. Installation................................................................6
4. Connecting to the SRX-Pro Server.........................10
5. Advanced Camera Setup.........................................18
6. Specifications..........................................................36
Question and Answer IconNeed help?

Do you have a question about the i3 International Ax46-series and is the answer not in the manual?

Summary

Warnings and Operation Notes

Precautions for Installation and Service

Installation and servicing must be performed by qualified technicians to maintain warranty and ensure compliance.

Essential Safety Warnings

Use certified power adapters and avoid exposing the camera to rain or moisture to prevent fire or shock.

Power Supply Guidelines

Power Supply Guidelines

Use correct 12VDC or PoE power supply; avoid connecting both simultaneously to prevent damage.

Servicing and Warranty Policy

Do not disassemble the camera; refer all servicing to qualified personnel to preserve product warranty.

Camera Installation Guide

Mounting and Network Access Overview

Mount the camera using appropriate brackets and access it via the local network after installation.

Mounting Location and Method Recommendations

Mounting Location and Method Recommendations

Ceiling mounting recommended for optimal view; wall mounting considerations discussed.

Camera Assembly and Viewing Angle Adjustment

Adjusting Camera Viewing Angle

Loosen tilt screws to adjust tilt (65 deg) and black liner for pan (360 deg) for optimal view.

Connecting to SRX-Pro Server

Network Connection Options Explained

Describes direct crossover connection and connection via Gigabit Switch for network setup.

Required Hardware and Software

Lists SRX-Pro Server, OS, CPU, Memory, IE version, and Power Supply requirements.

Internet Explorer Configuration for Video

Internet Explorer Configuration for Video

Steps to configure IE settings (cookies, security, ActiveX) for video stream display.

Assigning IP Address using Annexxus Finder

Assigning IP Address using Annexxus Finder

Instructions for using Annexxus Finder software to set the camera's IP address.

Annexxus Finder Interface and IP Management

Annexxus Finder Interface and IP Management

Details the Annexxus Finder window for IP address management and password entry.

Setting the Default Camera Password

Inputting the default camera password '1234' and saving changes within Annexxus Finder.

IP Address Assignment and Connection Testing

IP Address Assignment and Reboot Process

Camera reboots after IP change; test connection via Internet Explorer.

Accessing Camera via Internet Explorer Login

Launch IE, enter the new IP, and log in with default credentials to view the camera.

Camera Interface Display and SRX-Pro Integration

Adding IP Camera to SRX-Pro Server

Steps to add the IP camera to the SRX-Pro Server software after successful network connection.

SRX-Pro Server IP Camera Setup

SRX-Pro Server IP Camera Setup Navigation

Navigate to Setup -> IP Camera tab and initiate a search for connected cameras.

Selecting and Adding Found Cameras

Select found cameras from the search results and click 'Select' to add them to the list.

Finalizing Camera Addition in SRX-Pro

Finalizing Camera Addition in SRX-Pro

Enter user credentials and add the selected camera to the SRX-Pro video channel for recording.

Advanced Camera Setup Overview

Accessing Advanced Setup Interface

Navigate to Setup -> IP Camera tab and click the 'Advanced Setup' button.

Camera Login Credentials for Interface

Enter default User Name 'admin' and Password '1234' to access the camera's user interface.

Basic Setup Configuration Options

Detailed Camera and Network Settings

Video Setup Configuration

Email Alert and FTP Recording Settings

User Management and Access Control

Date;Time Sync, Firmware, and Reset Options

Exporting and Importing Camera Configuration

Product Specifications

i3 International Ax46-series Specifications

General IconGeneral
Brandi3 International
ModelAx46-series
CategorySecurity Camera
LanguageEnglish

Related product manuals