1. Be sure to calibrate the compass when you are flying for the first time or changing to a
new flight area ;
2. When calibrating, please make sure that the surrounding area is relatively empty, away
from strong magnetic environments, such as magnetic fields, high-voltage lines, parking
lots, building areas with steel bar strengthening, cars etc.
3. Do not carry magnets or metal objects with you when calibrating, such as keys, mobile
phones, etc.;
4. If there is a circle or hovering instability in the GPS hover mode during flight, please land
immediately and refer to the above requirements for the environment (points 1-3) &
calibrate compass.
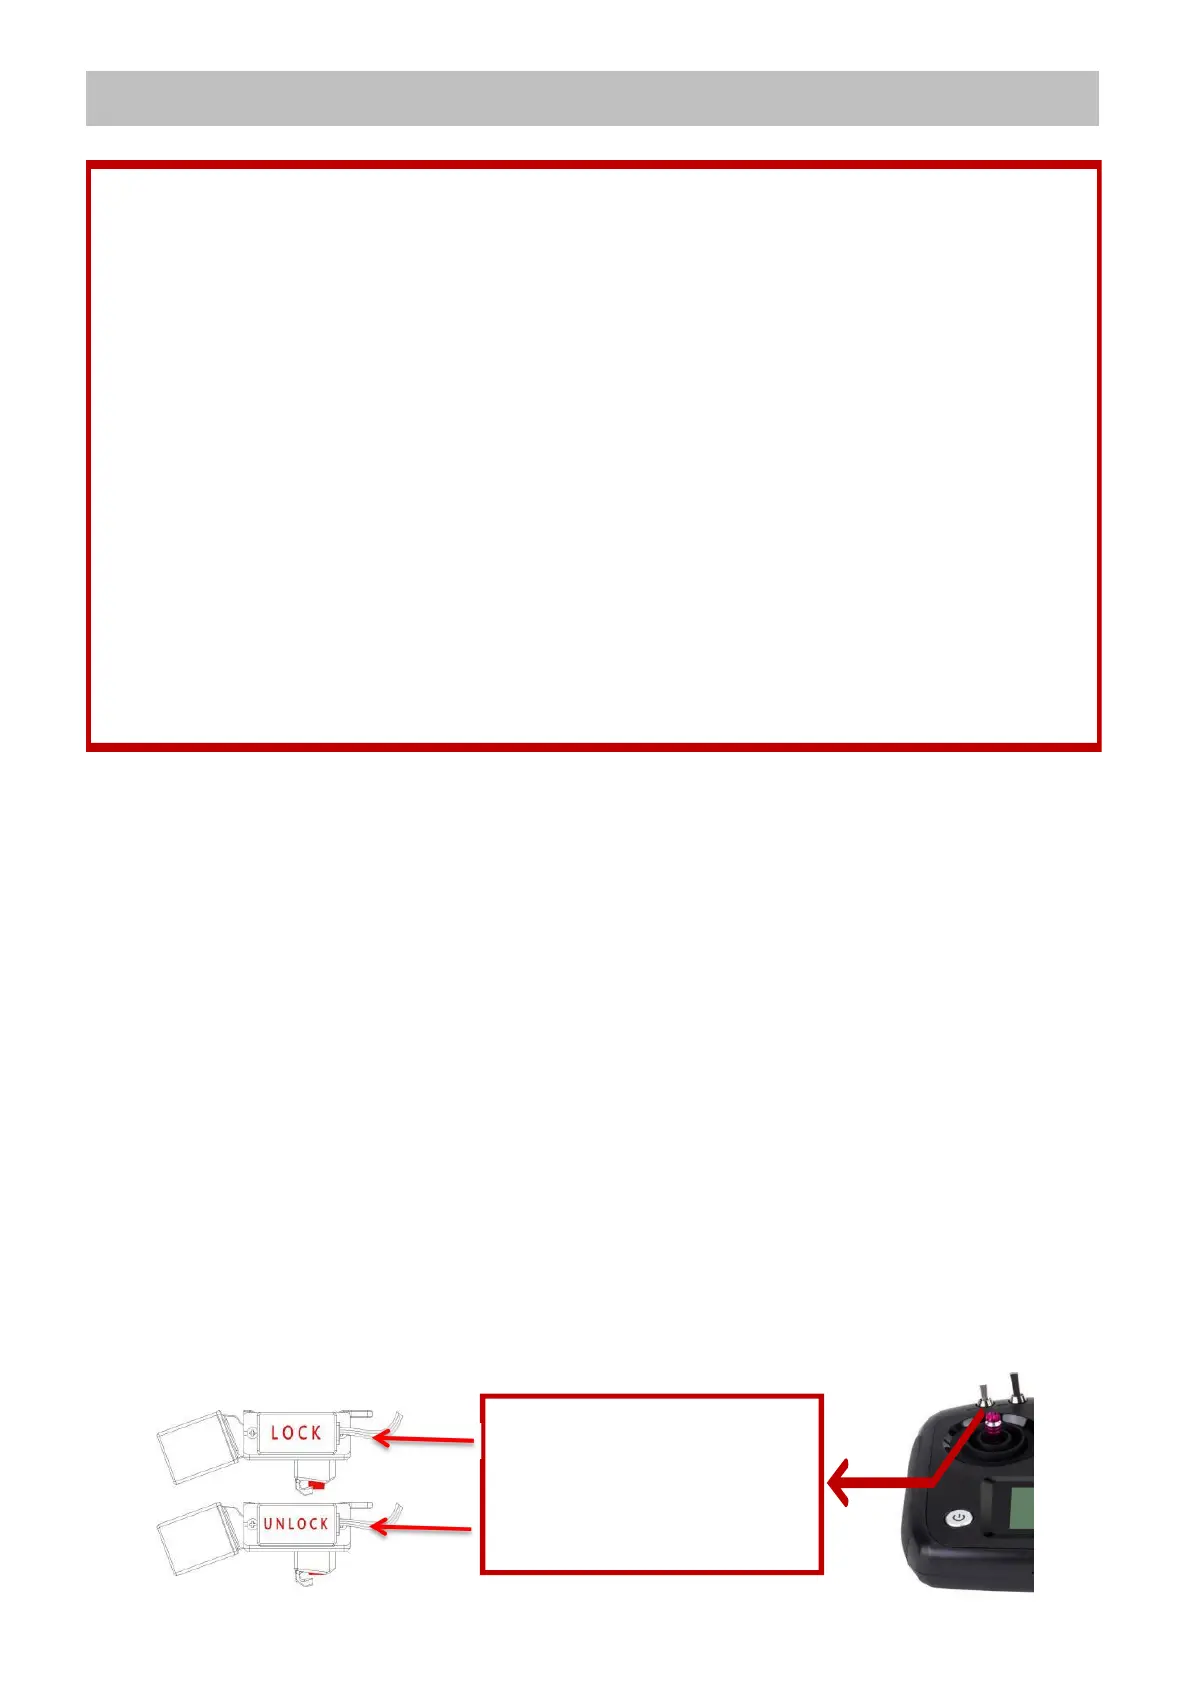
Switch UP : Bait Drop/ Lock
Switch DOWN: Bait Drop/Unlock
Initial Setup
First fit each of the two landing gear into the base of the Drone – one on each side of the drone. These should easily
slide into the metal supports.
Don’t worry about any slight movement as the legs will not come out.
1. Ensure the drone is placed on a flat surface & Install a fully charged battery into the drone, then make sure
that the battery cover is fully secured back down using the thumb screws.
Note: Once the Battery Cable is Plugged in - make sure that the Battery Cable is tucked securely behind the
battery to ensure it remains some distance away from the GPS Sensor on the LID, before attaching the LID.
2. Make sure all switches are in the UP position & turn on the Remote Control switch. Then power on the drone
using the large ON/OFF Switch on the Outside of the Drone. (IMPORTANT: Please DO NOT install
propellers until after the drone has been calibrated and everything is normal)
Note: Once the drone is powered on do not move it for 20 seconds to wait for the system to fully initialize.
3. Operate the switch to confirm that the bait drop is working properly.


 To Next Page
 Loading...