(C) IDM ENERGIESYSTEME GMBH
.
isassa
ble the i
u
Installation instructions iPump A 2-7, 3-11
30
When opening the fi ttings, please ensure
that no electrical cables are not beeing
damaged.
All hydraulic lines are insulated with Ar-
mafl ex. If it is necessary to remove the In-
sulation in case of disassabling the iPump,
the insulation must be restored correctly
after assembly.
disassemble the ipump
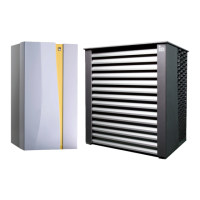
Außenlufteinheit
The hose clamp of the return line under the hot water
tank can be untighten with a screw driver and can
be pulled down. After this the return line can be dis-
connected from the hot water tank. The hose clamp
is under the Armafl ex insulation. To open the hose
clamp, the insulation must be pulled down.
The bolting of the common supply pipe for heating
and domestic hot water preparation can be loosened
with a pipe wrench. The bolting is located in the front
of the iPump, on the right side under the electrical
pan.
Under the bolting, the immersion heater is placed.
The fl ow pipe is insulated with Armafl ex. To reach the
bolting without diffi culty, the Armafl ex insulation must
be opened. The insulation must be restored correctly
after assembly.
Armafl ex insulation
hose clamp
return line
common supply pipe electrical heater
Armafl ex insulation