lose its charge over a period of time, even
if the tool is not used.
The lithium-ion battery is protected against
deep discharging by the “Electronic Cell
Protection (ECP)”. When the battery is
empty, the ma-chine is switched off by
means of a protective circuit: The inserted
tool no longer rotates.
WARNING! Do not continue
to press the On/Off switch after the
machine has been automatically
switched off. The battery can be
damaged.
WARNING! Recharge the
battery on a non-ammable surface.
Do not recharge the battery for more
than eight hours. The red diode will turn
green when the battery has been fully
loaded.
Disconnect the cable and store the
transformer in a suitable place when it is
not in use.
It is not advisable to recharge the battery
in temperatures below freezing.
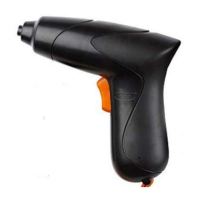
When removing the battery from the
machine, actuate the On/Off switch
(6) until the battery is completely
discharged. Unscrew the screws in
the casing and take off the casing shell.
Disconnect the connections on the battery
and remove the battery (see gure B).
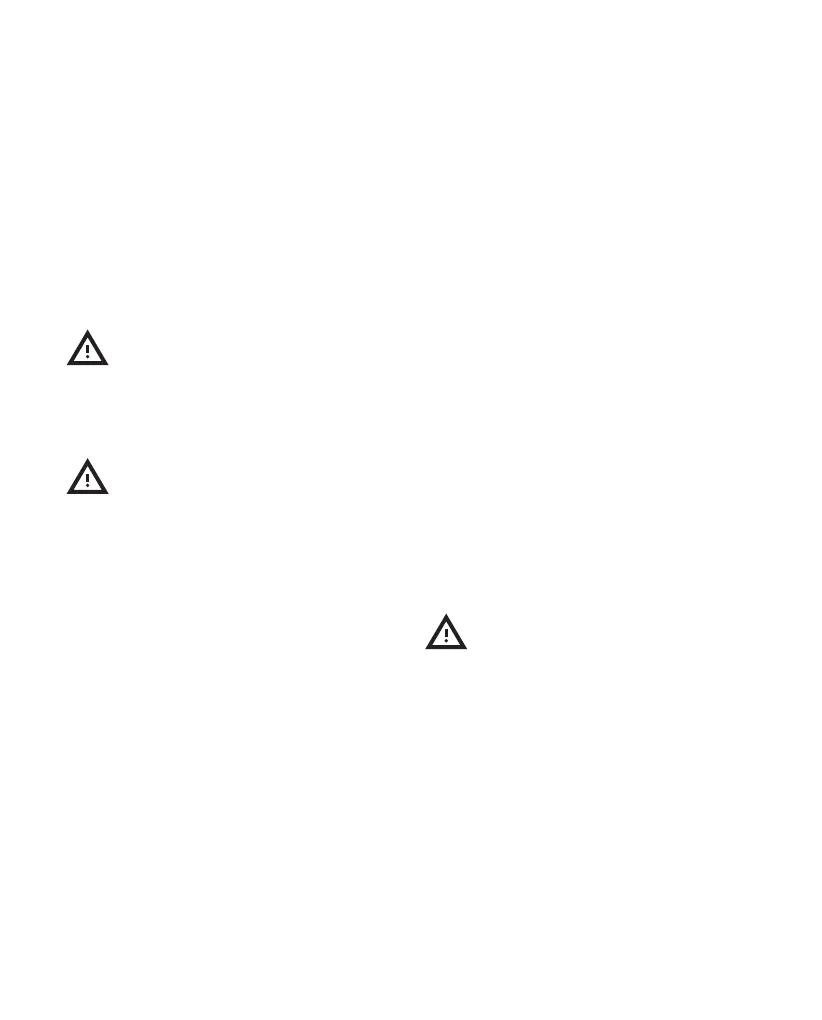
INSTRUCTIONS FOR USE
Changing the tool
The SDS plus tool holder allows for simple
and convenient changing of drilling tools
without the use of additional tools. Due
to their working principle, SDS plus
drilling tools move freely. This results in
radial runout at no-load. However, this
has no effect on the accuracy of the drill
hole, as the drill bit centres itself during
drilling. The SDS tool holder can also
accommodate different drill-bit types with
hexagon shank. The dust protection cap
(2) largely prevents the entry of drilling
dust into the tool holder during operation.
When inserting the tool, take care that the
dust protection cap (2) is not damaged.
Inserting SDS plus Drilling Tools (see
gure A)
Clean and lightly grease the shank end of
the tool.
Insert the tool in a twisting manner into
the tool holder until it latches itself.
Check the latching by pulling the tool.
Removing SDS plus Drilling Tools (See
gure A)
WARNING! Accessories may be
hot after use. Avoid contact with skin
and use proper protective gloves or cloth
to remove.
Push back the locking sleeve (3) and
remove the tool. All accessories should be
wiped clean after removing.
Dust/Chip Extraction
Dusts from materials such as lead-
containing coatings, some wood types,
minerals and metal can be harmful to
one’s health. Touch ing or breathing-in the
dusts can cause aller gic reactions and/or
lead to respiratory infec tions of the user
or bystanders.
10