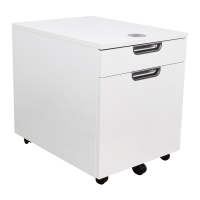
Do you have a question about the IKEA GALANT DRAWER UNIT/CASTERS 18X25" and is the answer not in the manual?
Identification of various screws, dowels, and cam locks used in assembly.
Securing side panels using specific screws and connectors.
Attaching drawer runners to the main cabinet panels.
Connecting the two main side assemblies using provided hardware.
Fastening the back panel using wooden dowels and screws.
Mounting the caster wheels to the cabinet base.
Attaching the back panel to the cabinet sides.
Fastening the top panel to the cabinet structure.
Installing the support brackets for the drawers.
Attaching the base support plates to the cabinet bottom.
Fastening the top surface using dowels and screws.
Attaching the inner components of the drawer slides.
| Brand | IKEA |
|---|---|
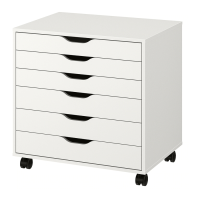
| Model | GALANT DRAWER UNIT/CASTERS 18X25" |
| Category | Indoor Furnishing |
| Language | English |