Do you have a question about the IKEA GODMORGON WALL CABINET W2DRS 24X38" and is the answer not in the manual?
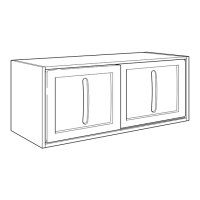
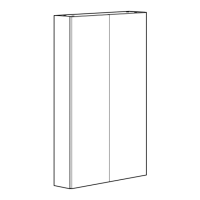
| Product Name | GODMORGON |
|---|---|
| Type | Wall Cabinet |
| Width | 24 inches |
| Height | 38 inches |
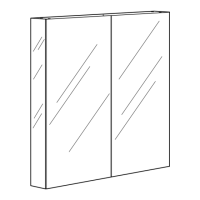
| Number of doors | 2 |
| Brand | IKEA |
| Category | Indoor Furnishing |
Emphasizes assembly by a qualified person to prevent injury or damage from toppling.
Notes that wall mounting screws are not included and advises consulting a specialized dealer.
Illustrates incorrect assembly steps, highlighting what not to do during the process.
Shows seeking assistance from IKEA for assembly problems.
Step 1 shows attaching mounting brackets to base panels using specific hardware.
Step 3 illustrates the installation of hinges onto the base components.
Step 4 details the attachment of side panels to the base structure.
Step 5 shows how to attach the bottom panel to the frame.
Step 6 demonstrates the process of fitting the back panel into the cabinet frame.
Step 7 shows how to secure the top panel to the assembled frame.
Step 8 illustrates the final attachment of the back panel using specific fasteners.
Step 9 details how to attach the cabinet to the wall using provided hardware.
Step 10 shows the installation of the door handles.
Step 11 shows the attachment of wall mounting brackets to the cabinet.
Illustrates drilling holes with a specified bit size for mounting.
Shows the correct insertion of specific screws into pre-drilled holes.
Step 12 details attaching hinges to the base or shelves using specific hardware.
Step 13 shows how to attach the doors to the already mounted hinges.
Step 14 illustrates the process of inserting the shelves into the cabinet.
Step 15 shows the attachment of the remaining back panel sections.
Provides instructions on how to adjust the cabinet doors for proper alignment.