Do you have a question about the IKEA GODMORGON Cabinet and is the answer not in the manual?
Furniture must be fixed to the wall with enclosed fasteners for safety.
If wall cannot support heavy weights, fitting legs is recommended.
Illustration shows necessary tools for assembling the furniture.
Visual guide to all hardware and components with part numbers and quantities.
Details various screws, fittings, and connectors used in assembly.
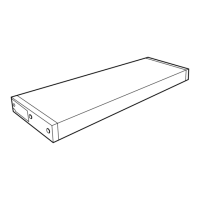
Illustrates different types of mounting rails with their respective part numbers.
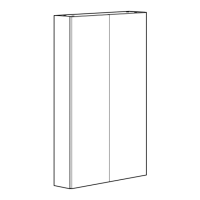
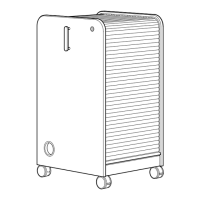
Shows the beginning of the cabinet assembly process.
Illustration shows incorrect way to handle or assemble the cabinet.
Instruction for attaching wall mounting brackets using specific screws.
Instruction for securing parts using screws and fasteners.
Connecting vertical panels using dowels.
Fastening panels together using cam lock fasteners.
Connecting horizontal panels to the assembled frame.
Completing the cabinet frame structure with fasteners.
Advice on fitting legs if the wall cannot support the cabinet's weight.
Visual guide on how to attach the legs to the main cabinet body.
Specifies maximum and minimum height for wall mounting the cabinet.
Attaching the main wall rail at specified height range.
Securing a support bracket to the wall as part of the mounting process.
Illustration showing how to insert screws into the wall for secure mounting.
Connecting the cabinet to the pre-mounted wall rail using brackets.
Securing the cabinet at multiple points on the rear horizontal rail for added stability.
Illustration demonstrating the use of a drill for creating holes for wall mounting.
Initial assembly of drawer runners or related parts.
Attaching horizontal panels to the drawer runner system.
Securing large panels to the drawer structure.
Fitting side panels or drawer elements into place.
Fastening the drawer panels using screws.
Securing end caps or supports to the drawer frame.
Attaching corner brackets for structural integrity.
Installing cam lock fittings for drawer assembly.
Attaching the final panel using dowels and a hammer.
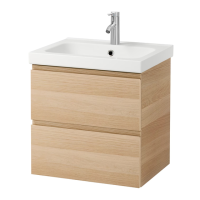
Placing the assembled drawer unit onto its base.
Securing the drawer unit to the base with screws.
Mounting drawer slides onto the sides of the drawer unit.
Sliding the assembled drawer into the main cabinet body.
Connecting the drawer front panels using specific fittings.
Fastening the drawer front panels with screws.
Attaching drawer slide mechanisms to the inner sides of the cabinet.
Connecting the drawer box components.
Sliding the drawer into the cabinet and securing it.
Adding decorative caps to cover visible fittings.
Illustrations showing how to adjust the height and alignment of the drawers.
| Mounting | Wall-mounted |
|---|---|
| Assembly Required | Yes |
| Material | Particleboard, Foil |
| Color | White |
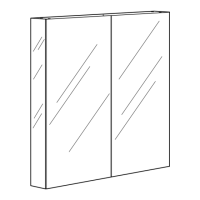
| Features | Adjustable shelves |
| Care instructions | Wipe clean with a damp cloth |
| Width | 60 cm |