Do you have a question about the IKEA GREVBACK TV UNIT 35 7/8X18 1/2" and is the answer not in the manual?
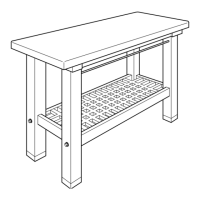
Attaching base components using specific hardware pieces for initial frame setup.
Connecting side panels and support beams using cam lock fasteners (112614).
Attaching drawer slide rails to the frame using dowels (101345) and screws (100365).
Securing the main side panels to the base structure with cam lock fasteners (4x).
Installing vertical support pieces onto the main frame side panels.
Attaching horizontal support beams to the upper section of the frame.
Adding horizontal support pieces to the top section using wooden dowels (101345).
Installing the main top panel onto the assembled frame using cam lock fasteners (113434).
Securing top panel fasteners (112996) and attaching a side panel.
Finalizing side panel attachments (113434) and placing the top surface.
Securing the back panel with nails (400020) and attaching the unit's feet (107849).
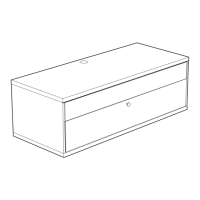
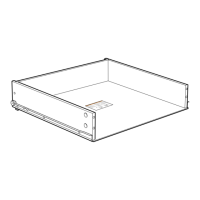
Preparing drawer sides with dowels (101345) and assembling drawer runners (100365).
Assembling the drawer box structure with screws (110519) and inserting the bottom panel.
Securing the top part of the drawer box with fasteners (112996).
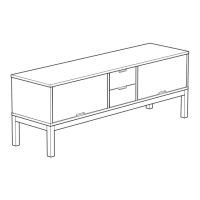
Inserting the completed drawer into the main unit.
Securing drawer sides (110630) and attaching handle mounting points (110678).
Attaching the drawer front and handle, then performing final drawer insertion.
| Brand | IKEA |
|---|---|
| Model | GREVBACK TV UNIT 35 7/8X18 1/2" |
| Category | Indoor Furnishing |
| Language | English |