Do you have a question about the IKEA PS 2012 and is the answer not in the manual?
Secure the main metal bracket to the base structure using specified hardware.
Attach additional support brackets to the base assembly with screws.
Join frame components together using clips for structural integrity.
Fasten the assembled frame to the base using screws.
Install the central support element onto the main assembly.
Fasten U-shaped metal pieces to the base structure.
Insert screws into designated base points for stability.
Complete screw attachments on the base for structural integrity.
Secure a U-shaped bracket to the main assembly using screws.
Insert screws into the base where the legs will attach.
Construct the table legs by joining components and inserting a threaded rod.
Connect the assembled legs to the main table structure.
Tighten fasteners to ensure the legs are firmly attached.
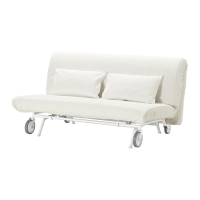
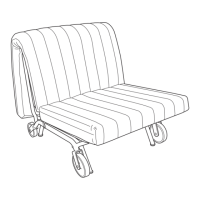
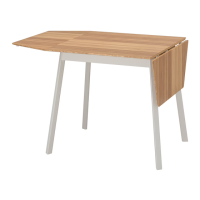
Instructions on how to extend or fold the table surface for different uses.
| Product Name | IKEA PS 2012 |
|---|---|
| Category | Indoor Furnishing |
| Type | Pendant Lamp |
| Designer | Henrik Preutz |
| Color | White |
| Height | 35 cm |
| Material | Polypropylene plastic |