Do you have a question about the IKEA SMAGORA and is the answer not in the manual?
Attaching dowels and cam bolts to the base panels for further assembly.
Securing side support pieces to the base panels using dowels.
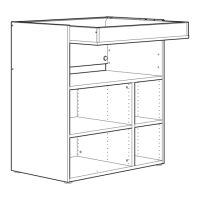
Joining shelf panels using dowels and cam bolts.
Fastening support elements to the panels using cam bolts and dowels.
Securing internal support pieces to the main structure using cam bolts.
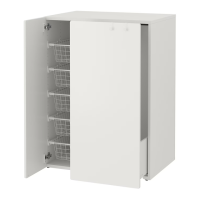
Mounting brackets for shelves onto the side panels using cam locks.
Inserting dowels into shelf components before attachment.
Connecting the vertical side panels to the base and top sections.
Fastening the side panels securely using cam locks and dowels.
Sliding the first part of the back panel into the groove.
Placing the second part of the back panel into the groove.
Locking the back panel in place using cam locks.
Attaching rollers or feet to the base of the unit using cam locks.
Fastening the wall bracket to the top rear of the furniture unit.
Marking the wall through the bracket holes for drilling.
Drilling pilot holes in the wall at the marked locations.
Inserting wall anchors into the drilled holes for secure mounting.
Attaching internal components, possibly shelf supports, using specific fasteners.
Fastening shelf support pegs to the side panels.
Placing the shelves onto the installed support pegs.
Securing additional components to the top of the unit.
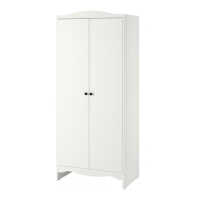
Mounting hinge components onto the wardrobe doors.
Attaching the prepared doors to the main wardrobe structure.
Adjusting the doors for proper alignment and closing.
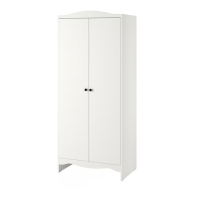
Assembling the hinge mechanisms for door attachment.
Mounting the assembled doors onto the main cabinet body.
Fixing the handles to the wardrobe doors using screws.
Securing any remaining components or fasteners.
| Brand | IKEA |
|---|---|
| Model | SMAGORA |
| Category | Indoor Furnishing |
| Language | English |