Do you have a question about the IKEA UPPFORA and is the answer not in the manual?
Essential safety guidelines to prevent furniture tip-over and associated injuries.
Identify all components and hardware required for assembly.
Assemble the base structure of the furniture unit.
Connect the side panels to the base frame.
Attach horizontal support panels to the structure.
Install the top and back panels of the unit.
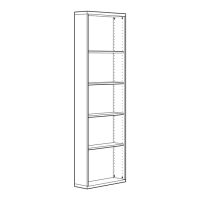
Assemble the primary structural components of the unit.
Prepare the unit and wall for secure anchoring.
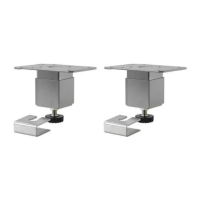
Attach the base components or feet to the unit.
Securely attach the furniture unit to the wall.
Make final adjustments and perform checks on the assembly.
Fasten remaining components on the top of the unit.
Ensure wall mounting hardware is securely fastened.
Perform a final check on the structural integrity of the unit.
Drill holes and insert wall anchors for secure mounting.
Complete the final attachment of the unit to the wall.
Perform final fastening and complete the assembly.
| Brand | IKEA |
|---|---|
| Model | UPPFORA |
| Category | Indoor Furnishing |
| Language | English |