Appendix C: Teklogix Imagers Applet
Selecting A Camera
Ikôn Rugged PDA (Windows Mobile 6.1) User Manual C-5
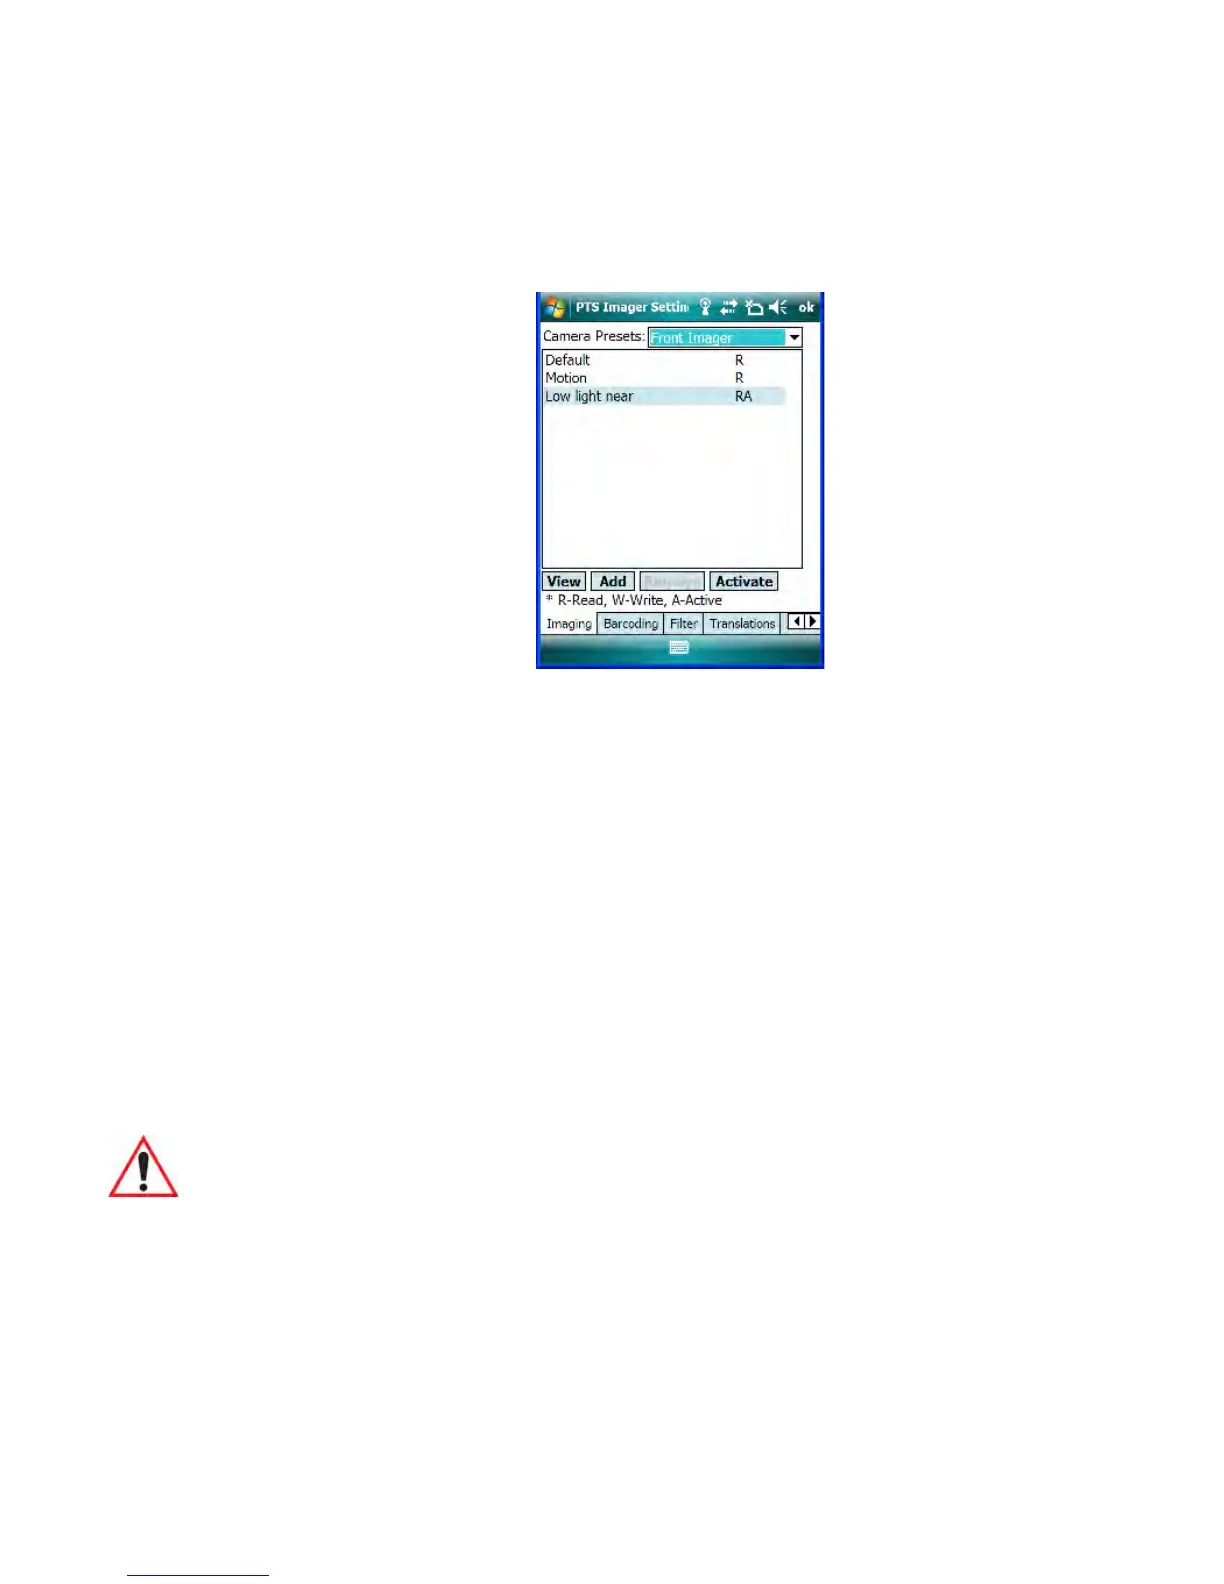
The following screen is displayed:
Figure C.1 Imaging Tab
This window lists all the presets, both predefined and custom. Presets are identified
as follows:
• Predefined presets are marked as read-only.
• Custom presets are marked as read and write.
• One preset – either predefined or custom – is marked as active.
C.3.2 Selecting A Camera
If your Ikôn has more than one built-in camera, one camera must be selected for configura-
tion. To select a camera:
• Tap on the Camera Presets dropdown menu to view the camera options.
• Choose a camera – either Front Imager, the imager located at the top of the unit, or
Bottom Colour Camera, the camera located at back of the Ikôn.
C.3.3 Setting The Active Preset
An active preset has an A to the right; in Figure C.1 on page C-5, the active preset is Low
light near. To set an active preset:
• Highlight the preset, and tap on the Activate button.
Important: Currently, only the ‘Front Imager’ can be used to read bar codes. The
‘Bottom Colour Camera’ is limited to taking photos.
 Loading...