Do you have a question about the illy IPEREXPRESSO X9 and is the answer not in the manual?
Carefully read the instruction manual and warranty limitations. The machine must be connected to a grounded power outlet.
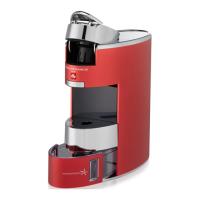
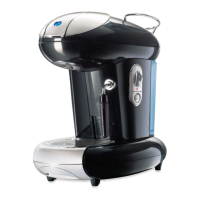
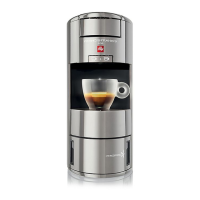
Machine material: Aluminium, Heat exchange material: Stainless steel, Water tank: 0.7 liters/23.7 oz.
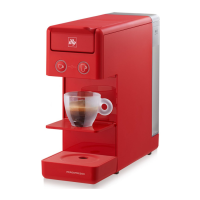
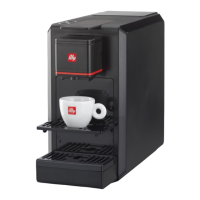
Diagram showing components like capsule compartment, drip tray, water tank, control keypad, and power button.
When using electrical appliances always follow the safety precautions below. Using the espresso machine: Read all Instructions.
Read the instructions carefully. Do not install the machine in an area where the temperature may reach 0°C/32°F or lower.
Unplug the machine before cleaning. Wait until the machine is cool before cleaning.
A short power-supply cord is to be provided to reduce risks resulting from becoming entangled in or tripping over a longer cord.
Remove water tank, wash and rinse thoroughly. Fill with fresh drinking water up to the MAX level.
Use only Iperespresso capsules for domestic use. Check the water level using the special windows.
To enjoy a high quality espresso, remember to: Change the water in the tank daily.
Insert the capsule. Lock into place by lowering the lever. Press and hold the or button during the whole brewing process.
Turn off the machine and unplug it. Remove and wash the water tank. Lift and remove the cup holder surface and wash it.
Read all instructions carefully before performing the descaling cycle. Duration: about 10 minutes.
Warning: If the descaling is not performed the limescale can cause malfunctions not covered by the warranty.
The buttons blink: The machine has been turned on and is in warm-up phase. The buttons are steady on: The machine has reached the right temperature for brewing.
Problem: The machine does not turn on. Cause: The power supply cord is not plugged in to the power socket.
Disposal of end-of-life electric and electronic equipment by private households in the European Union. The WEEE symbol used on this product means that it must not be disposed of together with other domestic waste.
| Brand | illy |
|---|---|
| Model | IPEREXPRESSO X9 |
| Category | Coffee Maker |
| Language | English |