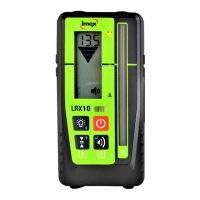
Imex LRX10 Instruction Manual
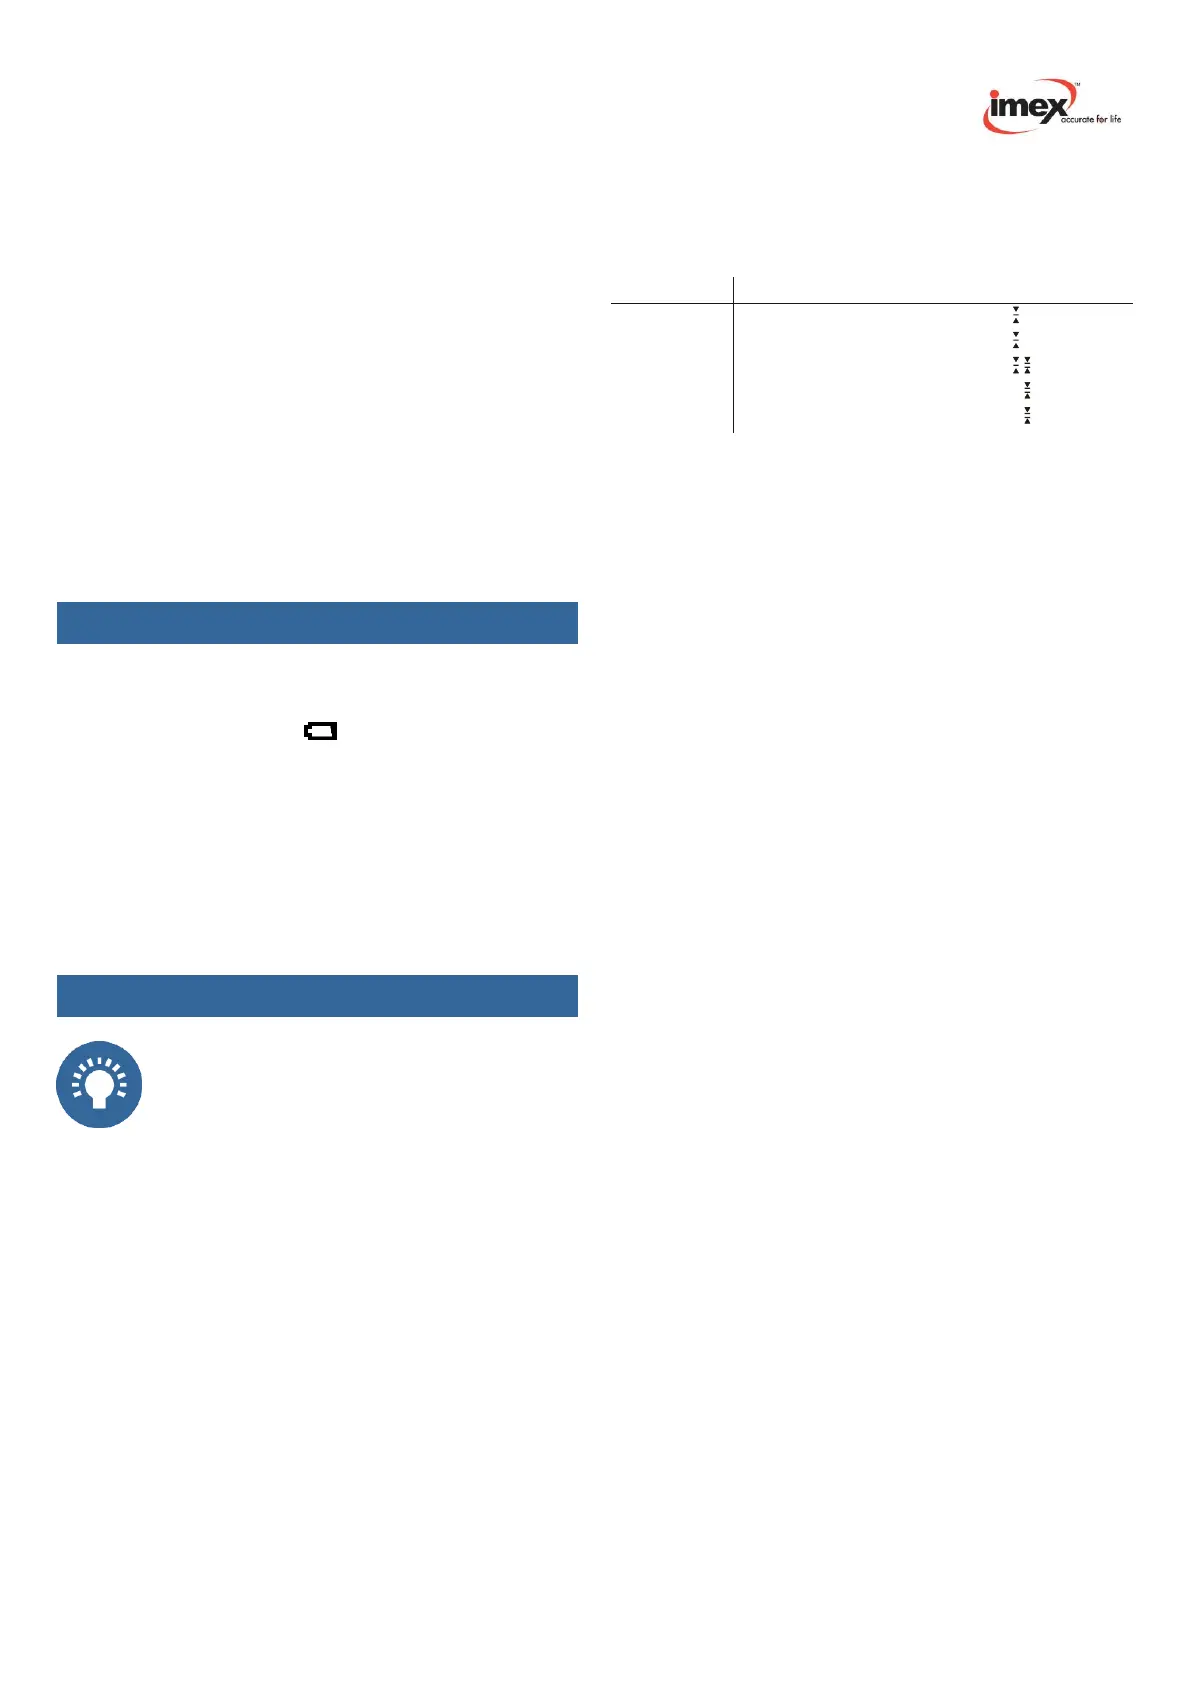
Grade indication arrows
Four individual levels of grade information for above
and below grade. Arrow size increases, as distance
from on-grade increases. Arrow bars represent steps of
the selected deadband. Horizontal bar indicates on-
Subsequent presses will cycle through five
accuracy options Ultra fine / Fine / Medium / Coarse
/ Ultra coarse.
mm cm inch Fract.I Display
grade.
Out-of-beam display: A sequence of arrows indicates if
the receiver has moved beyond the vertical reception
Ultra fine
Fine
Medium
Coarse
0.5
1.0
2.0
5.0
0.05
0.1
0.2
0.5
0.02
0.05
0.1
0.2
-
1/8
1/4
1/2
flashing
non-flash.
non-flash.
non-flash.
range and will indicate in which direction to move to get
back to the laser beam.
Ultra coarse 10.0 1.0 0.5
-
flashing
Battery (Fig. A/D)
Inserting / changing the battery
•
Change the battery if is displayed .
•
Open the battery compartment by unlatching the
battery door [12].
•
Remove the battery and insert a new one
(observe correct polarity!).
•
Dispose of the used battery (see chapter on
environmental protection).
Operation
NOTE: Make sure that the device is in
vertical position and that the laser-
sensitive area [5] is not partially covered
during measurement. This can entail
false measuring results.
Switching the device on / off
•
Press the On / Off button [15]
Adjusting the volume
•
Pressing the beeper volume button [16] cycles
Low / High / Off
� High: Beeper symbol permanently displayed; text
"Hi" for one second
� Low: Beeper symbol permanently displayed;
text "LOW" for one second
� Off: No Beeper symbol displayed;
text "OFF" for one second
Adjusting the accuracy
•
Press accuracy button [17] once to numerically
display current accuracy setting on the LCD. Press
again, while the accuracy is displayed (within one
second), to change the current selection.
Activate / deactivate LEDs
Press the LED button [18] to change the LED display. If
activated, the measurements are shown by the LEDs in
addition to the display.
User defined on-grade level:
An arbitrary level within -10 and +40mm around the
marking notch can be used as on-grade level. The user
defined on-grade level is set by pressing the accuracy
button [17] for two seconds while the device is in the
laser beam. If successful, you will hear a confirmation
beep and an asymmetric arrow symbol is shown on the
display. Outside the allowed area you will hear an error
beep and error code E30 is shown.
When the accuracy button [17] is pressed for two
seconds while out of beam, the on-grade level is reset
to default. If the device is switched off, the on-grade
level is automatically reset to default. If you want to
save the user defined on-grade level permanently, you
can choose this option in the menu (see Menu Entries -
.OFS).
Using the menu
The menu functions can be used to edit various
options. For most applications the factory defaults are
best choice. We recommend to change settings only in
special applications.
•
Pressing the volume [16] key for more than two
seconds enters the menu functions.
•
Menu items (e.g. SEn are shown non-flashing and
may be browsed by using the ARROW keys [17]
and [18].
•
Menu items are selected by pressing the ENTER
key [16]
•
Item values (e.g. On) are shown flashing and may
be browsed by using the ARROW keys [17] and
[18].
•
Exit the Menu by pressing the ESC key [15].
 Loading...