November, 2014 IMPCO Technologies Inc. PPI-2 REV. J
3030 South Susan St. Page 15 of 16
Santa Ana, CA 92704
www.impcotechnologies.com
3030 S Susan Street, Santa Ana, CA 92704
Ph: +1 714 656 1200 Fax: +1 714 656 1400
46. PE Only (Skip for E): Install the gasket (28) and
spring housing (27). Align the spring retainer
housing screw holes to the cover (26) and insert
cover screws (23). Torque to 7-11 in-lbs.(0.8-1.2
Nm).
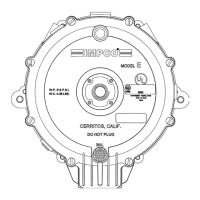
47. E Only: Apply 100 psi (6.9 Bar) of air pressure
to the inlet side of the regulator and test for
leaks. Draw a soap bubble across the regulator
outlet to verify that no air is flowing through the
outlet. If air escapes, the rebuild has failed and
the regulator must be replaced. Actuate the
primer button and the soap bubble should burst
and air flow should be noted at the regulator
outlet. Use soap and/or a commercial leak
detector solution to inspect the gasket seals
around the perimeter of the regulator for leaks.
If no leaks are found, the repair is now complete.
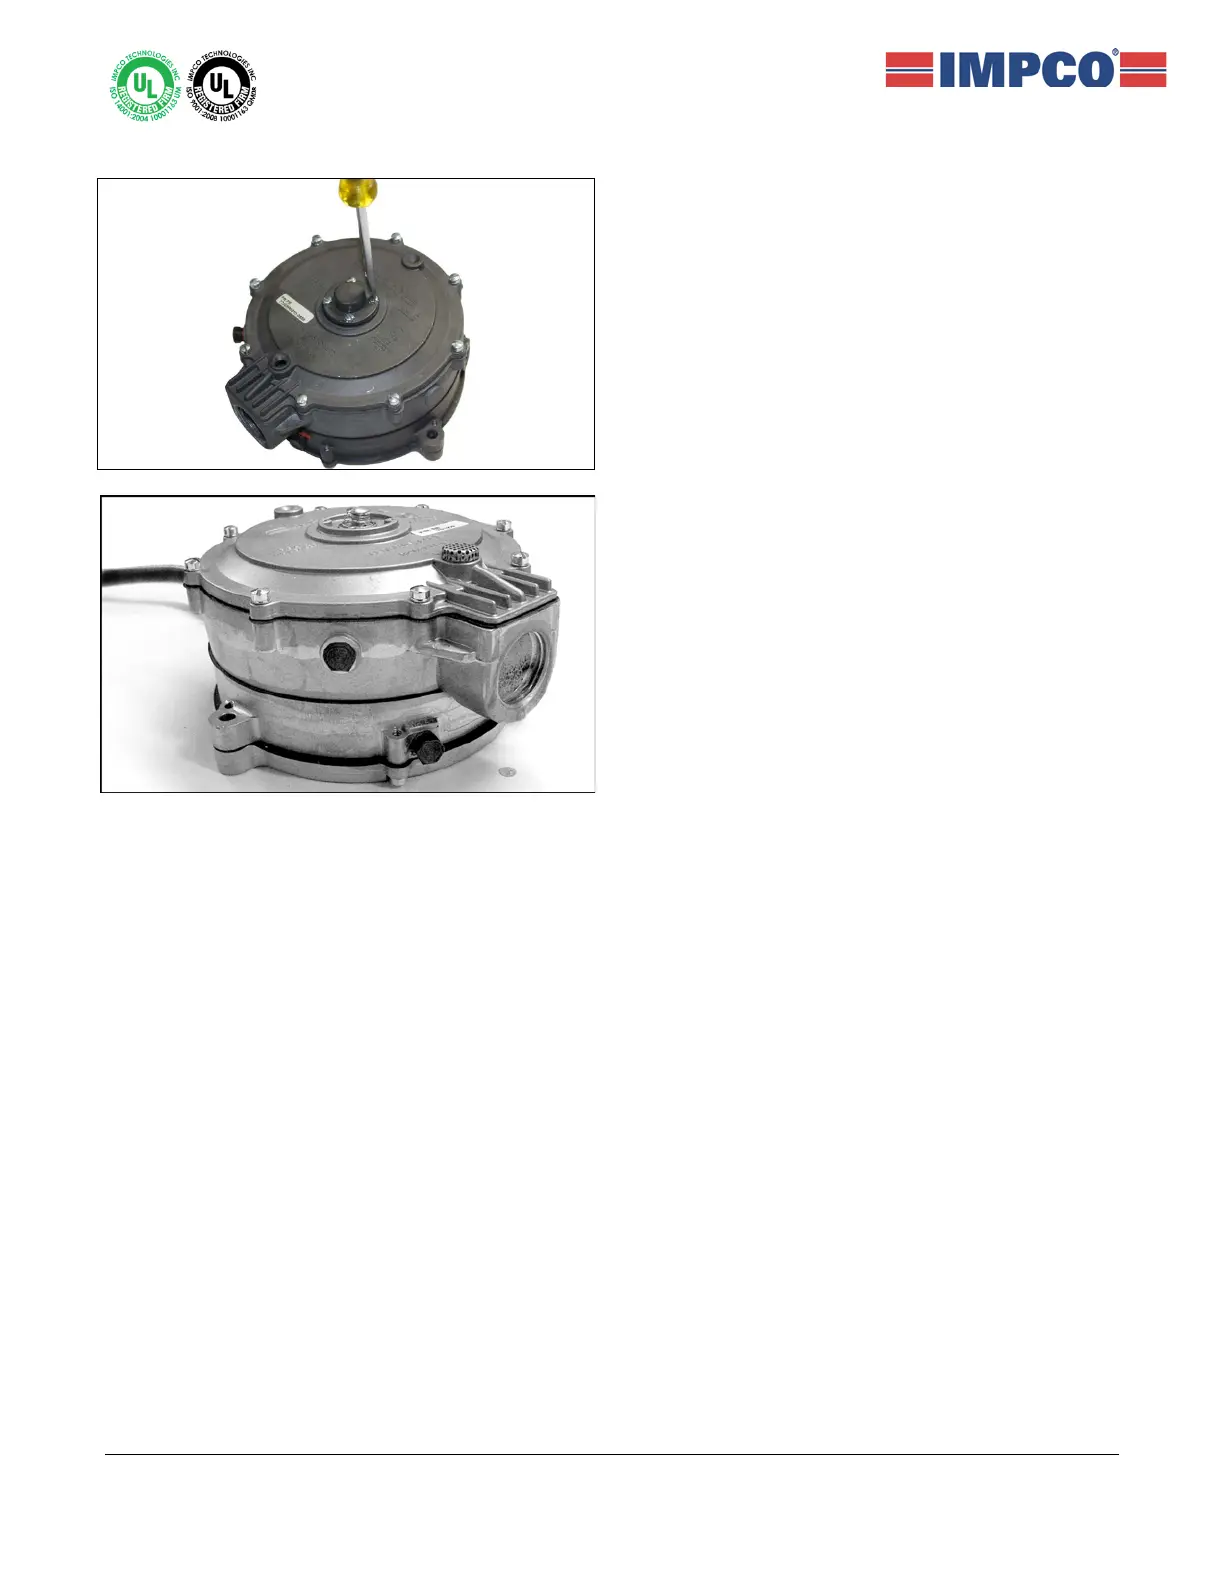
PE Only: Pressurize the PE with 100 psi (6.9
Bar) compressed air (the regulator should free
flow). Slowly reduce the flow at the outlet port (a
one inch NPT PVC pipe plug with a 1/8” or a 3
mm hole drilled in the center is ideal for this
test). Check for leaks around the PE body
gasket and test port plugs using a liquid leak
detector solution. Verify or reset final outlet
pressure for adjustable PE units. If no leaks are
found, the repair is now complete.
 Loading...