Instruction booklet
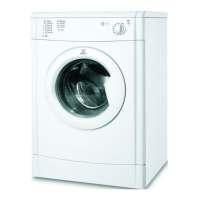
TUMBLE DRYER
IDC 8T3 B (UK)
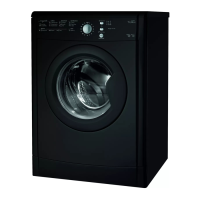
IDC 8T3 B K (UK)
IDC 8T3 B S (UK)
Step 1
Open the door of your dryer.
Step 2
Pull out the filter (using the two
finger grips).
Step 3
Clean the fluff off the filter and
replace it correctly.
Step 4
Make sure the filter is pushed fully home -
NEVER run the dryer without the filter in position.
Failure to clean the filter after EVERY drying
cycle will affect the drying performance of your
machine.
It will take longer to dry and as a result will use
more electricity during drying.
Step 1
Open the condenser cover.
Step 2
Remove the condenser by turning
the 3 catches and
pulling the condenser
towards you. It is normal for some
residual water to be left in the
condenser unit.
Step 3
Flush the condenser
from the rear with water to remove
any fluff deposits.
Step 4
Replace the condenser unit and
make sure that all 3 catches are
closed and that the position arrows
on the front of the condenser are
pointing upwards.
This symbol reminds you to read this booklet
WHERE TO INSTALL THE TUMBLE DRYER
Install the dryer far from
gas ranges, stoves, radiators
or hobs as flames may
damage it. If the dryer is
installed below a worktop,
ensure there are 10 mm
between the upper panel of
the dryer and any objects
above it and 15 mm between
the sides of the machine
and the walls or furniture units adjacent to it. This
ensures adequate air circulation.The appliance
must be installed with the rear surface placed
against a wall.
! We do not recommend that the dryer is installed
in a cupboard but the dryer must never be
installed behind a lockable door, a sliding door or
a door with a hinge on the opposite side to that of
the dryer door.
Priming the Water Collection System.
When your dryer is new, the water container will not collect water
until the system is primed. This will take 1 or 2 drying cycles. Once
primed it will collect water during every drying cycle.
WATER DRAINAGE CONNECTION
If the dryer is installed next to a drain the
water can be plumbed into this drain. This
does away with the need to empty the
water container. The height of the drain
must be less than 1m from the bottom of
the dryer. Remove the existing hose from
the dryer and connect it to the drain (if
required add an additional length of hose).
ELECTRICAL CONNECTIONS
The socket must be grounded.
! The power cord must be regularly checked. If
the supply cord is damaged it must be replaced
by the manufacturer, its service agent or similarly
qualified persons in order to avoid a hazard.
BEFORE YOU START USING YOUR DRYER
Once you have installed your dryer and before
you use it clean the inside of the drum to remove
any dust that could have accumulated during
transport.
CONDENSER UNIT
You MUST clean the fluff from the condenser
EVERY month. Failure to clean the condenser
could cause premature failure of your dryer.
Remove the condenser unit regularly (at least
monthly) and clean off any fluff deposits.