Do you have a question about the Inflight Fitness Liberator and is the answer not in the manual?
| Brand | Inflight Fitness |
|---|---|
| Model | Liberator |
| Category | Fitness Equipment |
| Language | English |
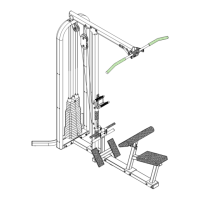
Connect the main upright to the main and base frames using specified hardware.
Connect the mid frame to the main upright, main frame, and base frame.
Secure the multi-leg base to the base frame and mid frame.
Connect the top frame to the main upright.
Place guide rods into the base frame and add weight stack donuts.
Load weight plates onto guide rods, ensuring correct order and orientation.
Position the top weight with the marked cable onto the guide rods.
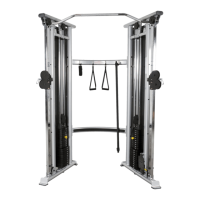
Connect the multi-leg upper cable and a 6" pulley to the top frame.
Loop the multi-leg lower cable, ensuring correct orientation, and thread it through the weight stack.
Wrap the lower cable around pulleys and attach to the mid-frame.
Connect the cable end with ball and clevis to the multi-leg base.
Place pulley and attach the clevis and ball end of the cable.
Connect the clevis end of the cable to the leg extension/leg curl rotating arm.
Position the 4 1/2" pulley and floating plates for the upper cable.
Wrap the lower cable around the pulley and mount it between the floating plates.
Route the chest press cable to the top frame slot and loop over the pulley.
Route the chest press cable to the base frame pulley and loop under it.
Install a 4 1/2" pulley in the upper position within the main upright.
Wrap cable around pulley and attach in upper position within the chest press arm.
Route the cable back, wrap around a 4 1/2" pulley in the lower position.
Route cable over a 4 1/2" pulley and attach in the lower position within the chest press arm.
Route the lat/shoulder cable over the 6" pulley and attach to the top frame.
Wrap the cable under the 4 1/2" pulley and install in the lat pull.
Wrap the cable over the 4 1/2” pulley and attach to the top frame.
Wrap the cable around the installed 4 1/2" pulley in the main upright.
Connect the bearing end of the cable to the shoulder press shaft.