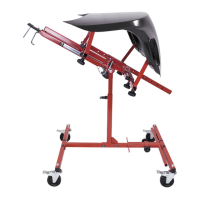
Step 2 Adjusting Friction
Each joint on your new monitor arm has a built in set screw that allows
you to set the degree of friction and ease of movement of that joint.
These friction joints are found in the Base Mount, where the forearm
elbows with the main body of the arm and where the keyboard shaft
enters the forearm. See Illustration 5.
Friction Adjustments
Illustration 5
Insert the 3/32” Allen wrench (provided) into the appropriate set
screw and tighten or loosen to the desired degree of joint friction.
Tip:
A good rule of thumb is to keep the mount
joint loose while the platform and forearm
joints are a bit more snug. This helps to
keep the monitor from drifting either up or
down if it is not mounted perfectly level.
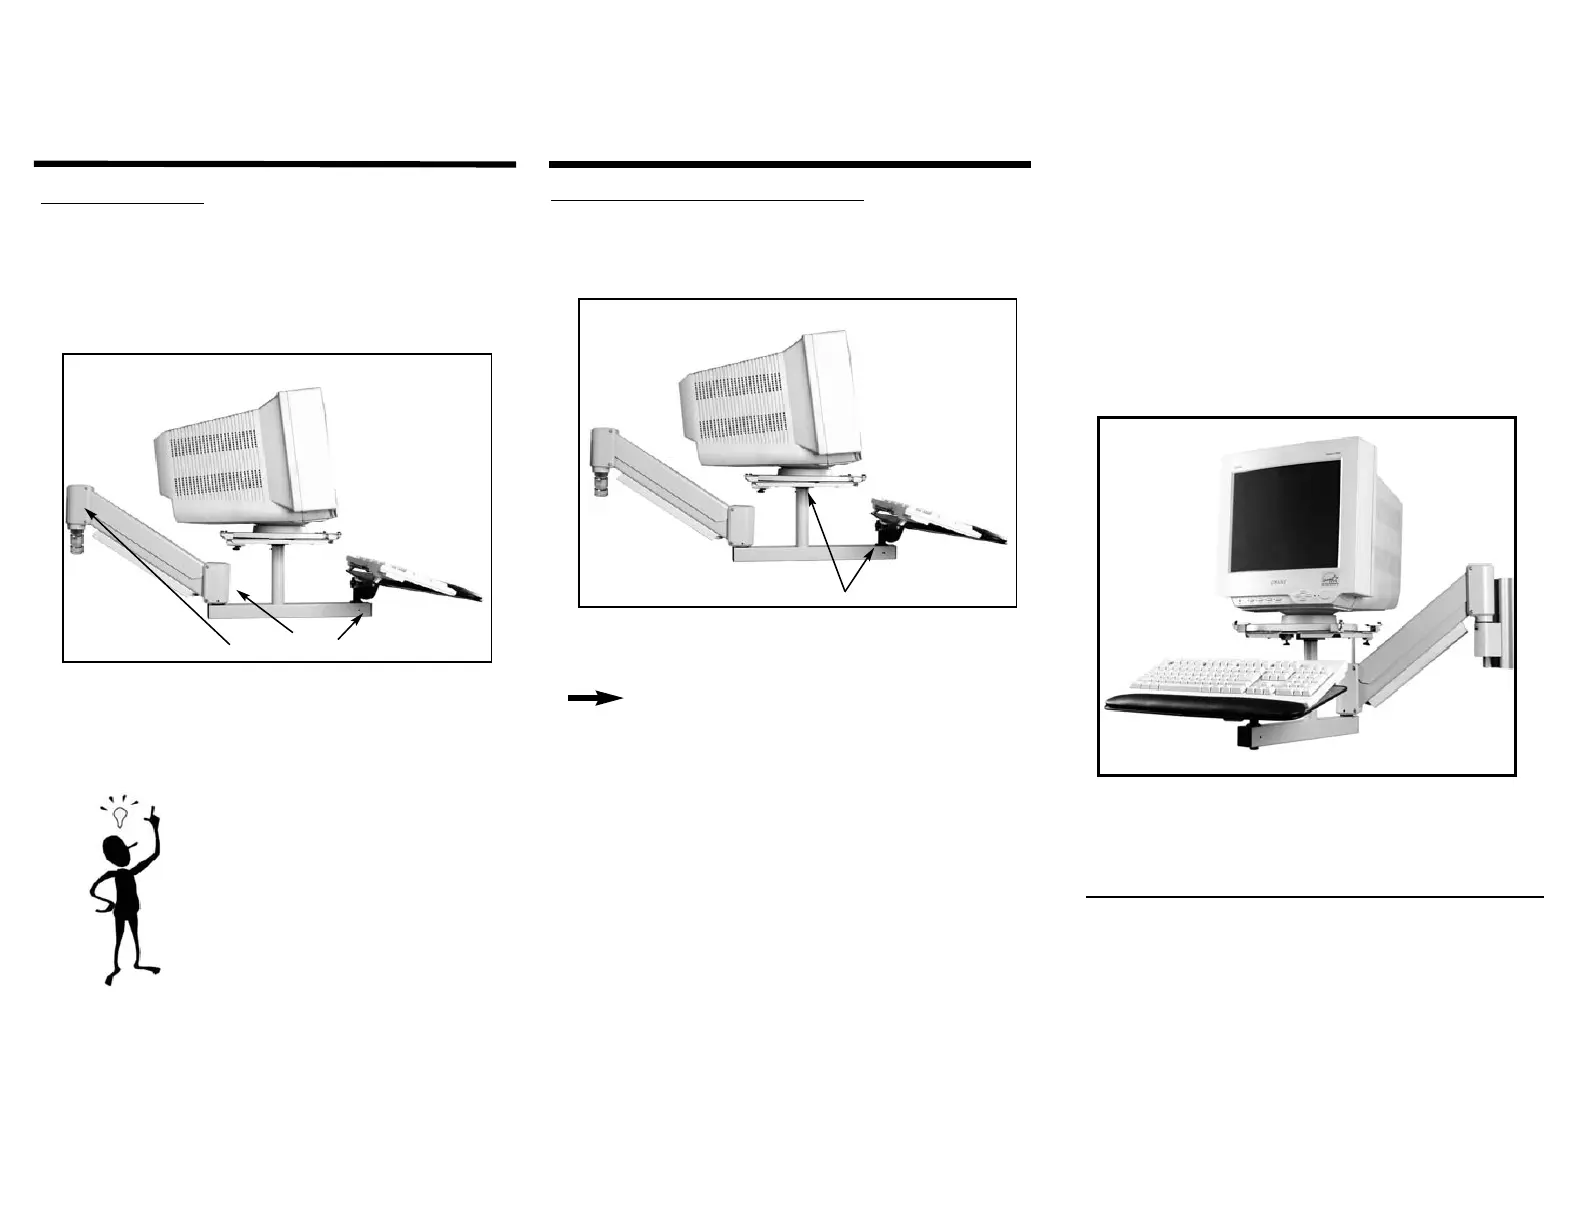
Step 3 Adjusting Monitor Platform & Keyboard
The monitor and keyboard platforms can be adjusted with either a
negative or positive angle for user comfort. Simply adjust the knobs
as shown in the diagram below to make the correct adjustments.
Tilt Knob
Illustration 6
NOTE:
If you purchased a non-tilt monitor platform, only the
keyboard platform will be adjustable. See your monitor
platform instructions for further details.
INNOVATIVE OFFICE PRODUCTS, INC.
100 Kuebler Road
Easton, PA 18040
800-524-2744
www.LCDARMS.com
Data Entry Monitor Arm
Model 9047/9071
Installation Instructions
INNOVATIVE OFFICE PRODUCTS, INC.
Mounting Solutions that defy gravity...
© Innovative Office Products, Inc. 2003
All product returns require a Return Authorization (R/A) Number. If
you need to return your product for any reason, please call
800-524-2744 to obtain your R/A or if you require additional
assistance with this product.
IOP-502566
 Loading...