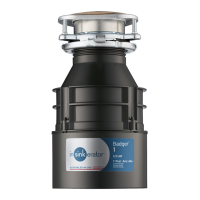
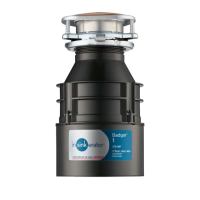
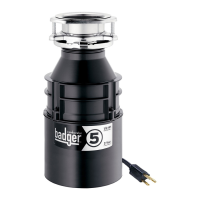
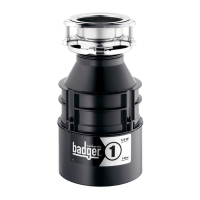
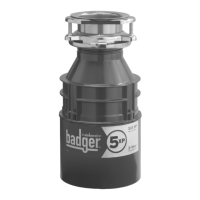
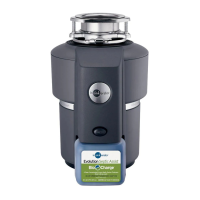
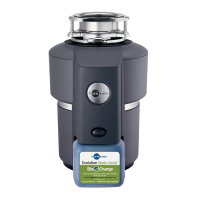
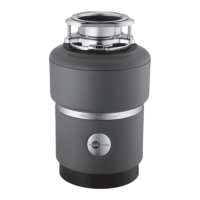
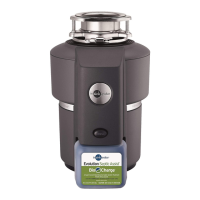
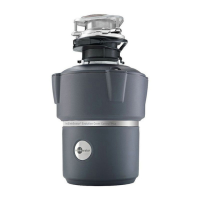
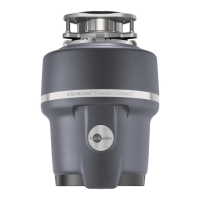
Food Waste Disposer
Installation, Care & Use Manual
TOOLS AND MATERIALS YOU WILL NEED:
Slotted Screwdriver, Adjustable Pliers,
Plumber’s Putty, Electrical Tape
TOOLS, MATERIALS, AND ACCESSORIES YOU
MAY NEED:
Phillips Screwdriver, Drain Auger, 3/8" Electrical
Clamp Connector, Wire Nuts (2), Second 1 1/2" Drain
Trap, Hammer, Hacksaw, Water Hose Clamp, Pipe
Wrench, Copper Ground Wire, Dishwasher Drain
Connection Kit, Air Gap, Electrical On/Off Switch,
Drain Tube Extension
H
Mounting Assembly
A: Stopper
B: Sink Flange
C: Fiber Gasket
D: Backup Ring
E: Mounting Ring
F: Screws (3)
G: Snap Ring
Disposer
H: Mounting Gasket/Splash Baffle
I: Lower Mounting Ring
J: Dishwasher Inlet
K: Discharge Outlet
L: Wrenchette
M:Removeable Sound Baffle
(optional)
Discharge Assembly #1
N: Nut
O:Beveled Discharge Tube
(1-1/2" Diam.)
P: Beveled Washer
Q:Flanged Gasket
Discharge Assembly #2
O:Discharge Tube/Gasket
(1-1/2" Diam.)
R: Flange
S: Screw
#1
M
O
P
OR
N
#2
N
Q
R
OR
SAFETY SYMBOLS
The warning symbol alerts you to
potential hazards or unsafe practices which could
result in serious personal injury or death.
The caution symbol alerts you to
hazards or unsafe practices which may result in
minor personal injury or property damage.
www.insinkerator.com
Read through the entire Installation, Care & Use
manual before installing the disposer. Determine which of the
tools, materials, and accessories you will need before you begin.
Make sure you have all necessary disposer parts before installing
the disposer.Read through the entire Installation, Care & Use
manual before installing the disposer. Determine which of the
tools, materials, and accessories you will need before you begin.
Make sure you have all necessary disposer parts before installing
the disposer.