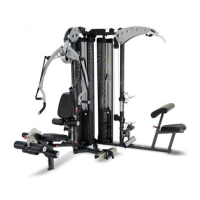
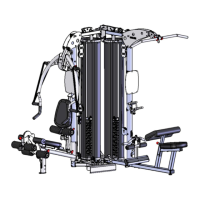
STEP 4 (See Diagram 4) (Attach Shrouds)
Start on the Right Side of the gym.
A.) Slide two panels of the Inner Fabric Shroud (#28) onto a Shroud
Mount Bar (#34) so the seams face inside. Attach the Shroud
Mount Bar (#34) to the inside upper frame as shown, using two
M8x5/8” Allen Bolts (#59) and two Ø 7/8” Washers (#49). Please
Note: The ends of the Shroud Mount Bar are slotted. Be sure to
position the bolts in the center of both slots and tighten completely.
B.) Slide a Lower Shroud Mount (#29) through the bottom loops of
the two Inner Fabric Shroud panels (#28) in Step A. Attach the
Lower Shroud Mount (#29) to the gym frame by sliding one end
into the frame insert. The other end latches under the notched
flange and attaches with one M6X5/8” Allen Bolt (#40).
C.) Attach the Right Inner Logo Plate (#32) as shown using three
M8x5/8” Allen Bolts (#59) and three Ø 7/8” Washers (#49)
D.) Slide the Outer Fabric Shroud (#27) onto a Shroud Mount Bar so
the seams face inside.
(#34) Attach the Shroud Mount Bar (#34) to the outside upper
frame as shown, using two M8x5/8” Allen Bolts. (#59) and two Ø
7/8” Washers (#49). Please Note: The ends of the Shroud Mount
Bar are slotted. Be sure to position the bolts in the center of both
slots and tighten completely.
E.) Slide a Lower Shroud Mount (#29) through the bottom loop of
the Outer Fabric Shroud (#27) in Step D. Attach the Lower Shroud
Mount (#29) to the gym frame by sliding one end into the frame
insert. The other end latches under the notched flange and
attaches with one M6X5/8” Allen Bolt (#40).
F.) Repeat steps A through E to install shrouds to the Left Side of
the gym.
Note: To loosen or tighten the shrouds release the Lower Shroud
Mount (#29) from the gym. Next loosen the two bolts in the Shroud
Mount Bar (#34). Adjust the Shroud Mount Bar (#34) up to tighten
or down to loosen. Once desired position is found, tighten the bolts
that secure the Shroud Mount Bar (#34). Then reattach the Lower
Shroud Mount by following step B.
PAGE 11 6/2011