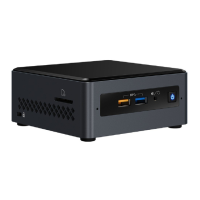
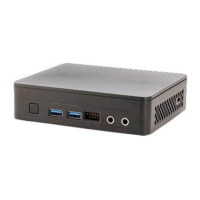
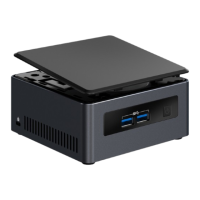
User Guide for NUC8i7BEH, NUC8i5BEH, NUC8i3BEH
5
To remove a SO-DIMM, follow these steps:
1. Observe the precautions in "Before You Begin" on page 2.
2. Turn off all peripheral devices connected to the computer. Turn off the computer and disconnect
the power cord.
3. Remove the computer’s bottom chassis cover.
4. Gently spread the retaining clips at each end of the memory socket, which causes the module to
pop out of the socket (C).
5. Holding the module by the edges, lift it away from the socket, and store it in an anti-static package.
6. Reinstall and reconnect any parts you removed or disconnected to reach the memory sockets.
7. Replace the computer’s cover and reconnect the power cord.
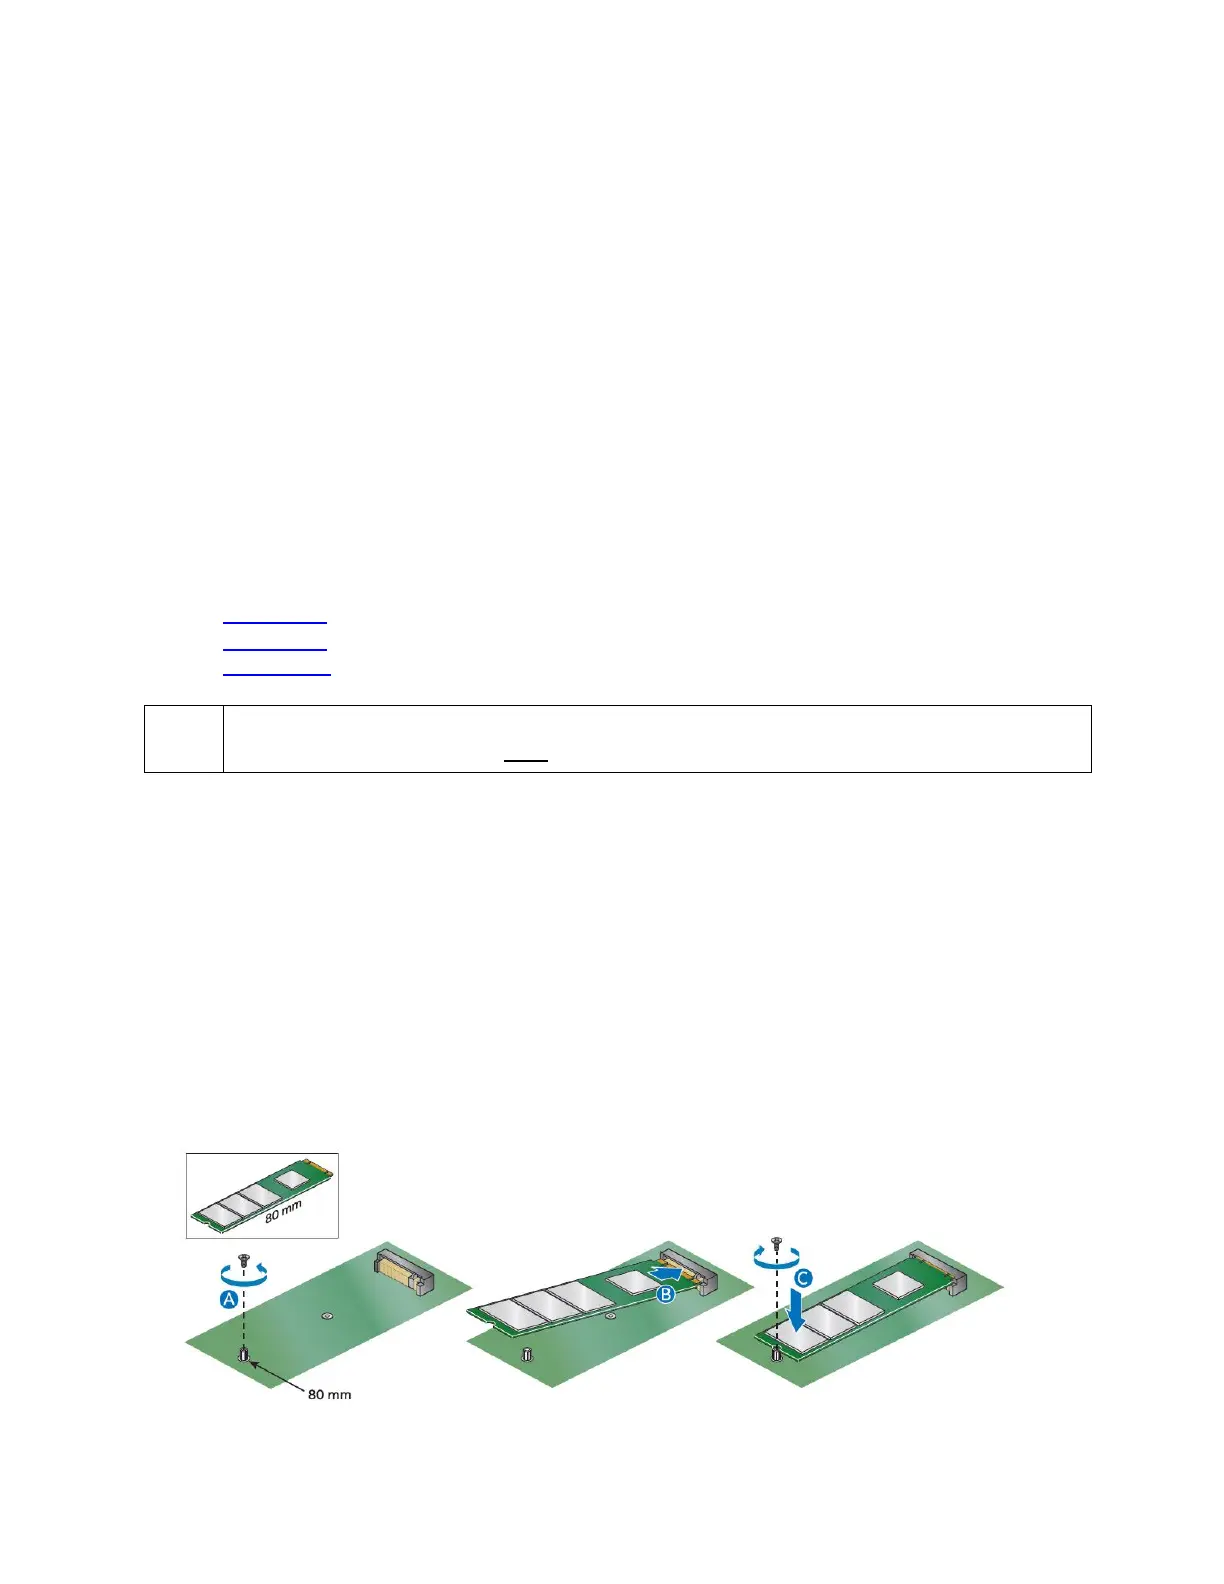
Install an M.2 SSD or Intel® Optane™ Memory Module
The Intel NUC Kits NUC8i7BEH, NUC8i5BEH, and NUC8i3BEH support an 80mm or 42mm SSD.
Find compatible M.2 SSDs in the Intel Product Compatibility Tool
• NUC8i7BEH
• NUC8i5BEH
• NUC8i3BEH
Before changing the Intel Optane memory module, it needs to be disabled. Follow Removing
Intel Optane Memory on this page first, before taking the module out.
To Change an M.2 SSD:
1. Remove the small silver screw from the 80mm or 42mm metal standoff on the board (A).
2. Remove the pre-installed SSD/Intel Optane Memory from the connector.
3. Align the space at the bottom of the new M.2 SSD to the key on the connector.
4. Insert the bottom edge of the M.2 SSD into the connector (B).
5. Secure the card to the standoff with the small silver screw (C).