EN - Page 3 of 6
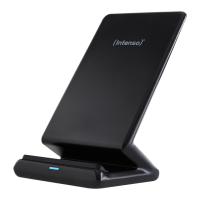
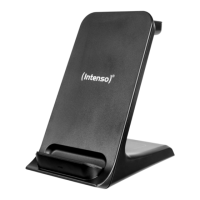
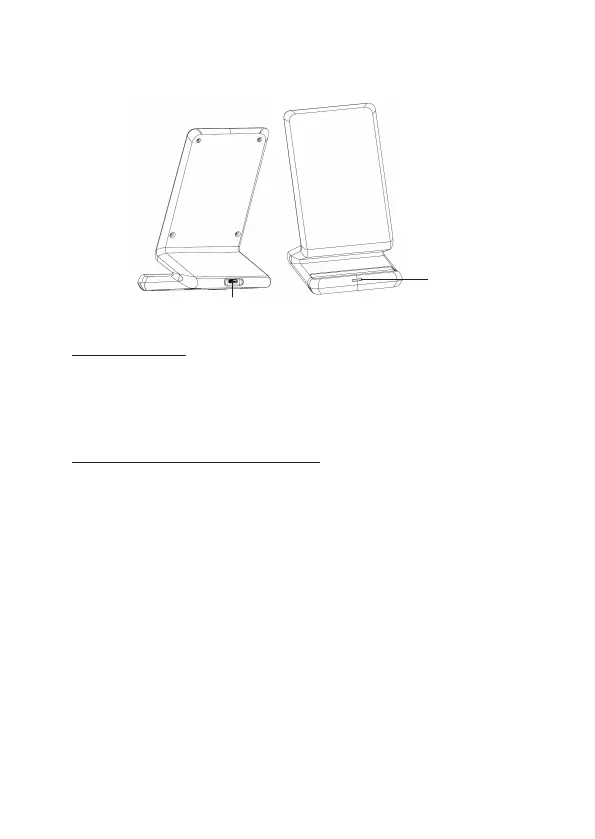
Device overview
USE
1. LED Status display
The current operang state of the device is displayed via the status LED. The LED glows blue
connuously as soon as the charging procedure starts. If the LED is o, the charging procedure is
nished or there is no Qi-capable terminal device for charging on the inducve charging staon.
If the LED blinks blue, there is an error, for example the device has become too warm, there is a
foreign body between the devices or a non-compable power supply is being used.
2. Starng-Up / Charging Connected Devices
Step 1: Preparaon
Connect the supplied USB A to Type C cable with the USB C port (IN) of the inducve charging
staon and connect the other end of the USB cable with a USB power supply. Next connect the
power supply with a socket (please observe the above safety instrucons for this).
Step 2: Start charge procedure
Posion your Qi-capable device on the inducve charging staon. You can posion your device
horizontally or vercally. The charging procedure starts automacally and the status LED glows
blue connuously.
If this is not the case, please check whether:
a) There is a foreign body between the devices.
b) You have selected a compable adapter.
c) Your device is Qi-compable.
d) The cable ends and the adapter are connected correctly.
Step 3: Complete charge procedure
To complete the charge procedure, simply remove your device from the inducve charge staon.
Operation
1 - IN
2 - Status LED
 Loading...