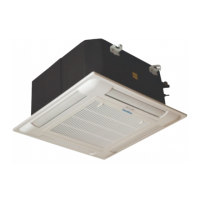
Mounting front Panel assembly
ñ Remove return grille from front panel.
ñ Move the front panel to casing.
ñ Tighten 4 screws as shown in Fig 17,18
Preliminary checks before start-up
ñ The unit should not be started up until the system piping has
been cleaned and all the air has been purged.
ñ Check condensate drain pipe slope.
ñ Make sure that air filter is clean and properly installed.
ñ Ensure that voltage and current values correspond with the
unit nameplate values; check electrical connections.
ñ Verify that air outlets are not closed.
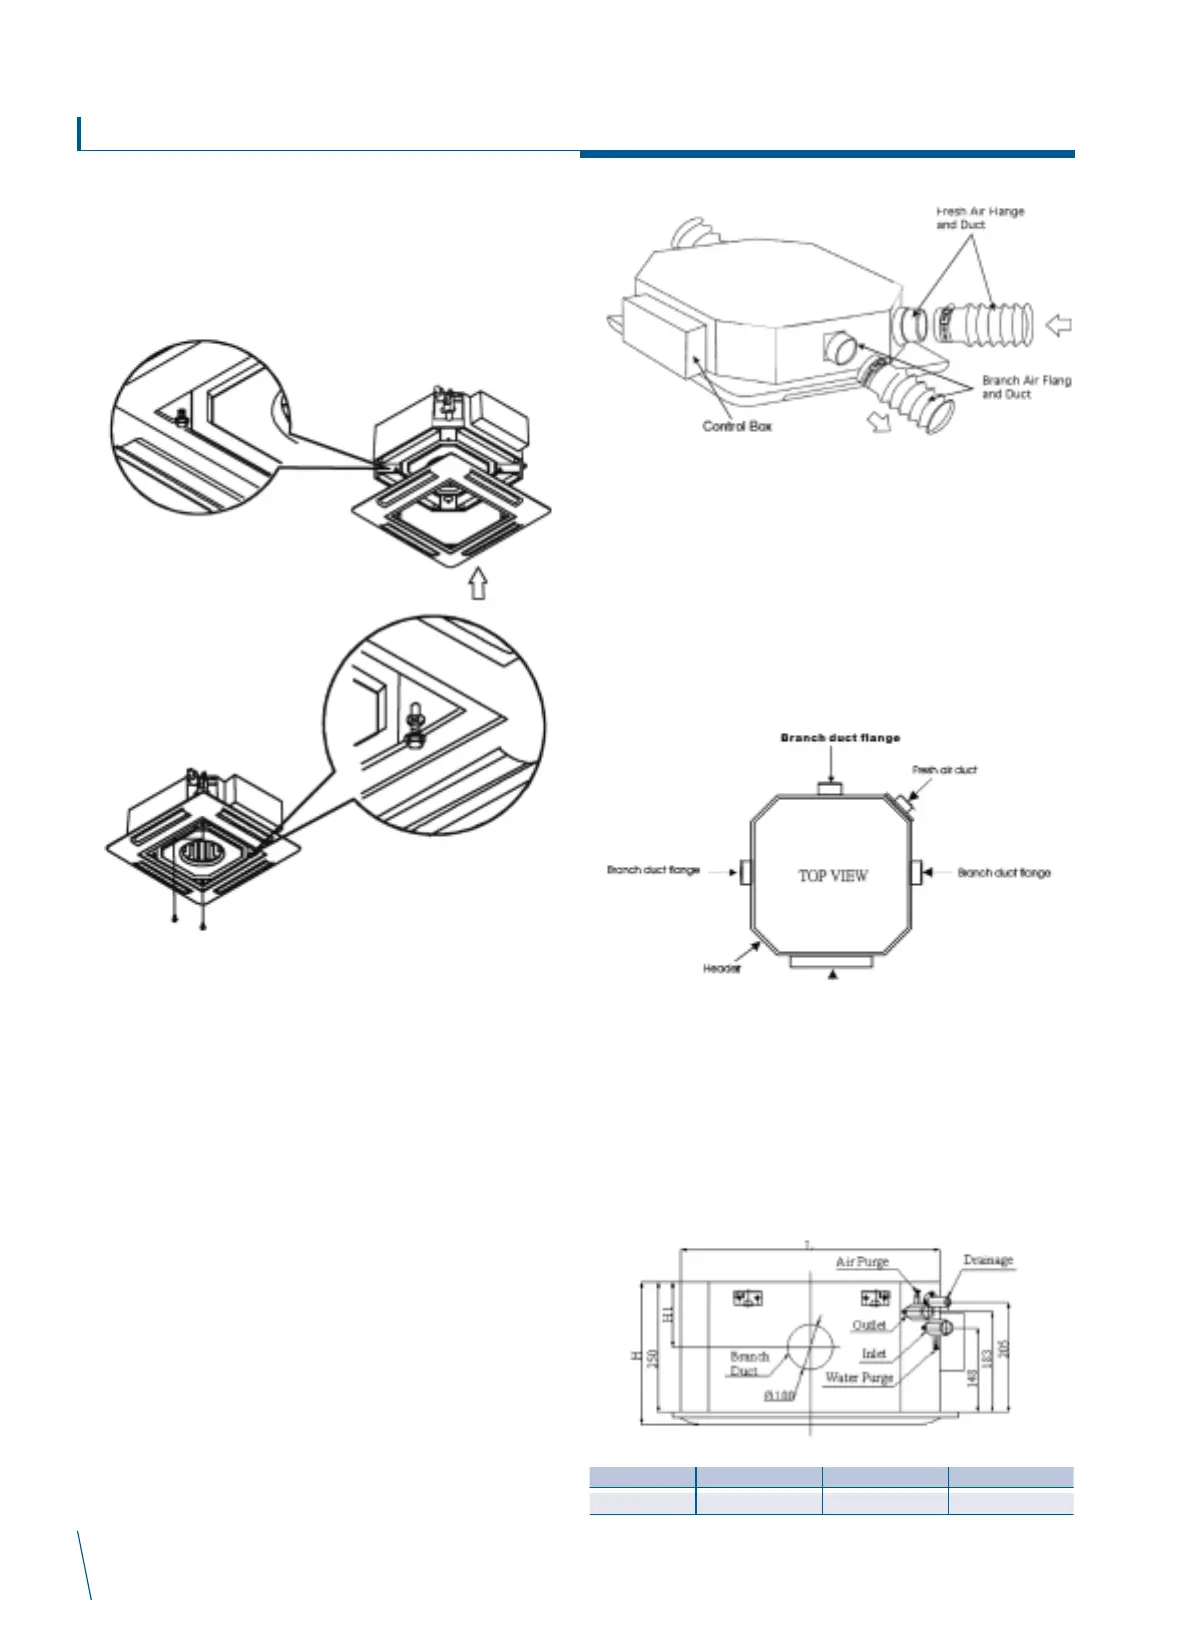
Fresh air renewal and branch ducting.
ñ The side opening allows separate ductwork to be installed for
outside air intake and branch ducting. See Fig.26
ñ Cut and remove anti-condensate insulating material.
ñ Install your flanges and conduits to casing. Conduit can be
flexible polyester with spring core or corrugated aluminium
externally coated (dia.4 in.) with anti-condensate material
(fiberglass 12-25 mm thickness).
Fresh air - There is one (1) opening for connecting a fresh air
duct for PCE-03-04-06-08,
There are two (2) openings for connecting fresh air
ducts for PCE-09-10-12-16.
Branch air- PCE-03-04-06-08 : Two(2) openings each.
PCE-09-10-12-16 : Four (4) openings each.
Order flanges (spigots) and blanking plates as
accessories separately.
NOTE:
- Branch duct flange (Optional part)
- Fresh air duct flange (Optional part)
- Blanking plate (Optional part)