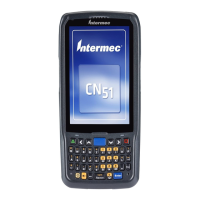
m) Click on Connect on the
bottom left of the screen
to connect your wireless
network to the Internet.
This will allow the
handheld to have access
to the AccuBar server.
n) In order to check and
confirm that the Wi-Fi
has been setup correctly,
check the Internet
connection. Click on
Start > Internet Explorer and tap into the address
field. Enter something like www.accubar.com to
test the connection.
o) Once you have confirmed that the wireless
connection is working, click on the X to exit Internet
Explorer.
p) AccuBar will only enable the wireless when it needs
to be enabled within the program, for example, to
send inventories or to refresh items from server.
Otherwise, it will disable the wireless connection to
prevent the battery from being drained due to
constantly searching for a network.
* If you choose NOT to use wireless, the following
steps are your choice of connection. You may need
to contact your IT department to install this
software. Browse to v5.accubar.net and log in to
your AccuBar account using login information that
was sent to you in the welcome letter.
Navigate to Support > Support Home > Download
Sync
Software for latest sync software for your PC.
3. For Vista/Windows 7/Windows 8:
Install Windows Mobile Device Center
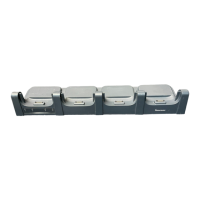
a) Click Run to download and install Windows Mobile
Device Center.
b) Click Yes to all security warnings.
c) Accept the License Agreement.
d) Device Setup: Connect cradle to power and to
computer using power supply and USB cable, then
place the handheld in the cradle.
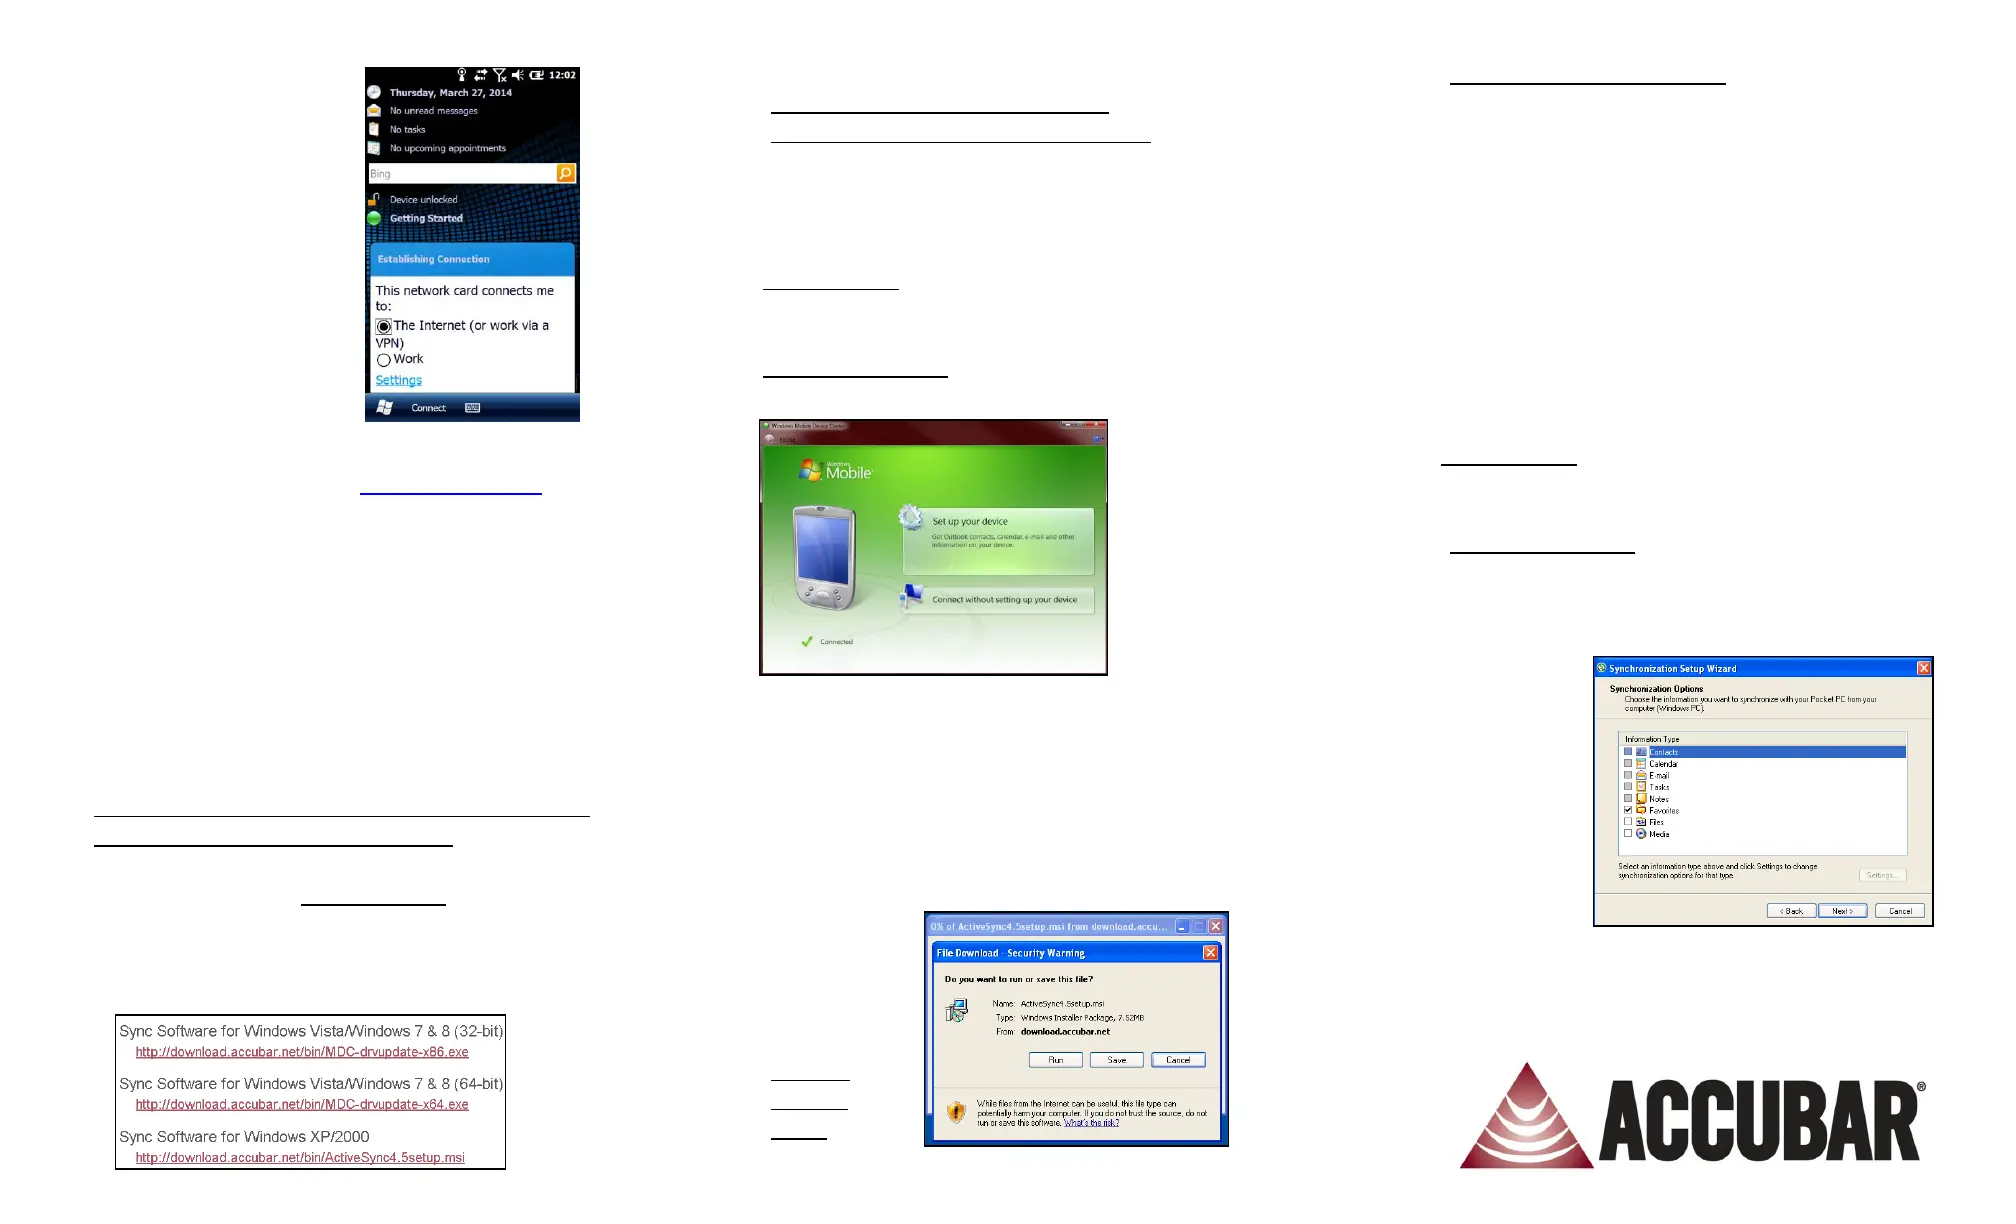
e) Partnership Setup: Click on Setup your device.
* You MUST setup the partnership in order for the
handheld to
automatically
sync with the
PC.
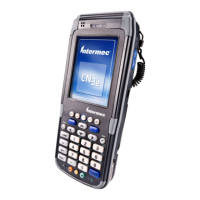
f) On the Sync Options screen, if any boxes display as
checked, uncheck all boxes, then click Next.
g) Enter a device name and click Setup.
h) Your device
will now be
connected.
Click Finish.
4. For Win
XP/Win
2000:
Install Microsoft ActiveSync
a) Click Run to download ActiveSync.
b) Click Run to install ActiveSync.
c) Click Next to install ActiveSync on the computer.
d) Select the Accept radial to accept the License
Agreement and click Next.
e) Enter a User Name or use the default and click
Next.
f) Select Next to install to the default directory.
g) Click Install to begin the install.
i) Click Finish when the install has finished.
j) Device Setup: Connect cradle to power and to
computer using power supply and USB cable, then
place the handheld in the cradle.
h) Partnership Setup:
Choose Standard Partnership and click Next.
* You MUST setup the partnership in order for the
handheld to automatically sync with the PC.
i) Choose
Synchronize
with this
desktop
computer
and click
Next, (Do
Not select
Synchronize
with
Exchange Server).
j) On the Sync Options screen, if any boxes display as
checked, uncheck all boxes.
k) Click Finish.