5
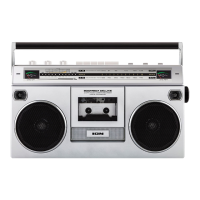
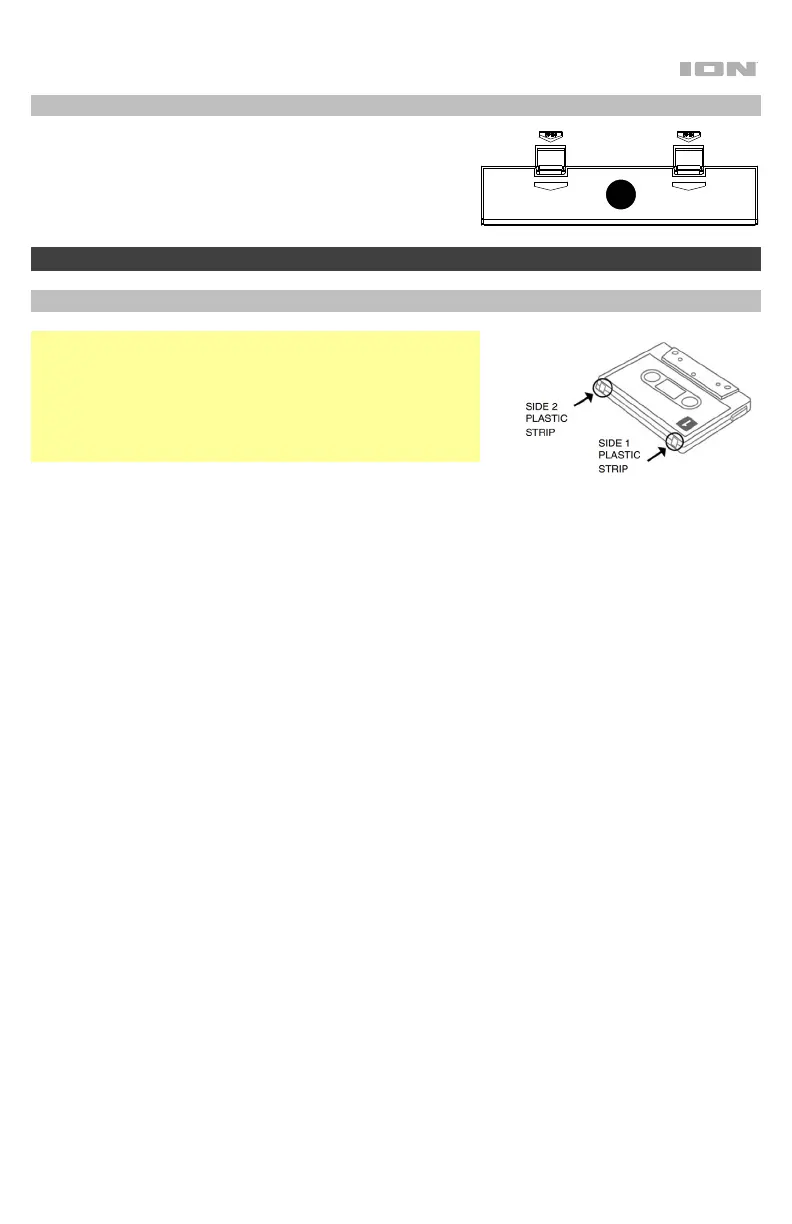
Rear Panel
1. Battery Compartment: Insert 4 new “D” size alkaline
batteries (not included) to power the unit when not
using AC power.
Operation
Recording
Note: Most cassettes feature a protective plastic strip which,
when removed, will not allow any recording to be made to the
cassette. When the plastic strip has been removed, the Retro
Rocker’s Record button will not function when attempting to
record to the cassette. To record to a cassette which no
longer has a plastic strip, use adhesive tape to cover the strip
opening.
Recording from the Radio to Tape:
1. Press Stop/Eject to open the cassette holder.
2. Insert a blank tape and close the cassette holder.
3. Set the Function switch to Radio.
4. Set the Band switch to desired frequency band (AM, FM, SW1, or SW2).
5. Adjust the Tune dial to select a radio station.
6. Extend and adjust the antenna for best reception.
7. Press the Record button to start recording.
8. To stop recording, press Stop/Eject button.
Recording from the Internal Microphone to Tape:
1. Press Stop/Eject to open the cassette holder.
2. Insert a blank tape and close the cassette holder.
3. Set the Function switch to Tape.
4. Press the Record button to start recording.
5. To stop recording, press Stop/Eject button.
1
 Loading...