4
iOptron Corp. | 6E Gill Street | Woburn, MA 01801 USA | (781) 569-0200 | www.iOptron.com
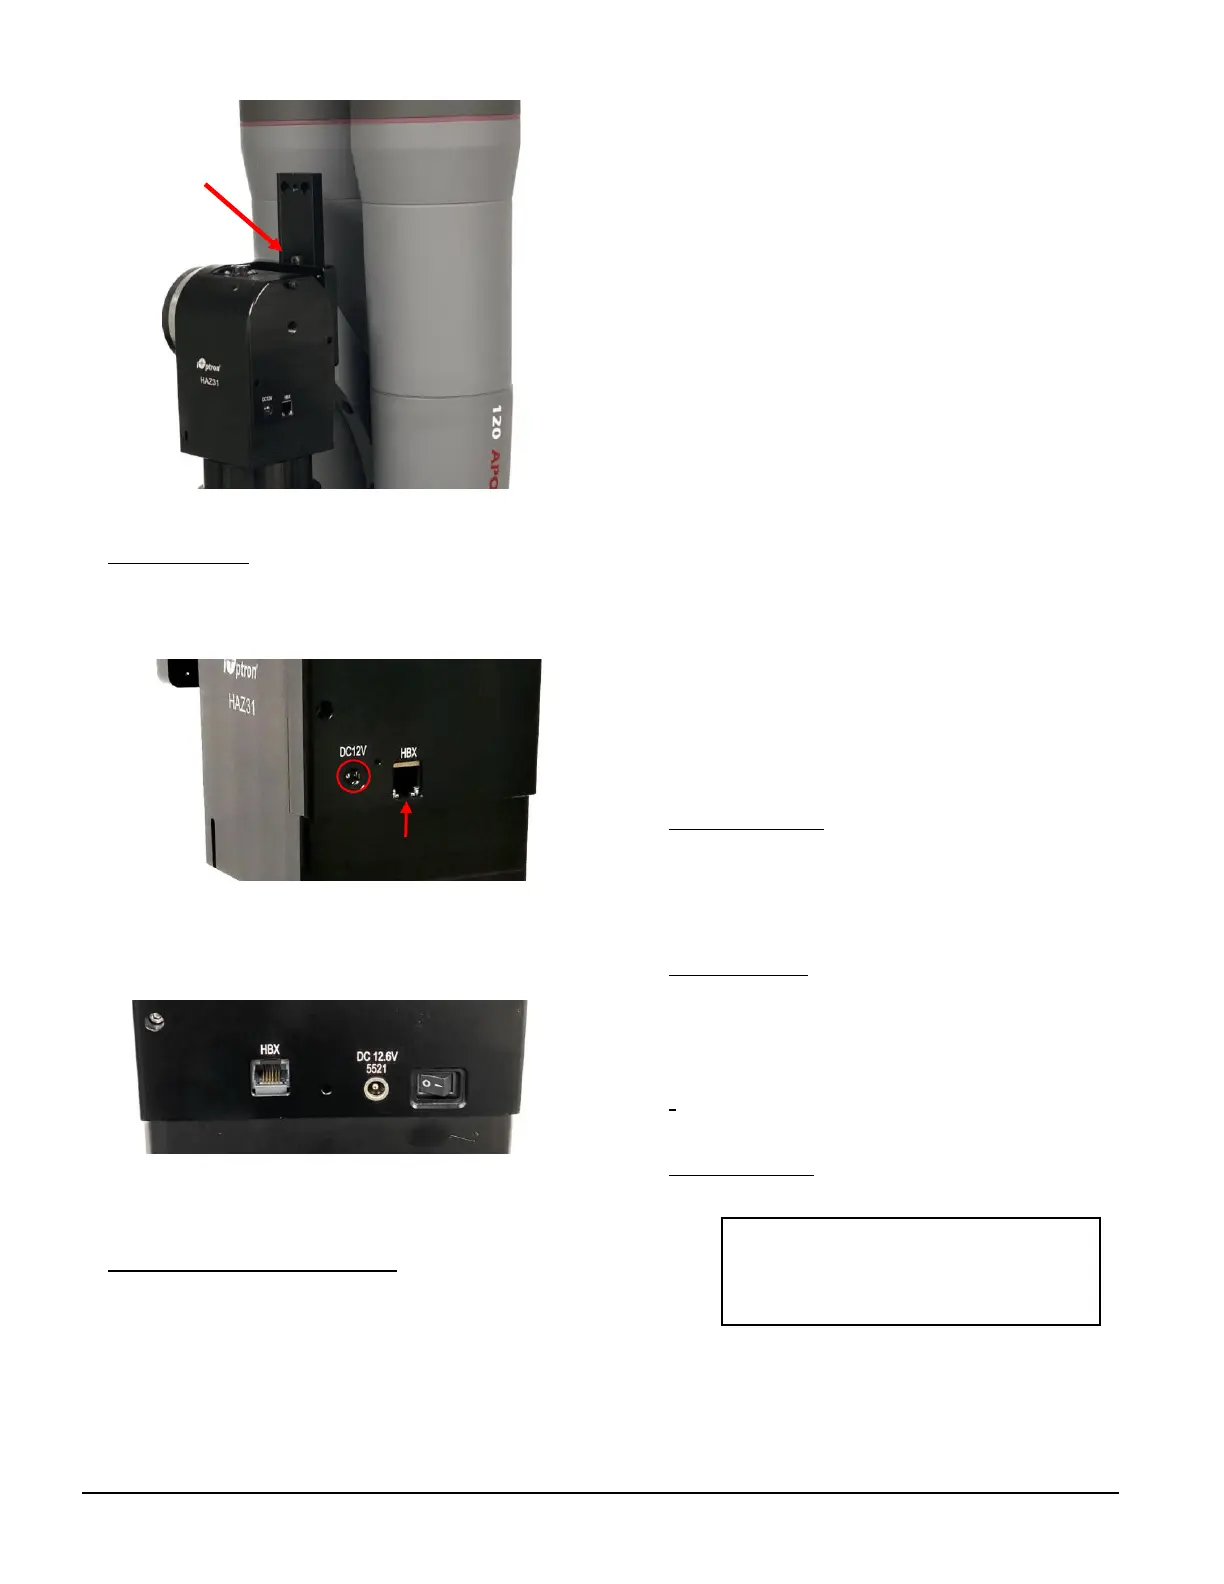
6. Connect cables: Connect the Go2Nova
®
8409 Hand
Controller to the HBX port on the mount back. Plug in
a 12V DC power supply (5.5/2.1mm plug, center
positive) to the DC12V IN socket.
HAZ46 and HAZ71 can be powered by internal
rechargeable battery. Please charge the battery in full
before use.
Please refer to online instruction for battery
installation and replacement
7. Power the mount on and go: Just flip the power
switch ON and wait! You can choose the mount
Assist Alignment Wizard. Just click ENTER button to
let the mount find the Zero position: Zenith and
magnetic south. If the mount picks up the GPS signal
during 360 degree AZI rotation, the mount will go to
alignment step automatically.
Note: The date and time displayed on the hand
controller may differ from your local time. Just ignore
it. You can change it later, as indicated in Step 10.
If the mount does not pick up the GPS signal, the
mount will stopped and asks for “Please verify the
following settings”. Press ENTER key to manually
enter the date, time, UTC offset, DST and GPS
location.
Then the mount will slew to a bright star/planet for
star calibration. Follow the instruction on the hand
controller screen to center the bright star in your
eyepiece using four arrow keys. If the star displayed is
blocked by a tree or building, just press the BACK
button to go to next one. Now you can use Select and
Slew to go to any objects!
Warning: During the daytime operation, the mount
may choose Sun as the only alignment object. DO
NOT look at the sun through the scope, unless there
is a solar filter installed. You may just press ENTER to
complete the process.
Note: In the event that the mount fails to perform
self-calibration or you would like to skip this at all,
please refer to on-line Instruction Manuel for how to
set up the mount manually.
8. Go to an object: Press MENU => “Select and Slew”.
Select a category (for example, “Solar System”), then
select an object of interest (for example, “Moon”).
Press ENTER and the telescope will slew to the object
and automatically start tracking.
9. Sync to target: If the object is not in the center of the
eyepiece, use this function to center and synchronize
the object to improve local GOTO accuracy. Press
MENU => “Sync to Target”. Follow the on screen
instruction to perform the function.
(TIP: After slewing to an object, a list of nearby bright
object(s) can be displayed by pressing “?” button.)
10. Set controller: Press the MENU button; then
“Settings” => “Set Time & Site”.
Enter the current date. Enter the time zone offset to
the UTC; for examples:
Boston is “UTC -300 minutes”
Los Angeles is “UTC -480 minutes”
2022-12-05 12:01:36
UTC -300 Minute(s)
W071d08m50s DST: N
N42d30m32s Northern
 Loading...