
A
allensmithAug 3, 2025
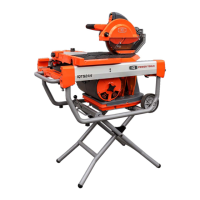
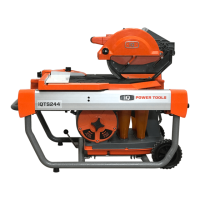
Why IQ Power Tools iQTS244-230V CE Saw will not start?
- RRoberto RobinsonAug 3, 2025
If your IQ Power Tools Saw won't start, here are a few things to check: Ensure the saw is properly plugged in. Try turning the switch off, then press the reset button on the GFCI. Alternatively, turn the switch off and replace the fuse or reset the circuit breaker. If these steps don't work, the cord may need replacing by an authorized service center, or the brushes might need replacement.