5
Handlebar position
The handlebar position can be changed by loosen the handlebar clamp. After aligning the handlebar position make sure that the
screws of the handlebar clamp are tightened. NOTE: The clamping of the handlebar clamp must be done on the grooved area.
Operation
Please fully charge the battery pack of the Euro Scooter when you use the scooter for the first time.(see charging the battery on page 6)
NOTE: The scooter has 3 different speed steps in the direction of travel an one for reverse. To collect driving experience, we recommend that
the first driving maneuvers should be done with or without loaded crates in the environment of use. Adapt your driving style and speed and
take steps to ensure even weight distribution. When driving into a curve with excessive and inappropriate speed be aware that the scooter
may tip.
Brakes
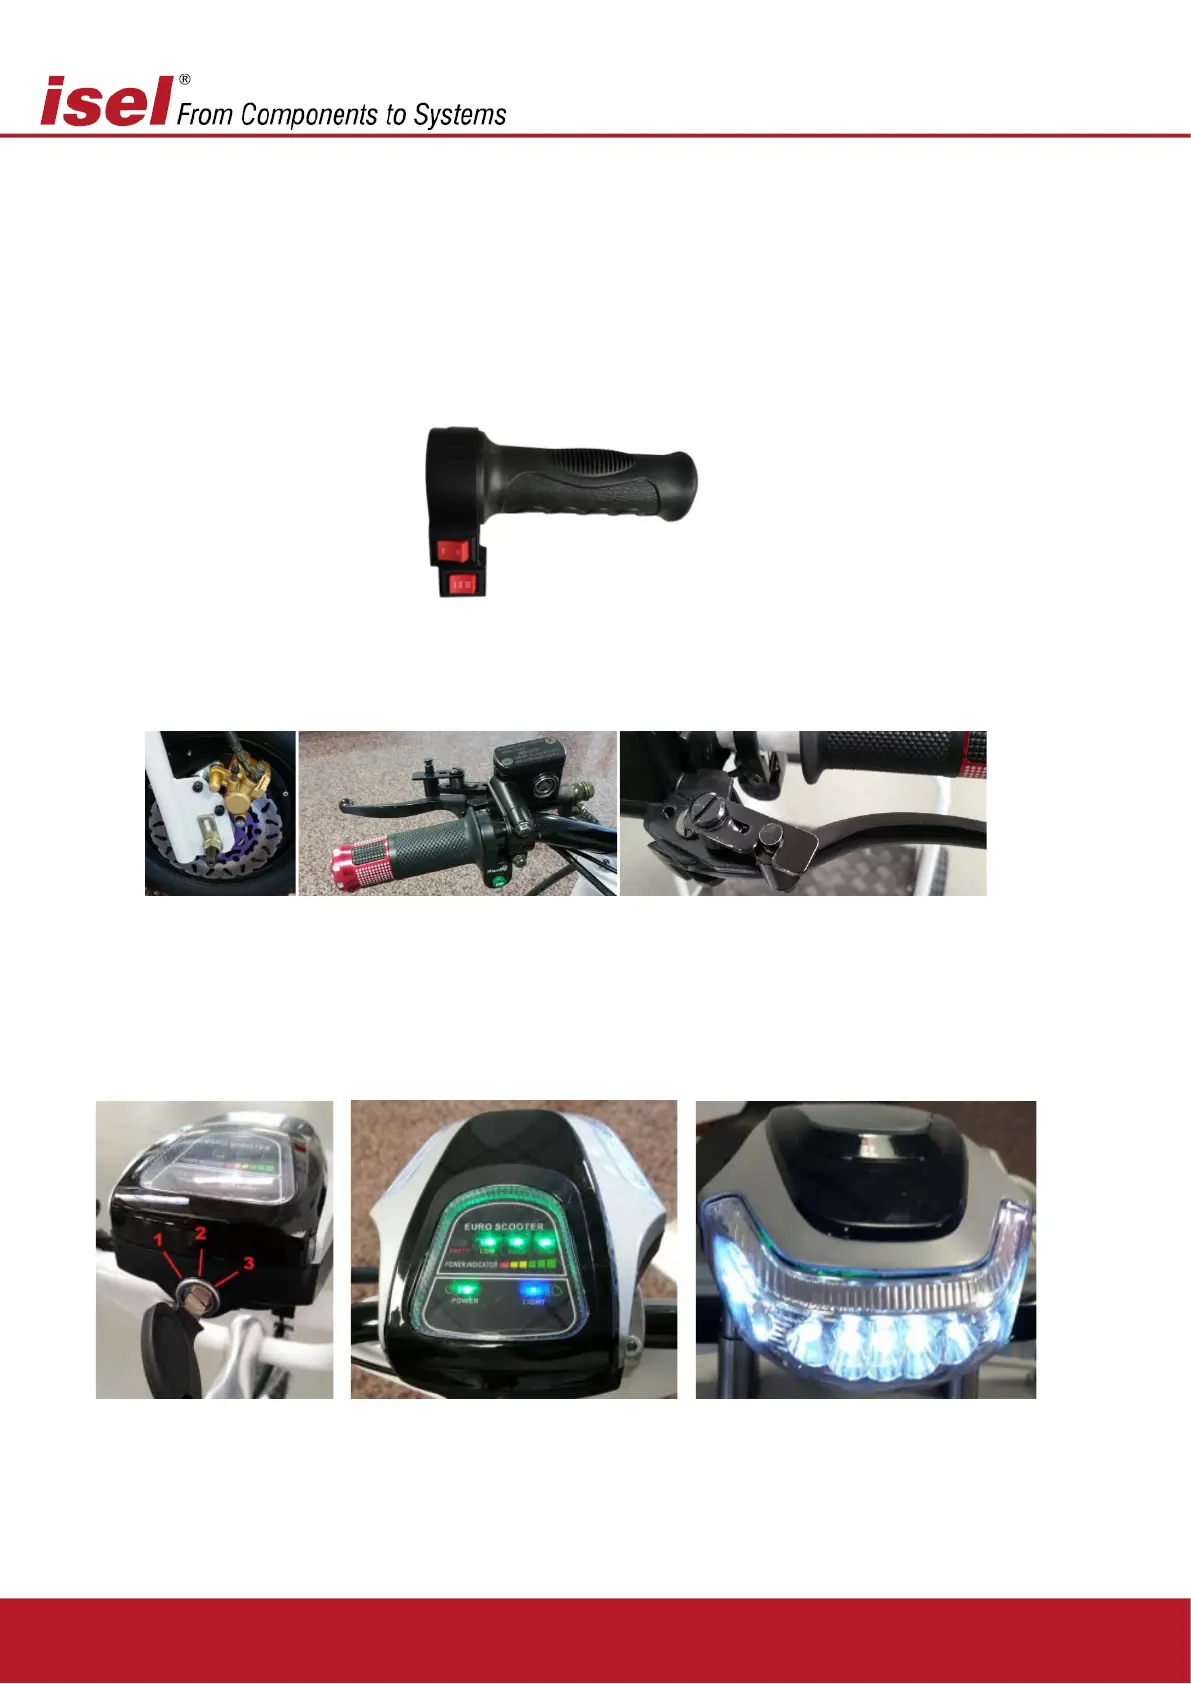
The EuroScooter has one brake that controls the front wheel. The brake is controlled by using the hand lever on the left grip.
When parking the EuroScooter and to prevent the Scooter from rolling away always use the parking brake. The brake is Hydraulically
operated single circuit brake system. To ensure a proper functioning of the brake system, check the system on a regular basis to prevent
leaks or malfunction.
Instrument cluster and lighting
The function display is key controlled and has the following switching possibilities.
1 - OFF
2 – Scooter - ON
3 – Scooter and light ON
The function display shows the power status of the Battery as well as the LED light control.