2 Dust Collector Compatibility
4 Set up each connection set
Please follow the sequence below to set up each connection set in your iVAC Pro system
Connection Set DIP Setting Instructions
Set to System Address A (S1 = OFF, S2 = OFF)
Set Delay Time to 5 sec (S5 = OFF, S6 = OFF)
Test it manually - ON / OFF Dust Collector
Set Delay Time to your preference
Set Mode to Auto - Ready to work with other iVAC modules
iVAC Pro System Installation Guide
This guide will walk through the installation of an iVAC Pro system step-by-step, with illustrations of DIP switch settings for each iVAC Pro product that is
included in an iVAC Pro System. This guide is showing the switch positions for a system with 8 tools or less.
Before starting to set up your iVAC Pro system, please verify that your dust collector is compatible with the iVAC Pro Switch you ordered. Please contact
iVAC technical support if you may have any question regarding the compatibility of your dust collector with iVAC Pro Switches at info@ivacswitch.com
Please do not install your iVAC Pro Products to its physical location until the RF communication of connection sets are set up and tested properly as
described below.
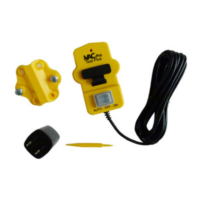
Please unbox your iVAC Pro Products and put them on a work table with power bar so you can power up each connection set and test it.