Operation for 2 Ton (4,000 lbs.) Hydraulic Jack Lift Range 5-1/8” to 13”
Prior to each use, visually inspect jack. Check for cracks, cracked welds, and missing and/or damaged parts. Any jack
that appears to be damaged in any of these ways must not be used.
To Lift
(a) Turn the release valve clockwise to the closed position. Do not over tighten.
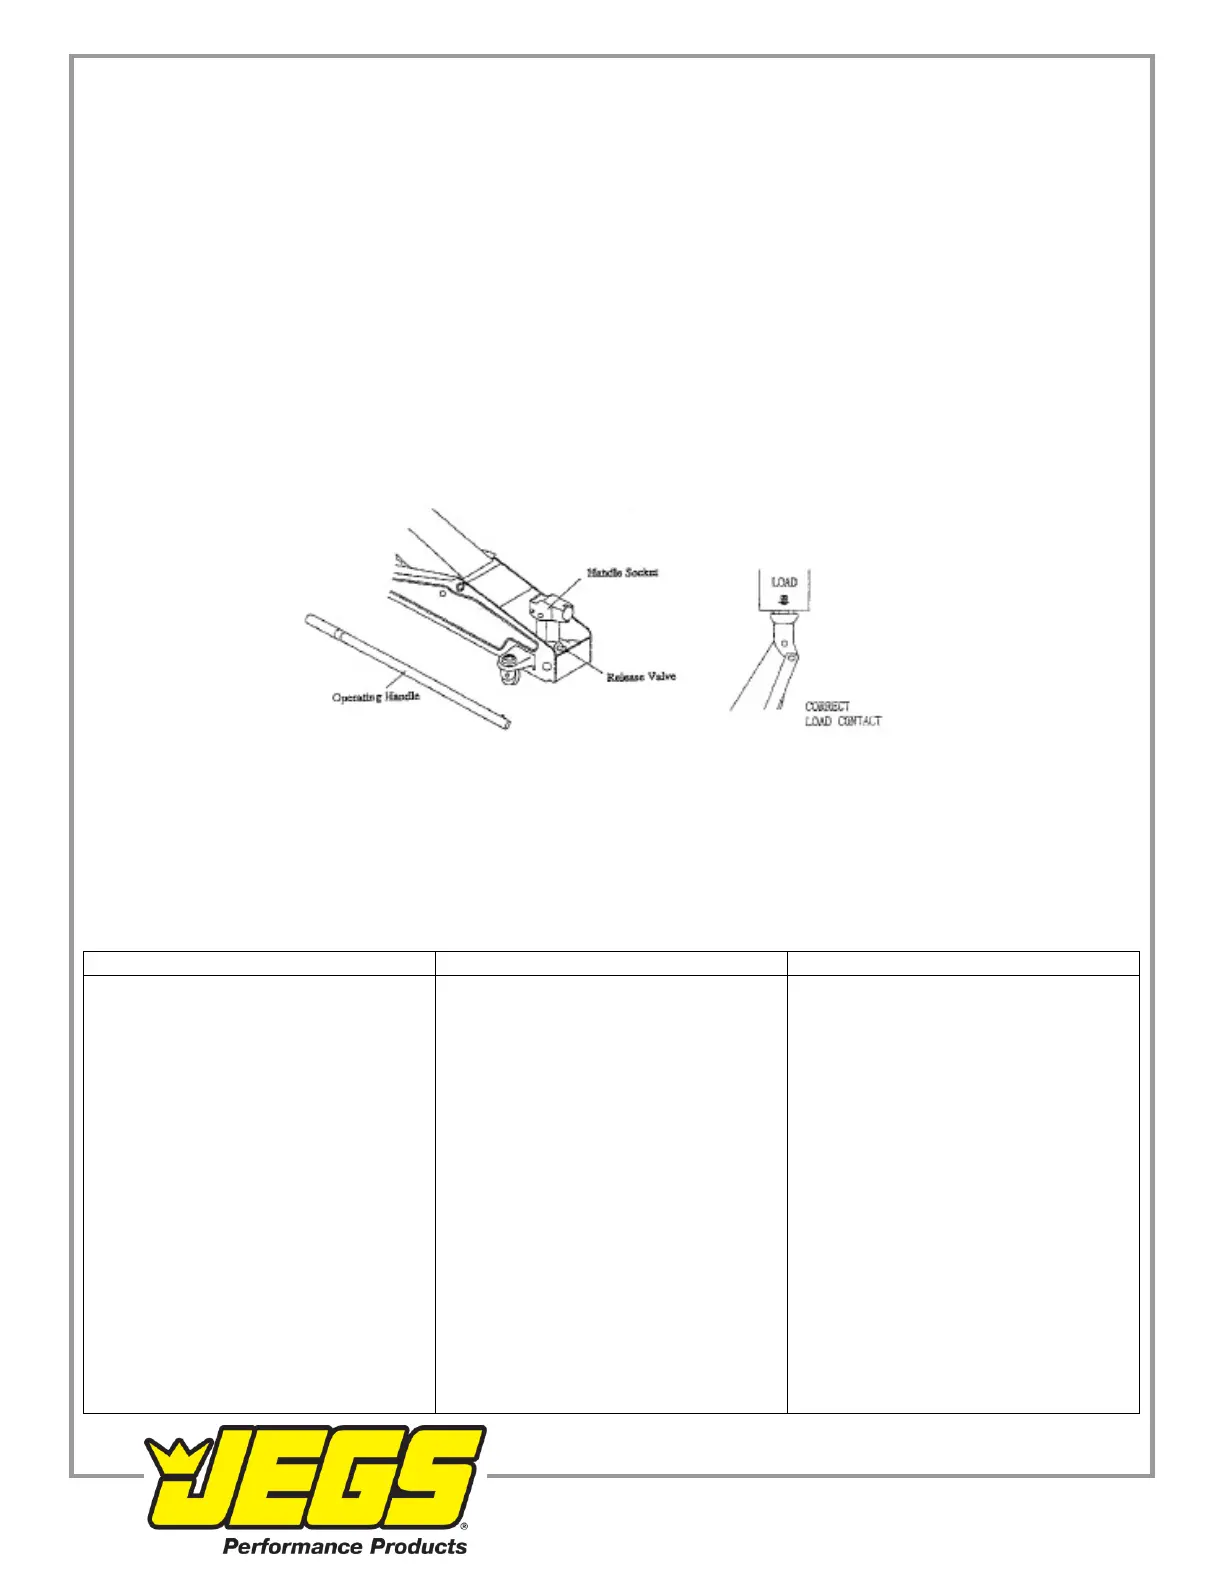
(b) Consult the vehicle owner’s manual to determine the location of jack points and position the jack under the
prescribed lift point. Be sure to set the vehicle parking brake and lock the wheels.
(c) Be sure that the vehicle and the jack are on a hard, level surface.
(d) Begin lifting by pumping the handle up and down.
(e) Always use jack stands in pairs to support loads at locations recommended by the vehicle manufacturer. Jacks are
not designed to maintain heavy loads for prolonged periods of time.
(f) Turn the release valve slowly counterclockwise to lower the vehicle onto jack stands.
To Lower
(a) Turn the release valve clockwise to the closed position. Do not over tighten.
(b) Pump the handle up and down to lift vehicle off jack stands.
(c) Remove the jack stands. Do not get under or let anyone under the vehicle while lowering.
(d) Turn the release valve slowly counterclockwise to lower the vehicle onto the ground.
Maintenance
(a) Visual inspection MUST be made prior to each use of jack. Check for cracks, cracked welds, missing or damaged
parts.
(b) Keep all moving parts clean and well lubricated.
(c) Owners and/or operators should be aware that repair of this equipment may require specialized knowledge and
facilities. It is recommended that an annual inspection of the product be made by a manufacturer or supplier’s
authorized repair facility and that any defective parts, decals, or safety labels and signs be replaced with manufacturer
or supplier’s specified parts.
Troubleshooting
1. Release valve open
2. Oil exhausted
3. Defective suction and/or exhaust
valve.
4. Parking worn out or defective.
1. Insufficient oil.
1. Air in system.
2. Defective suction and/or release
valve.
3. Defective piston packing.
1. Defective plunger packing and/or
valve.
1. Tighten release valve
2. Fill tank with oil.
3. Check for dust or foreign matter
inside and clean.
4. Replace packing.
1. Check oil
1. Open oil plug on the front of
cylinder. Hold saddle down. Open
release valve and pump handle
several times.
2. Clean valves and adjust valve
contact.
3. Replace the piston packing.
1. Clean valves and/or packing.
 Loading...