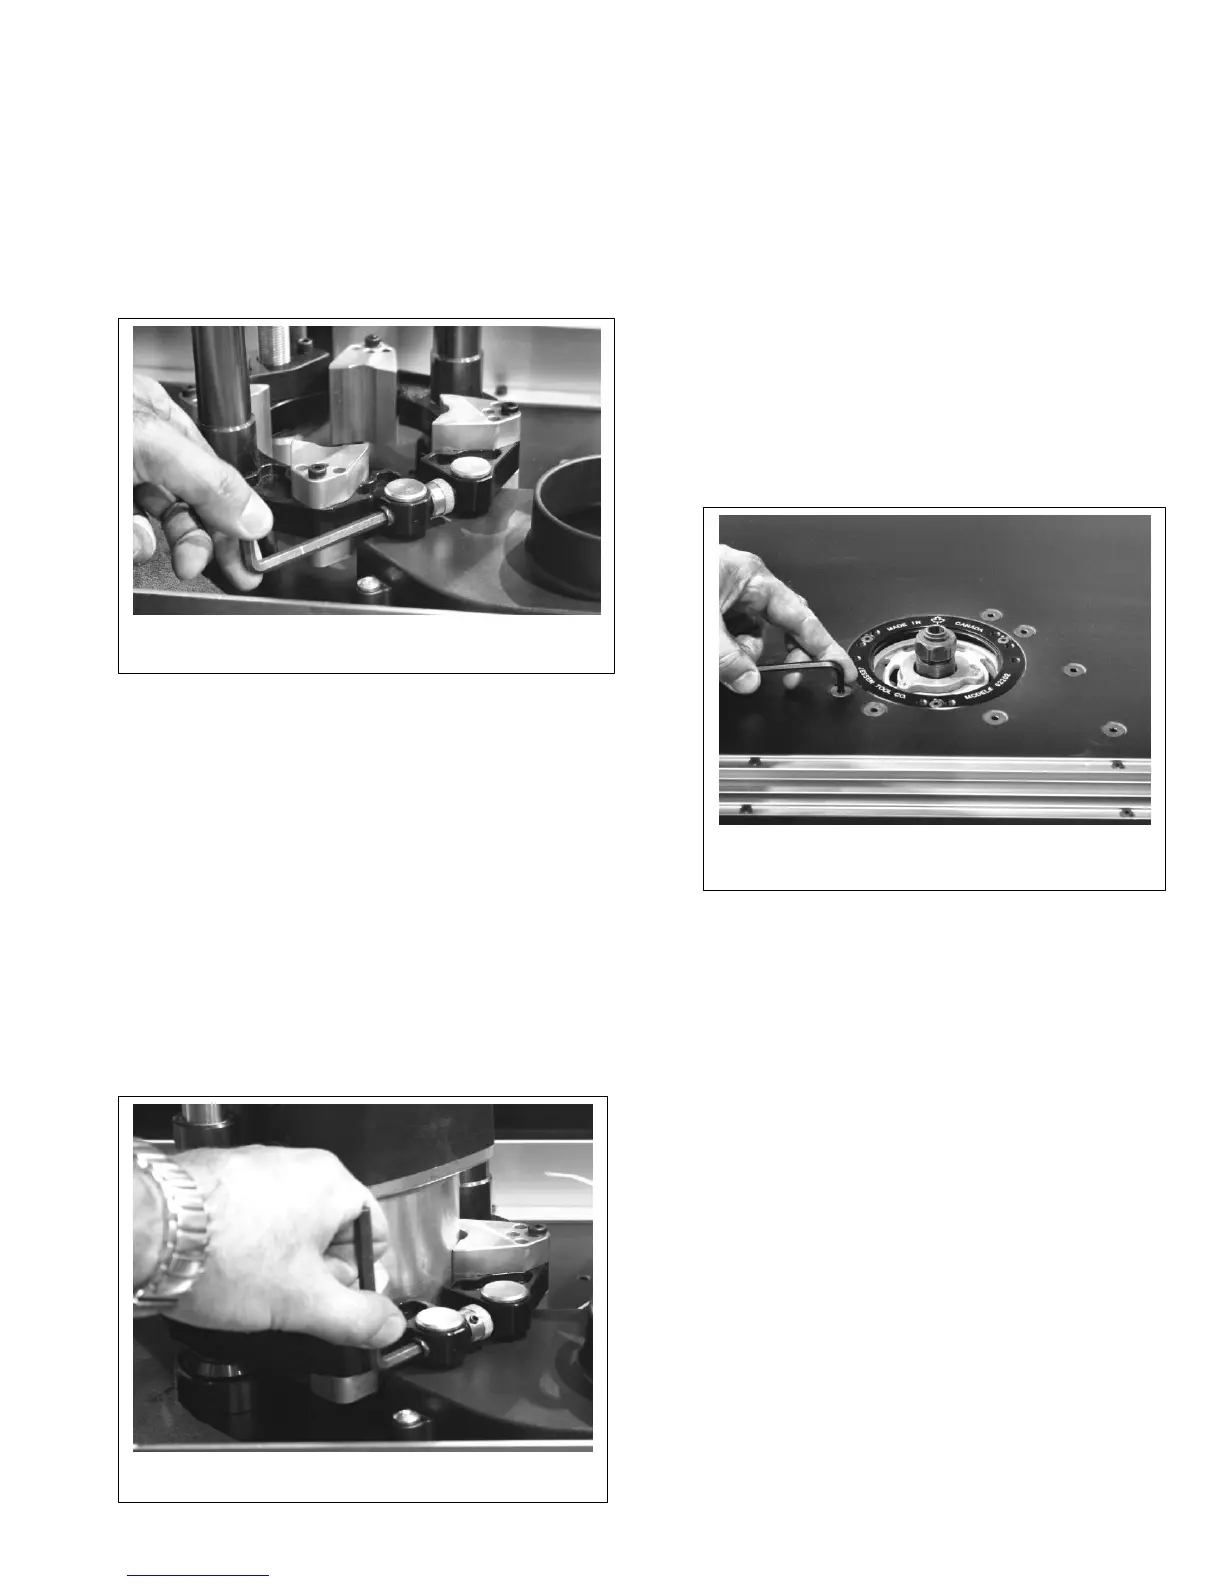
Step 21: Once you have your table upright
on the floor, you have one final adjustment.
With the 3/16” hex key loosen a ¼ turn the
(10) ten 5/16-18 Flat Head Cap Screws you
tightened in Step 4.
Retighten. (See Figure #18)
Note: these screws line your carriage and
gear box to the table.
Step 20: With the help of another person, flip
the Excel II and Stand over and place on the
floor.
Step 16: Repeat this for all four carriage clamping
blocks
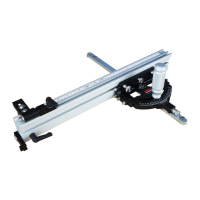
STEP 17: With the ¼” hex key provided, loosen
the clamping screw sufficiently to force the
carriage to spread. This allows the router to be
installed easily. (See Figure #16)
Step 19: Rotate the router so that when the final
installation is made all router controls are
positioned for convenient access an there is no
interference. Then back the motor off approx.
1/16” from contacting the table top and tighten the
cap screw on the carriage assembly.
(See Figure #17)
Figure 17
TAB-LOC PHENOLIC INSERT RINGS
Your Mast-R-Lift Excel II comes with one 2”
insert ring with a pre-drilled center hole.
Additional ring sets are available with different
diameter pre-drilled holes and/or no pre-drilled
holes for creating your own custom center
hole diameters. See your JessEm distributor
for these and other accessories.
Figure 18
Step 18: Now slide the router motor into the
carriage so the top of the motor housing just
makes contact with the inside surface of the center
hole in the table top.
 Loading...