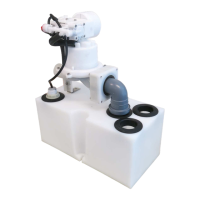
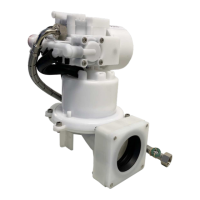
Jets™ 25MBA Vacuumarator™ pump
Tel. +47 70 03 91 00
www.jetsgroup.com
Product No. 200025004
Doc. Rev.: 22 (2021-06-08)
13
37
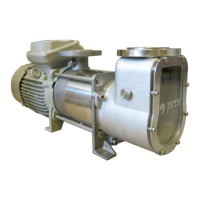
Remove the two ball bearings (26.1)
and (26.2) from the shaft (26), using
a bearing puller.
Service and Maintenance - Assembly Instructions
● All parts must be clean.
● Use water when assembling the shaft seal.
● Always use new O-rings. Ensure that all O-rings are in the correct position.
● During assembly, it is recommended to replace the ball bearings.
● Before tightening the bolts, the pump should be placed on a flat surface.
● Tighten bolts in a cross formation.
● Lubricant is not to be used during assembly of the pump unless stated.
● Control check all parts for damage and replace parts if necessary.
● Ensure that Loctite® or an equal type of quality locking compound is applied at the points indicated in the assembly procedure.
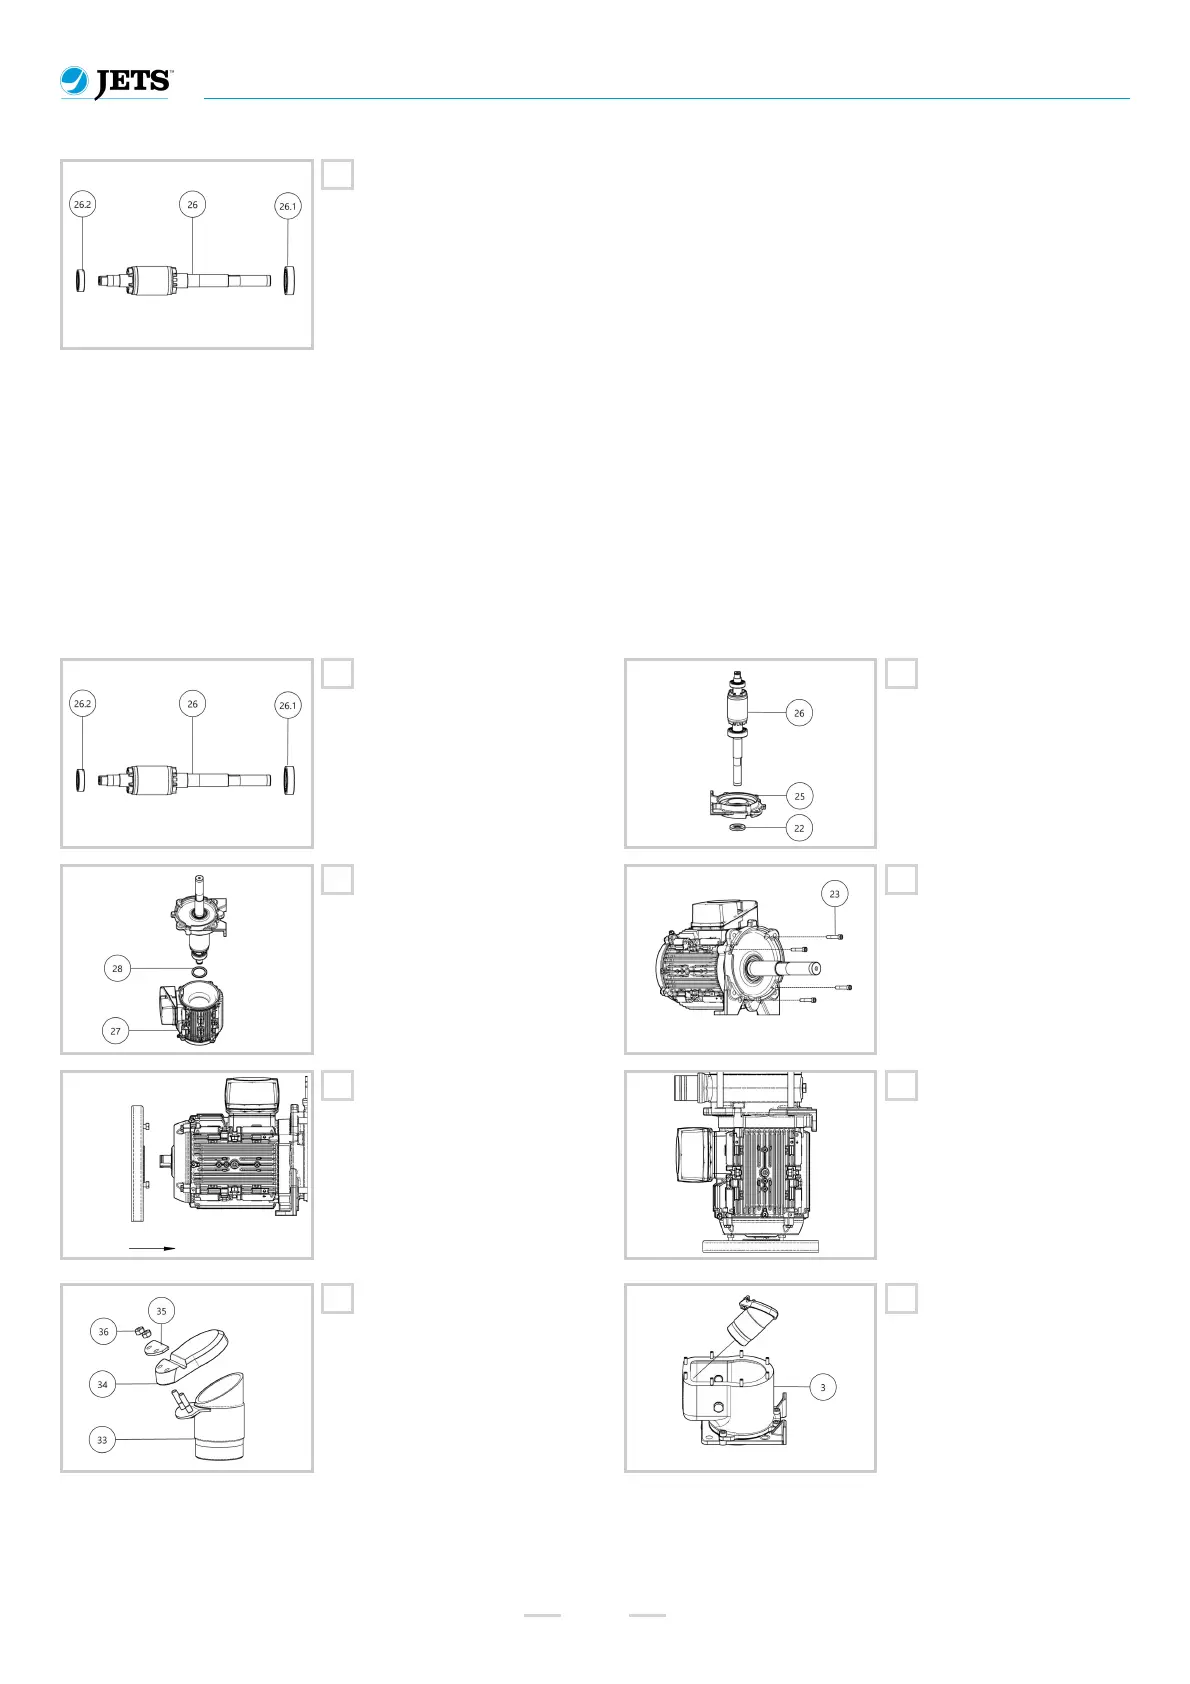
1
Position the ball bearings (26.1) and
(26.2) on the shaft (26). Heating is
required.
2
Insert the sealing ring (22) into
the motorflange (25). Insert the
shaft (26).
3
Place the spacer sleeve (28) and the
stator (27) in position on the shaft.
4
Fasten the screws securing the
flange (23).
5
It is strongly recommended to use a
Service Jig (not included in delivery)
to stabilize the pump during
maintenance. The Service Jig
prevents the pump from damage and
falling over. Contact your Jets™
agent for details.
Position the service jig on the shaft.
6
With the service jig in place, turn
the pump and place motor side
down on a flat surface.
7
Mount the rubber flap (34), plate for
flap valve (35) and the two nuts (36)
on the flap valve (33).
8
Position and secure the flap
valve in the suction chamber ℰ.