7 8
see images
10
-
21
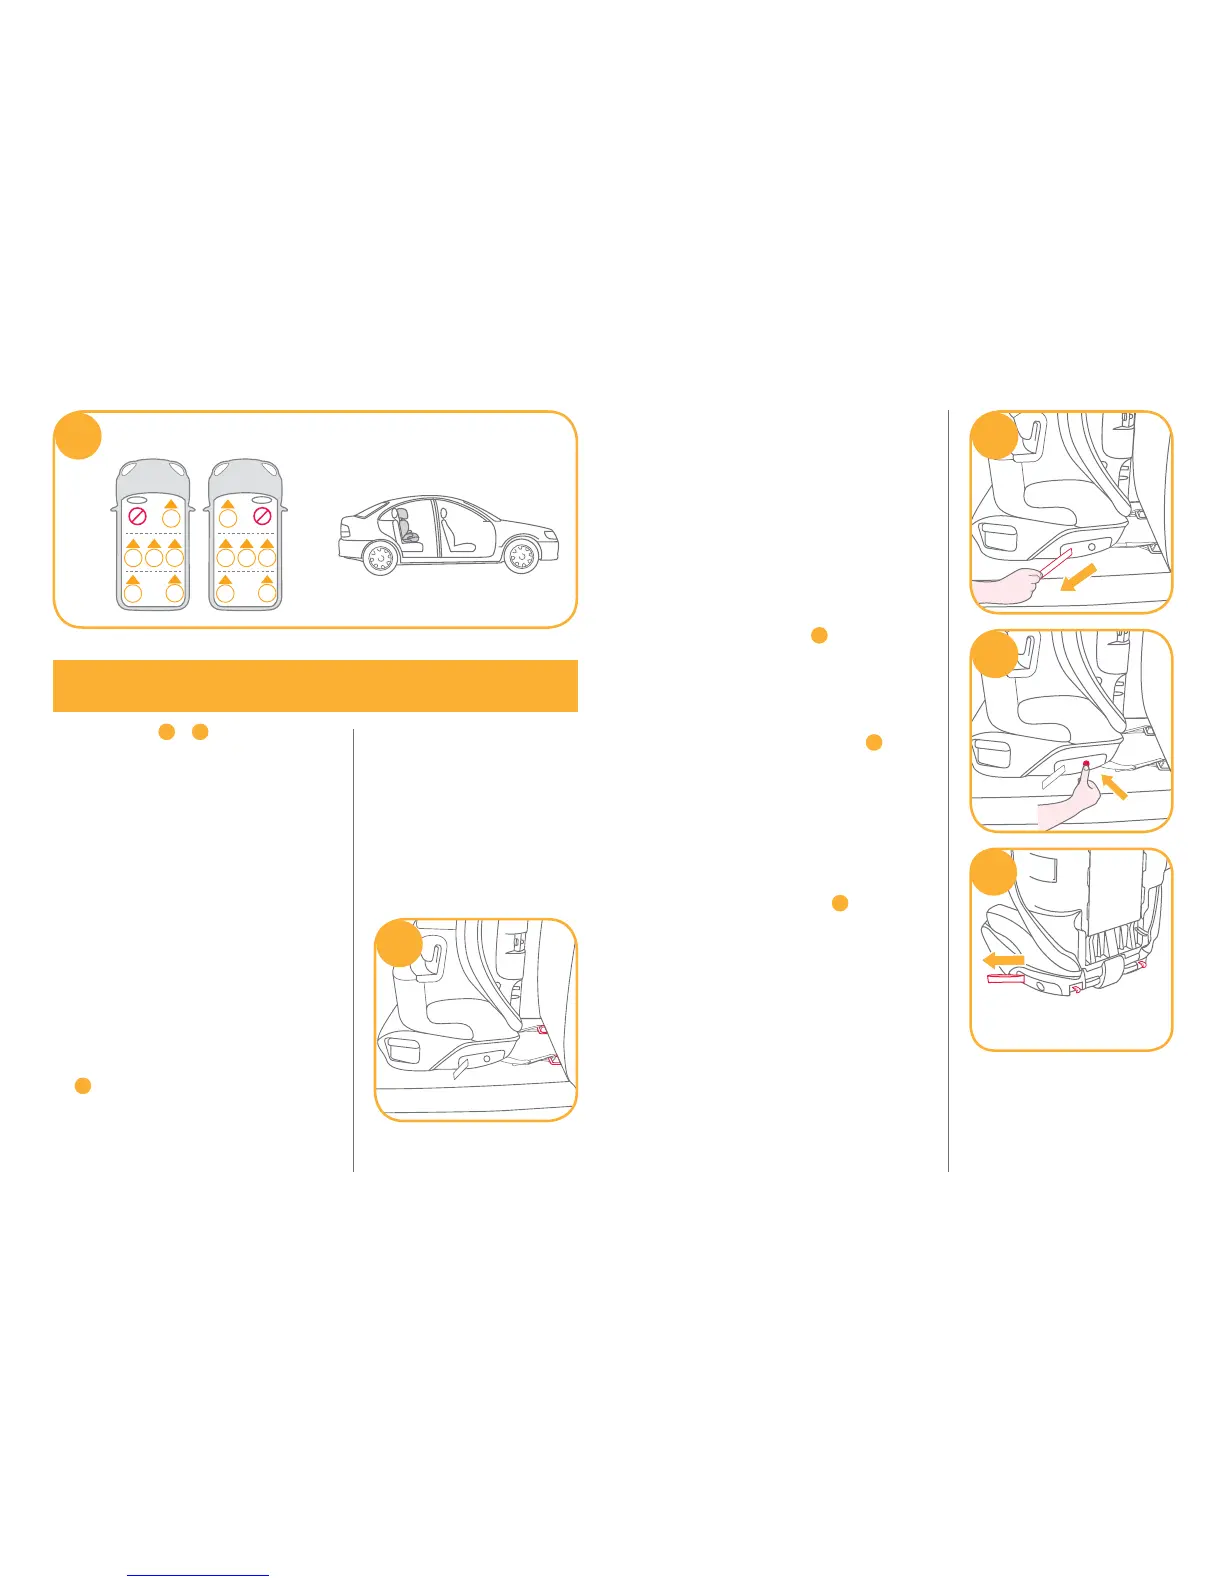
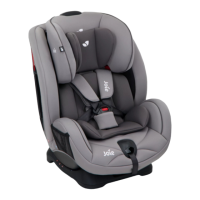
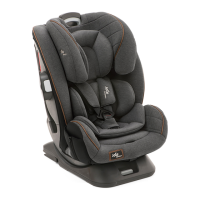
If vehicle is equipped with
ISOFIX, the vehicle lower anchor
points may be visible at the
vehicle seat crease. See your
vehicle owner’s manual for exact
locations, anchor identification,
and requirements for use.
1. Place the booster in forward-
facing position on a forward-
facing vehicle seat with
anchors, hook latch
connectors to vehicle anchors.
10
2
9
1
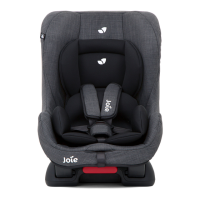
Installation with 3-point-belt
11
10
!
!
!
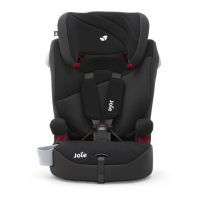
NEVER put two latch
connectors on one vehicle
ISOFIX anchor unless
specifically allowed by the
vehicle manufacturer.
2. Secure the booster firmly by
pushing it downward with
knee or hand while pulling the
adjustment belt.
11
3. For ease of unhooking, extend
the adjustment belt to its
maximum length by pressing
the adjustment button.
12
!
The latch connectors are
tucked in at the bottom of
the booster. Make sure to
detach them before
connecting the booster to
the vehicle seat.
13
12
13
1
2
3
4
5
6
1
2
3
4
5
6