8. OPERATION: REPOSITIONING & REVERSING BRIDGE
A. Repositioning Bridge
Normal setup of your fence for ripping is to fully open
the fence machine, lock, and then slide complete
assembly over until face of fence just touches saw
blade. Firmly clamp Bridge in place. The scale on
the machine is then adjusted to align its zero to the
cursor. Exceptionally accurate rip cuts - up to the
total range of your machine - can then be performed
by using the machine scale.
To increase the ripping capacity beyond the range of
your machine, the entire Fence/Bridge Assembly can
be repositioned further down the rails. Your rail
length then is what limits your total rip capacity unless
you attach a Jointech Extension Table to right end of
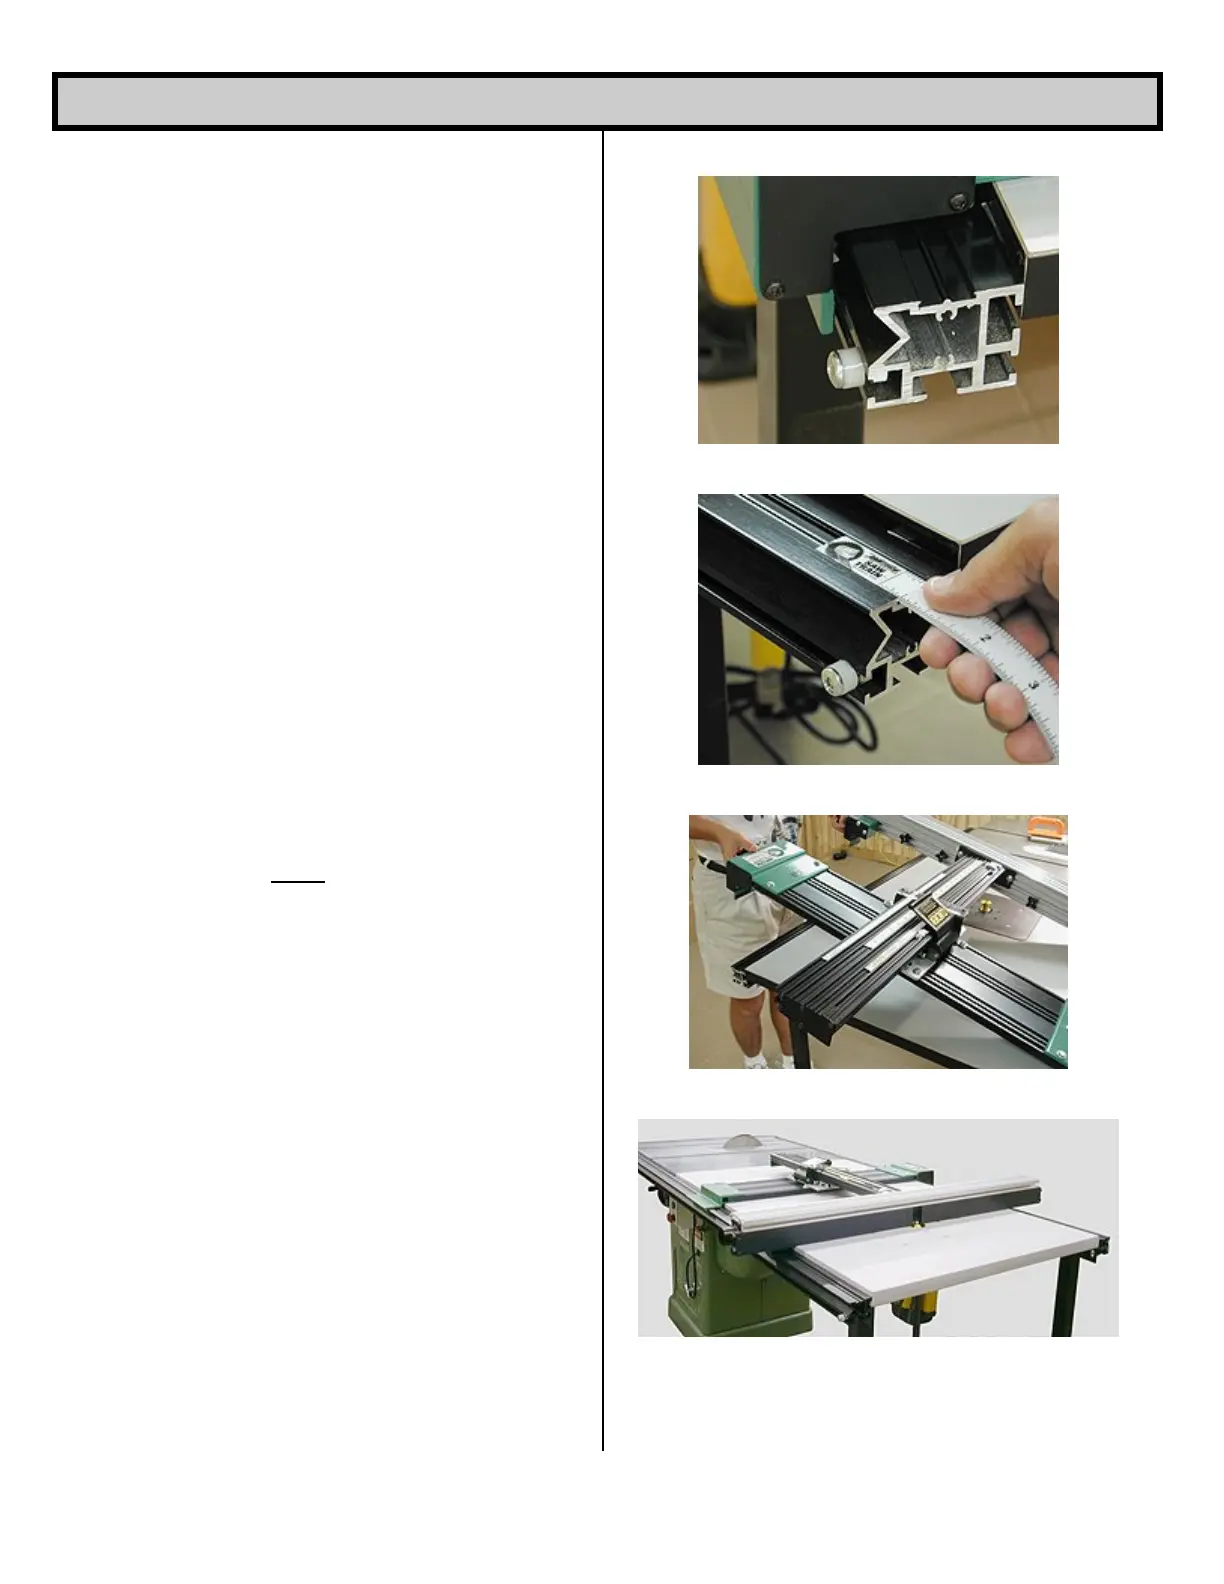
saw. You can achieve “tape measure” accuracy by
installing the 48” scale into top of front rail (see figure
18). To calibrate this scale, reference its ‘zero’ mark
to right edge of fence clamping bracket with the fence
zeroed to blade. Another method to achieve very
accurate rip cuts is as follows;
1. Zero fence to blade with machine scale set to
its zero.
2. Clamp Bridge in place and move fence back to
nearly its maximum range to an even inch
mark. For example; 18.00” for the CL-18
Clincher.
3. Firmly Clamp fence in place.
4. Unlock Bridge clamp and with fence still
locked in place, slide Bridge to right until the
machine scale reading is zero again and lock
in place.
5. Loosen Fence clamp.
You have now created an offset exactly equal to the
range of your machine. When making a cut now, just
add this offset to the machine scale reading.
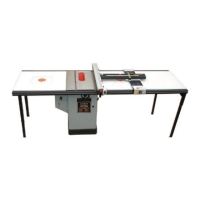
Install the Bridge Stop in the lower T-slot on front rail
as shown in figure 17. The stop can be used for the
‘offset’ described above or for a maximum setting.
B. Reversing Sliding Bridge Assembly
To remove the Fence/Bridge Assembly, simply
release both clamping knobs several turns and lift up
from front of table as shown in figure 19. Unhook
from rear rail and remove. Unless you have space
limitations, the Assembly can be reinstalled from rear
of saw table and used in the same manner as from
the front except that you will be working from the rear
of table saw.
Fig. 17
Fig. 18
Fig. 19
Fig. 20
-9-
 Loading...